Why Mango Joy?
Mango Joy was created for one purpose only – to bring joy to everybody who sees, smells and uses it. I created this recipe after I had seen some wonderful shampoo bars (they were surfactant bars, though) with mango butter and a mango scent. My goal was to create a luxurious soap with lots of mango butter, a fresh and fruity scent and a colorful design that would make gray days a little brighter.
Mango Joy was the fifth batch of soap I ever made when I created the recipe in August of 2021. As this month’s theme in the Soap Challenge Club is hanger swirls and the Mango Joy soap is done with a hanger swirl anyway, I thought why not give it a try. Also the hanger swirl is a pretty beginner-friendly technique – or so I thought.
The batch you see here is my second batch of Mango Joy and my 14th batch of soap ever. So please bear that in mind when you judge my skills. 😉 To be honest, while I still have a long way to go with respect to my soaping skills, I am incredibly pleased with this soap because I achieved all of my original goals. It’s a soap I will never allow to run out. [Narrator: It did however run out shortly after this writing because everyone and their mother wanted a bar of this fruity goodness.]
Making the hanger tool
When I made my first batch of Mango Joy last year I used a wire in lieu of a hanger. The wire was too thin so instead of going down all the way to the bottom of the mold it was bent out of shape by my (comparatively thick) soap batter. It still created a swirl but it was not as „clean“ as I would have liked it to be. So I decided to create a new hanger tool from an actual hanger I had got left from the dry cleaner’s.
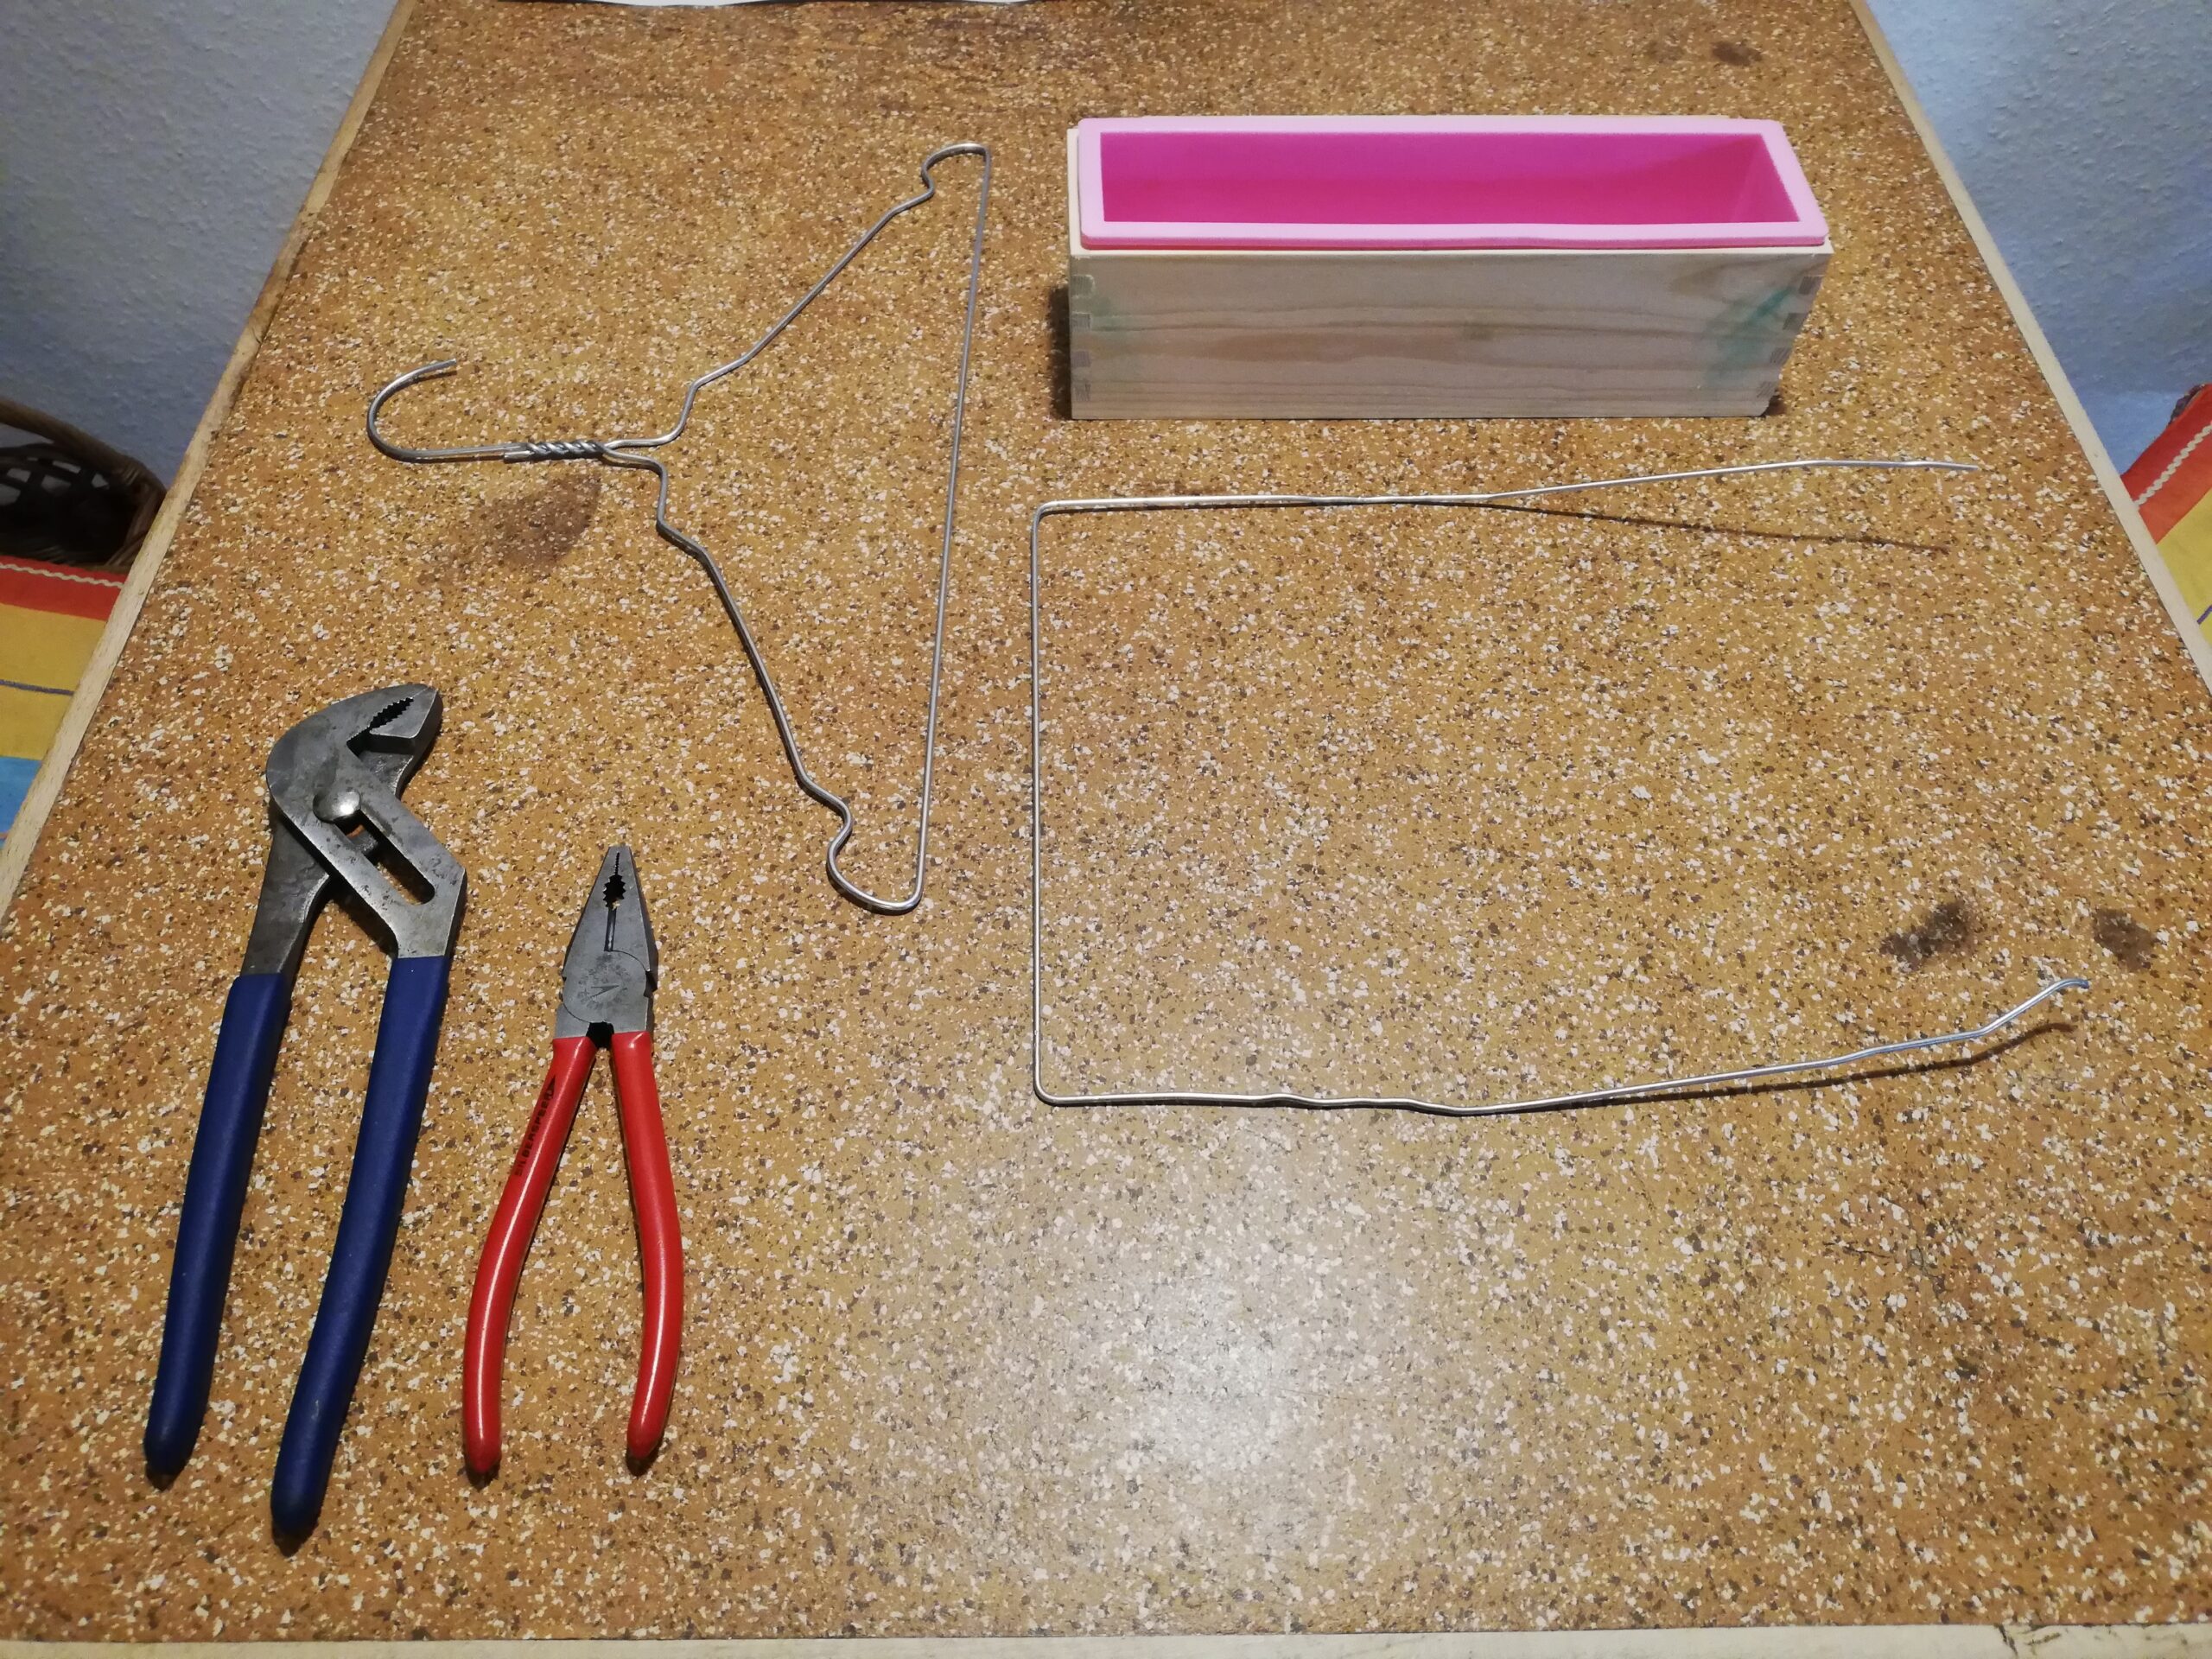
I had two hangers (you never know) and used two pairs of pliers – one to hold the wire and the other to bend it. As I did not trust the wire to be lye resistant I had bought some silicone tubing in the hardware store, which I forgot to include in the image.
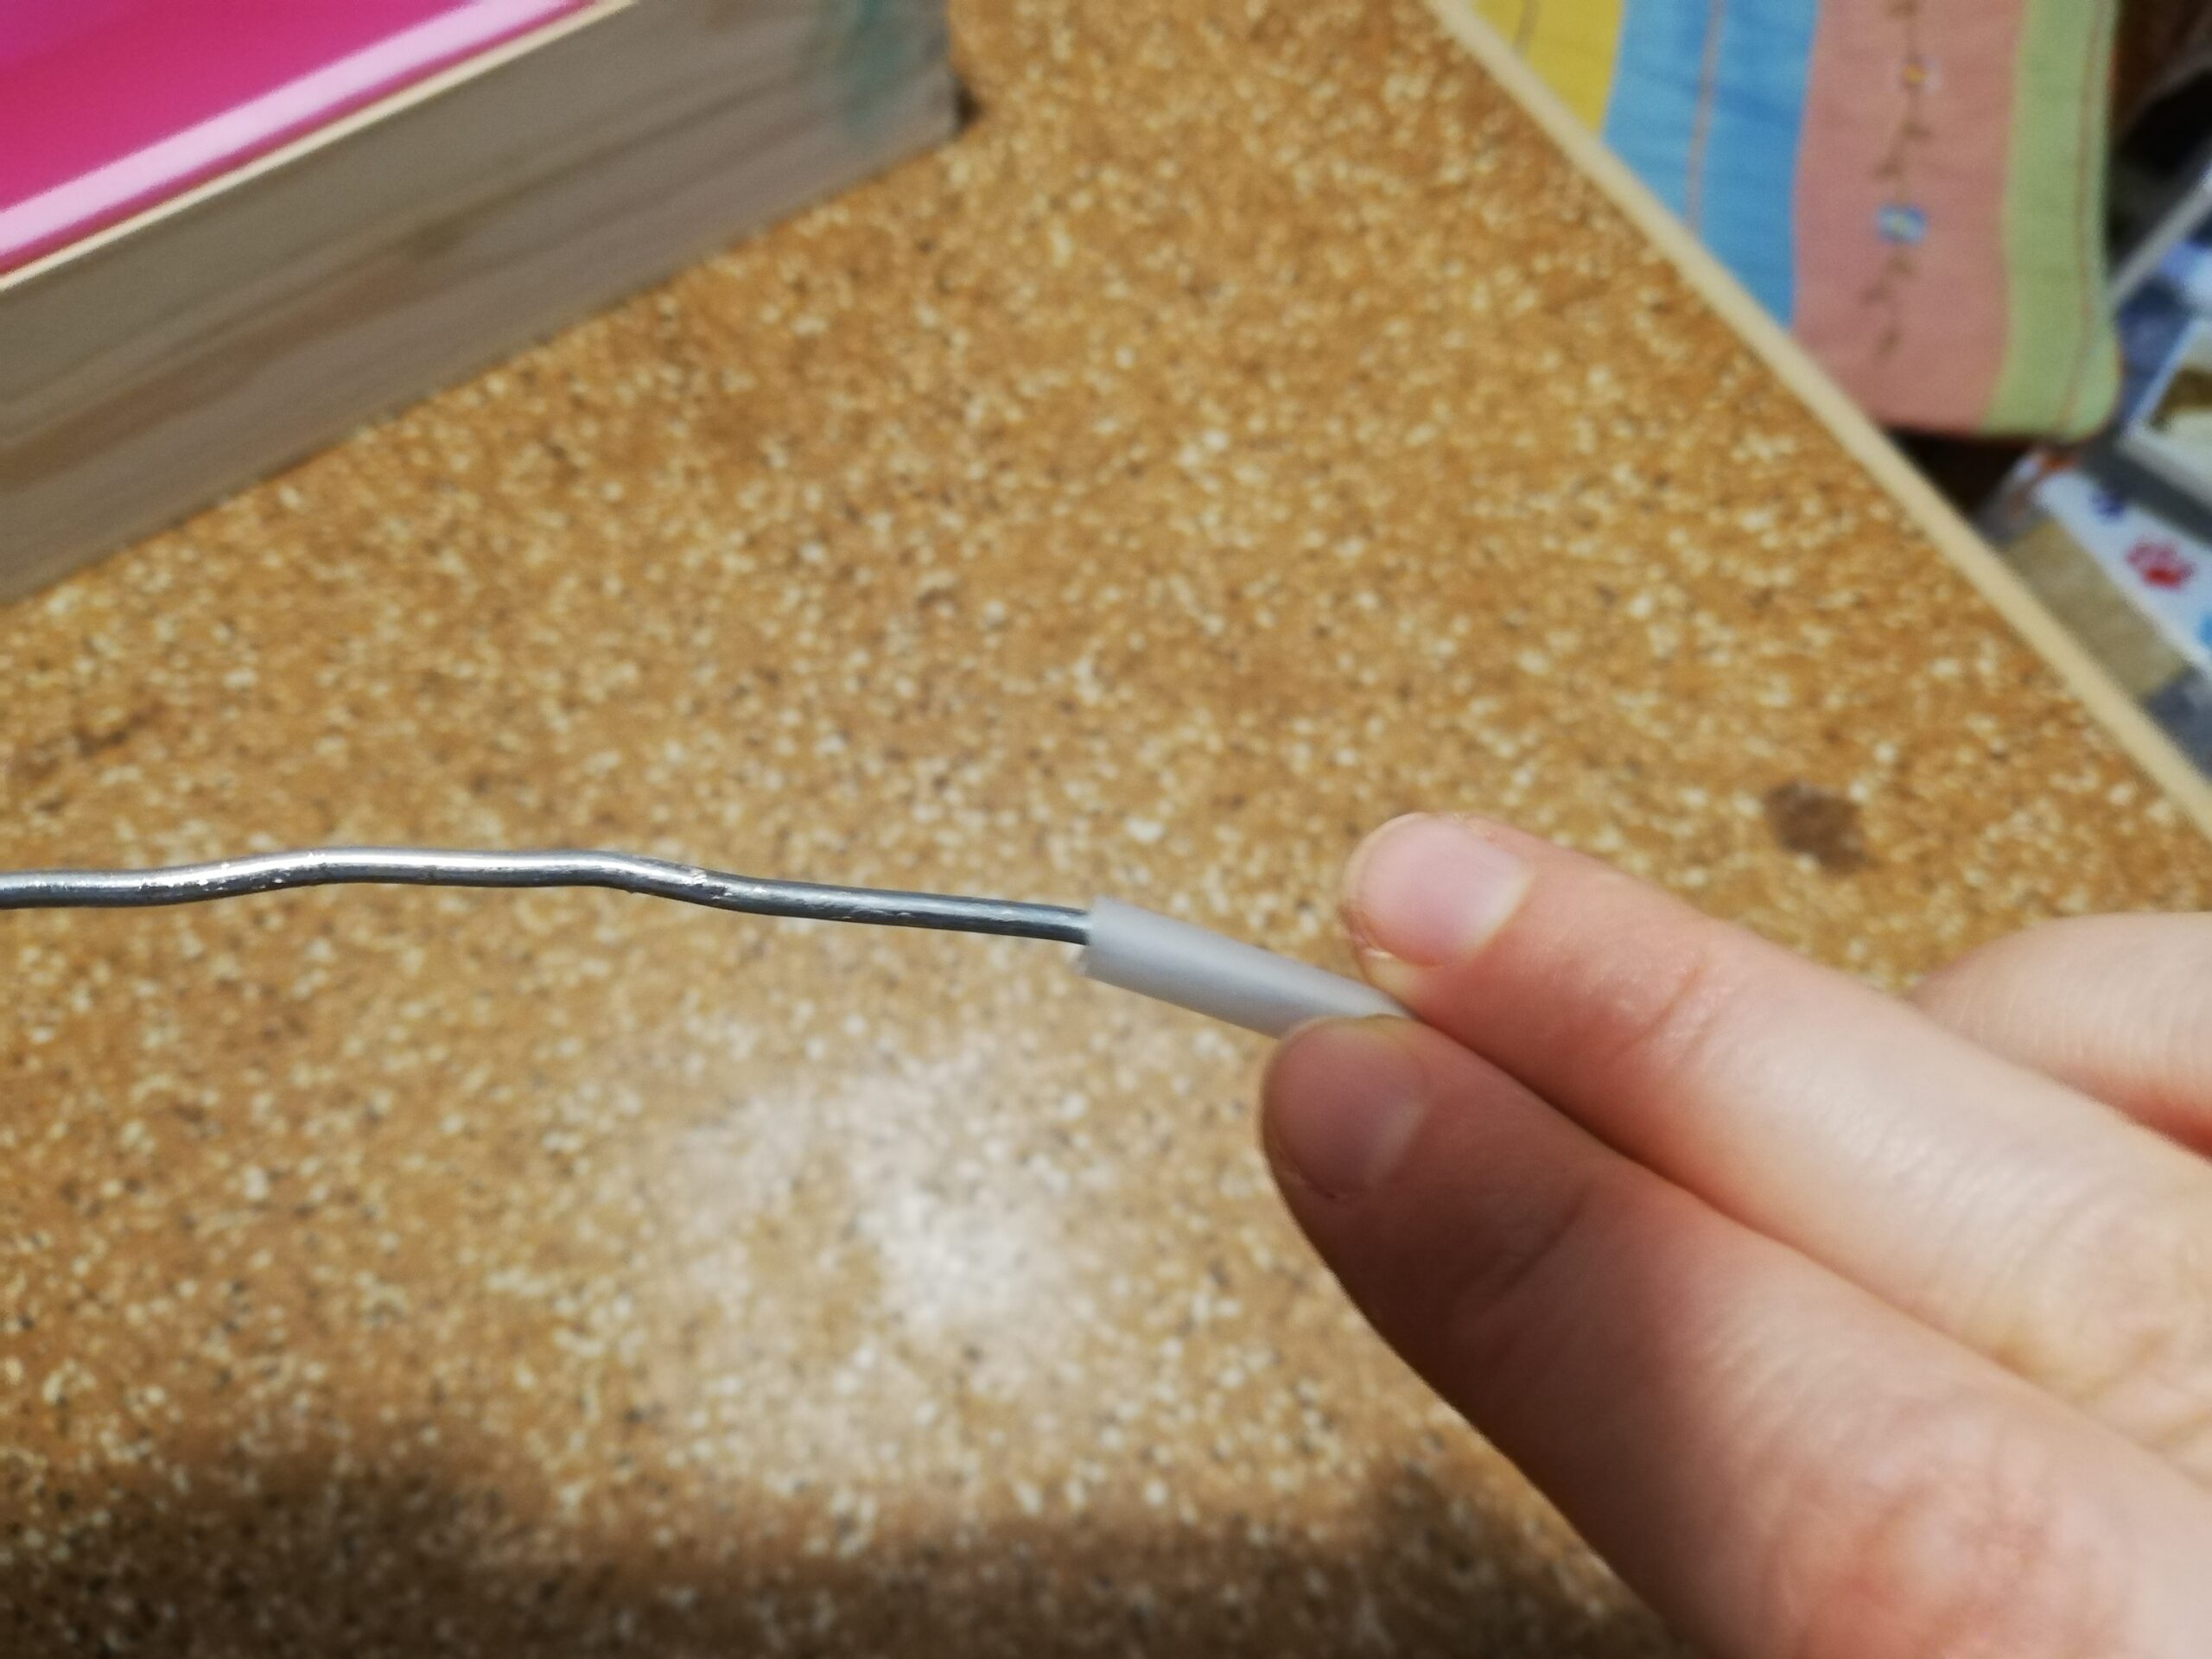
When I was satisfied with the shape of the wire I slid the silicone tubing onto it. (I know what you’re thinking and that’s exactly what it felt like.)
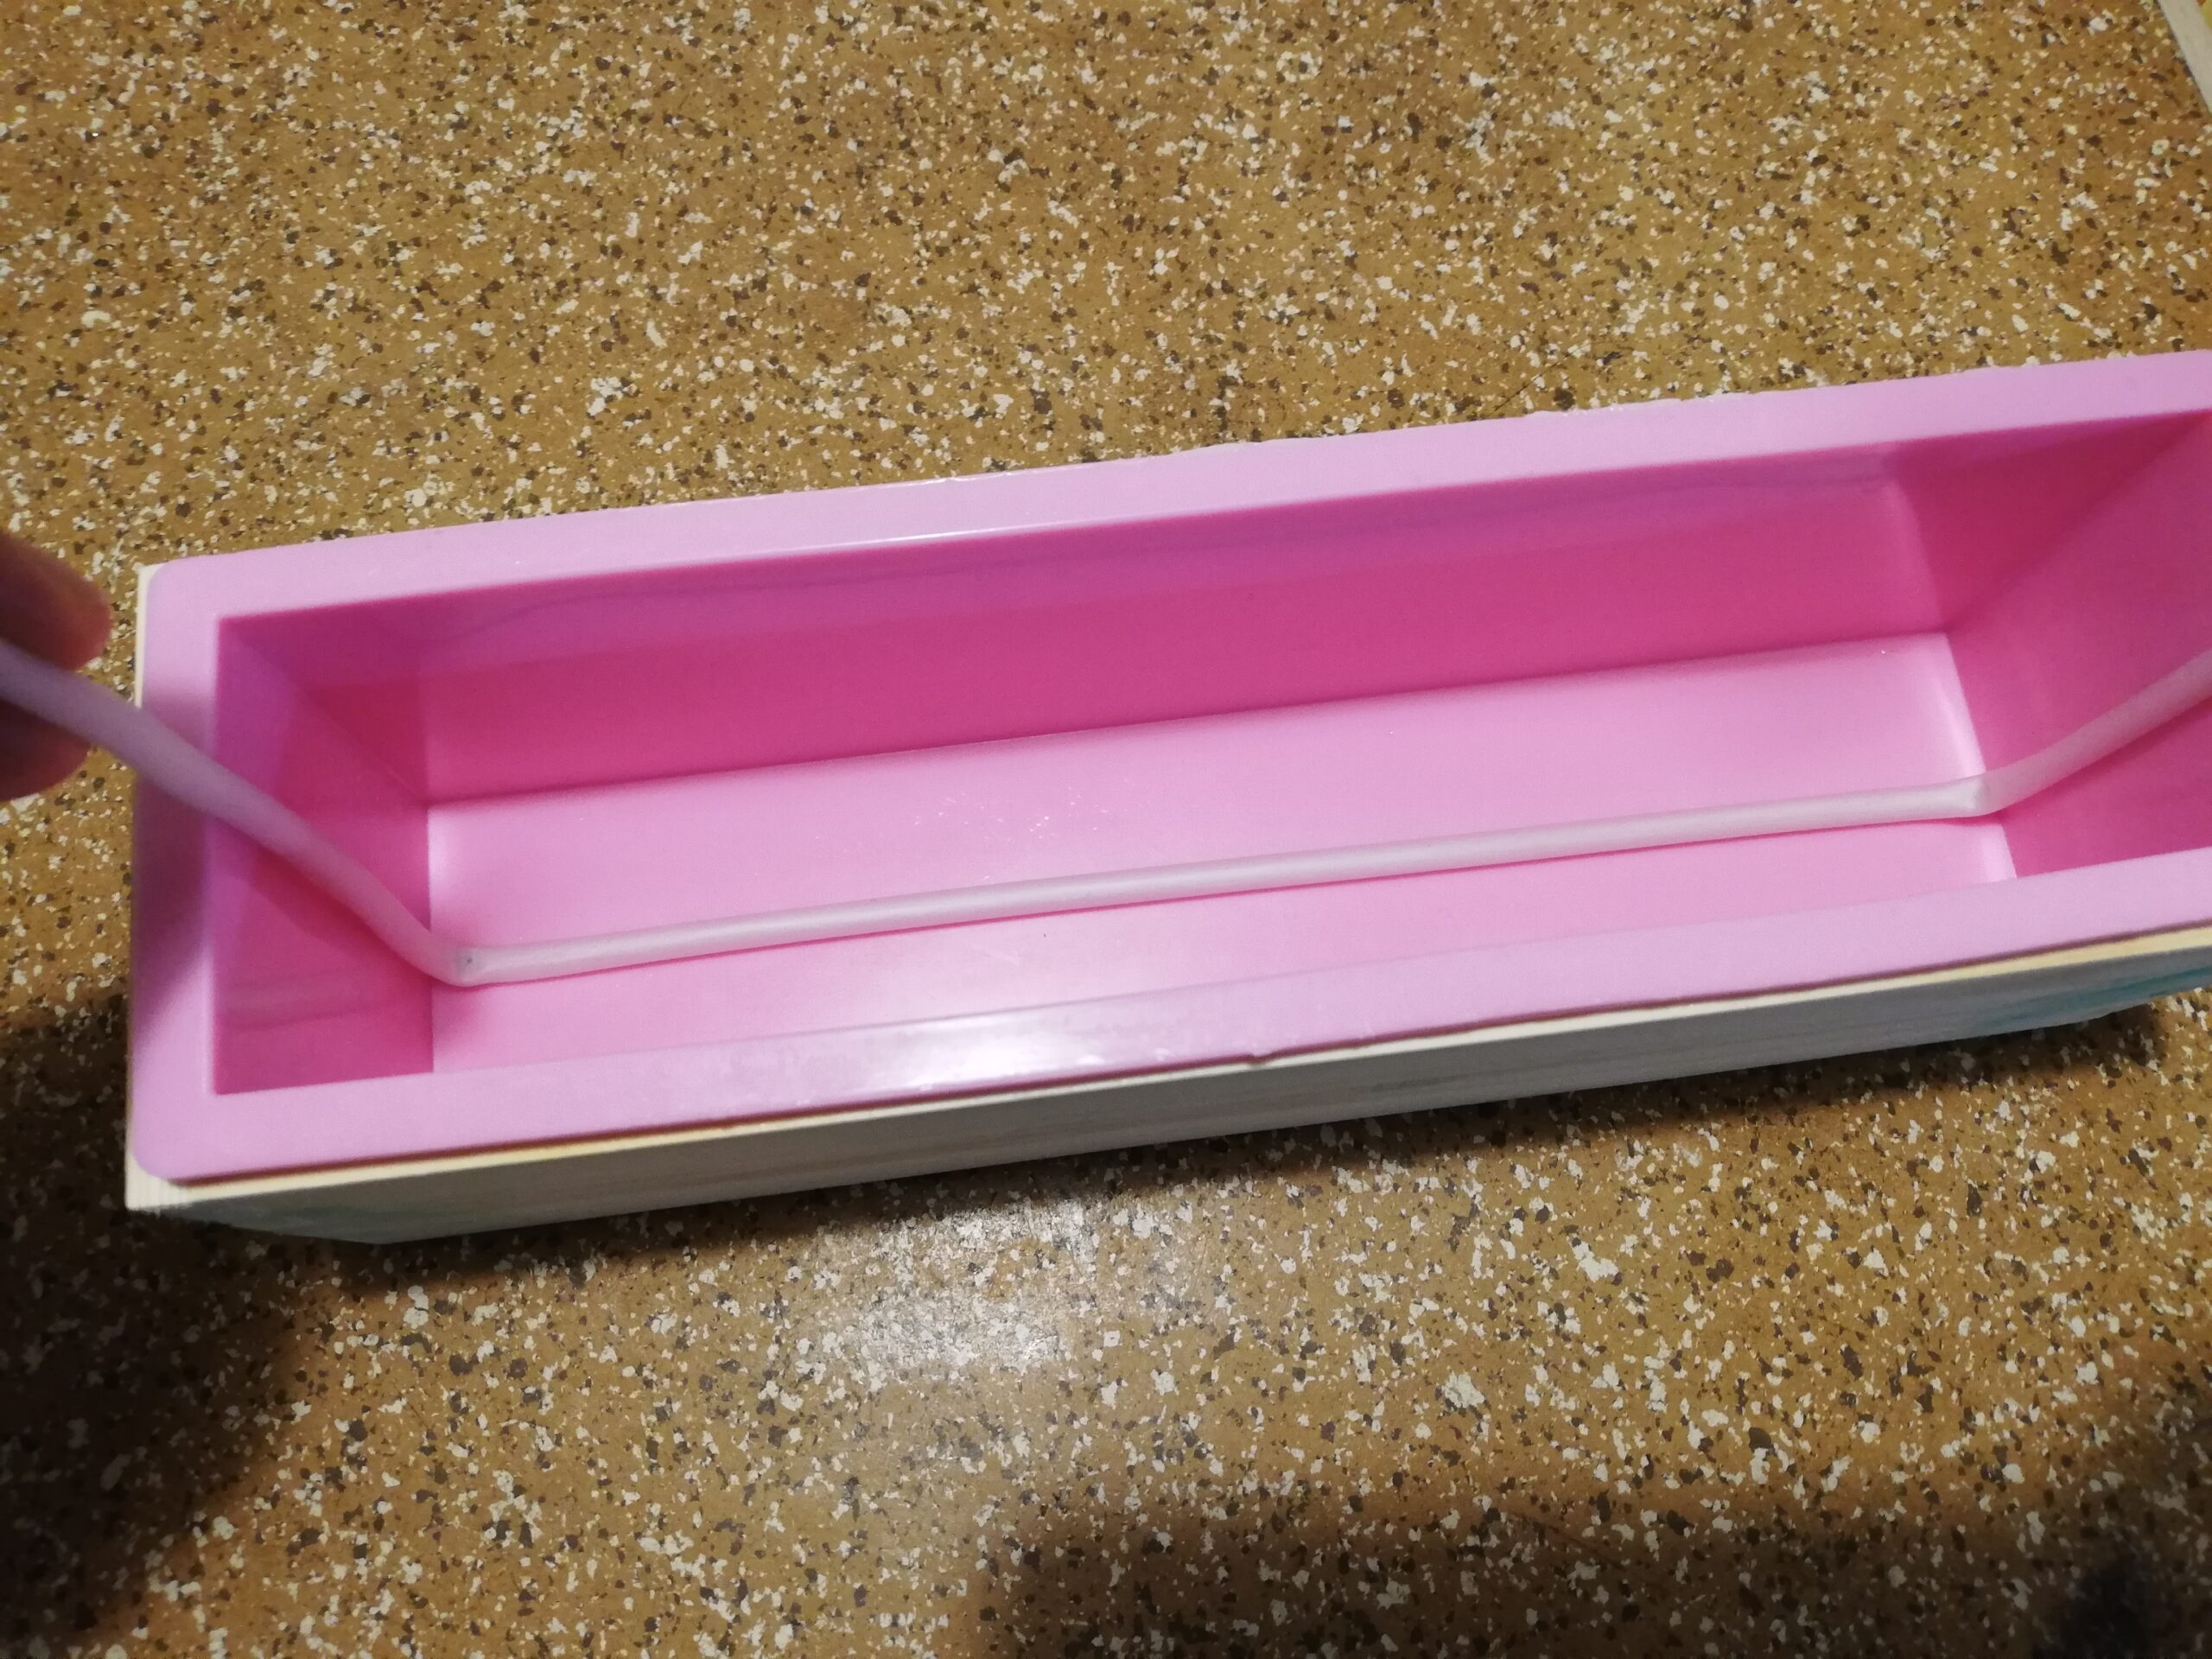
The hanger tool is done and fits into the mold perfectly. Still, I was a little skeptical as the silicone tubing could have been a little tighter around the wire – or the wire could have been a little thicker.
Making the soap
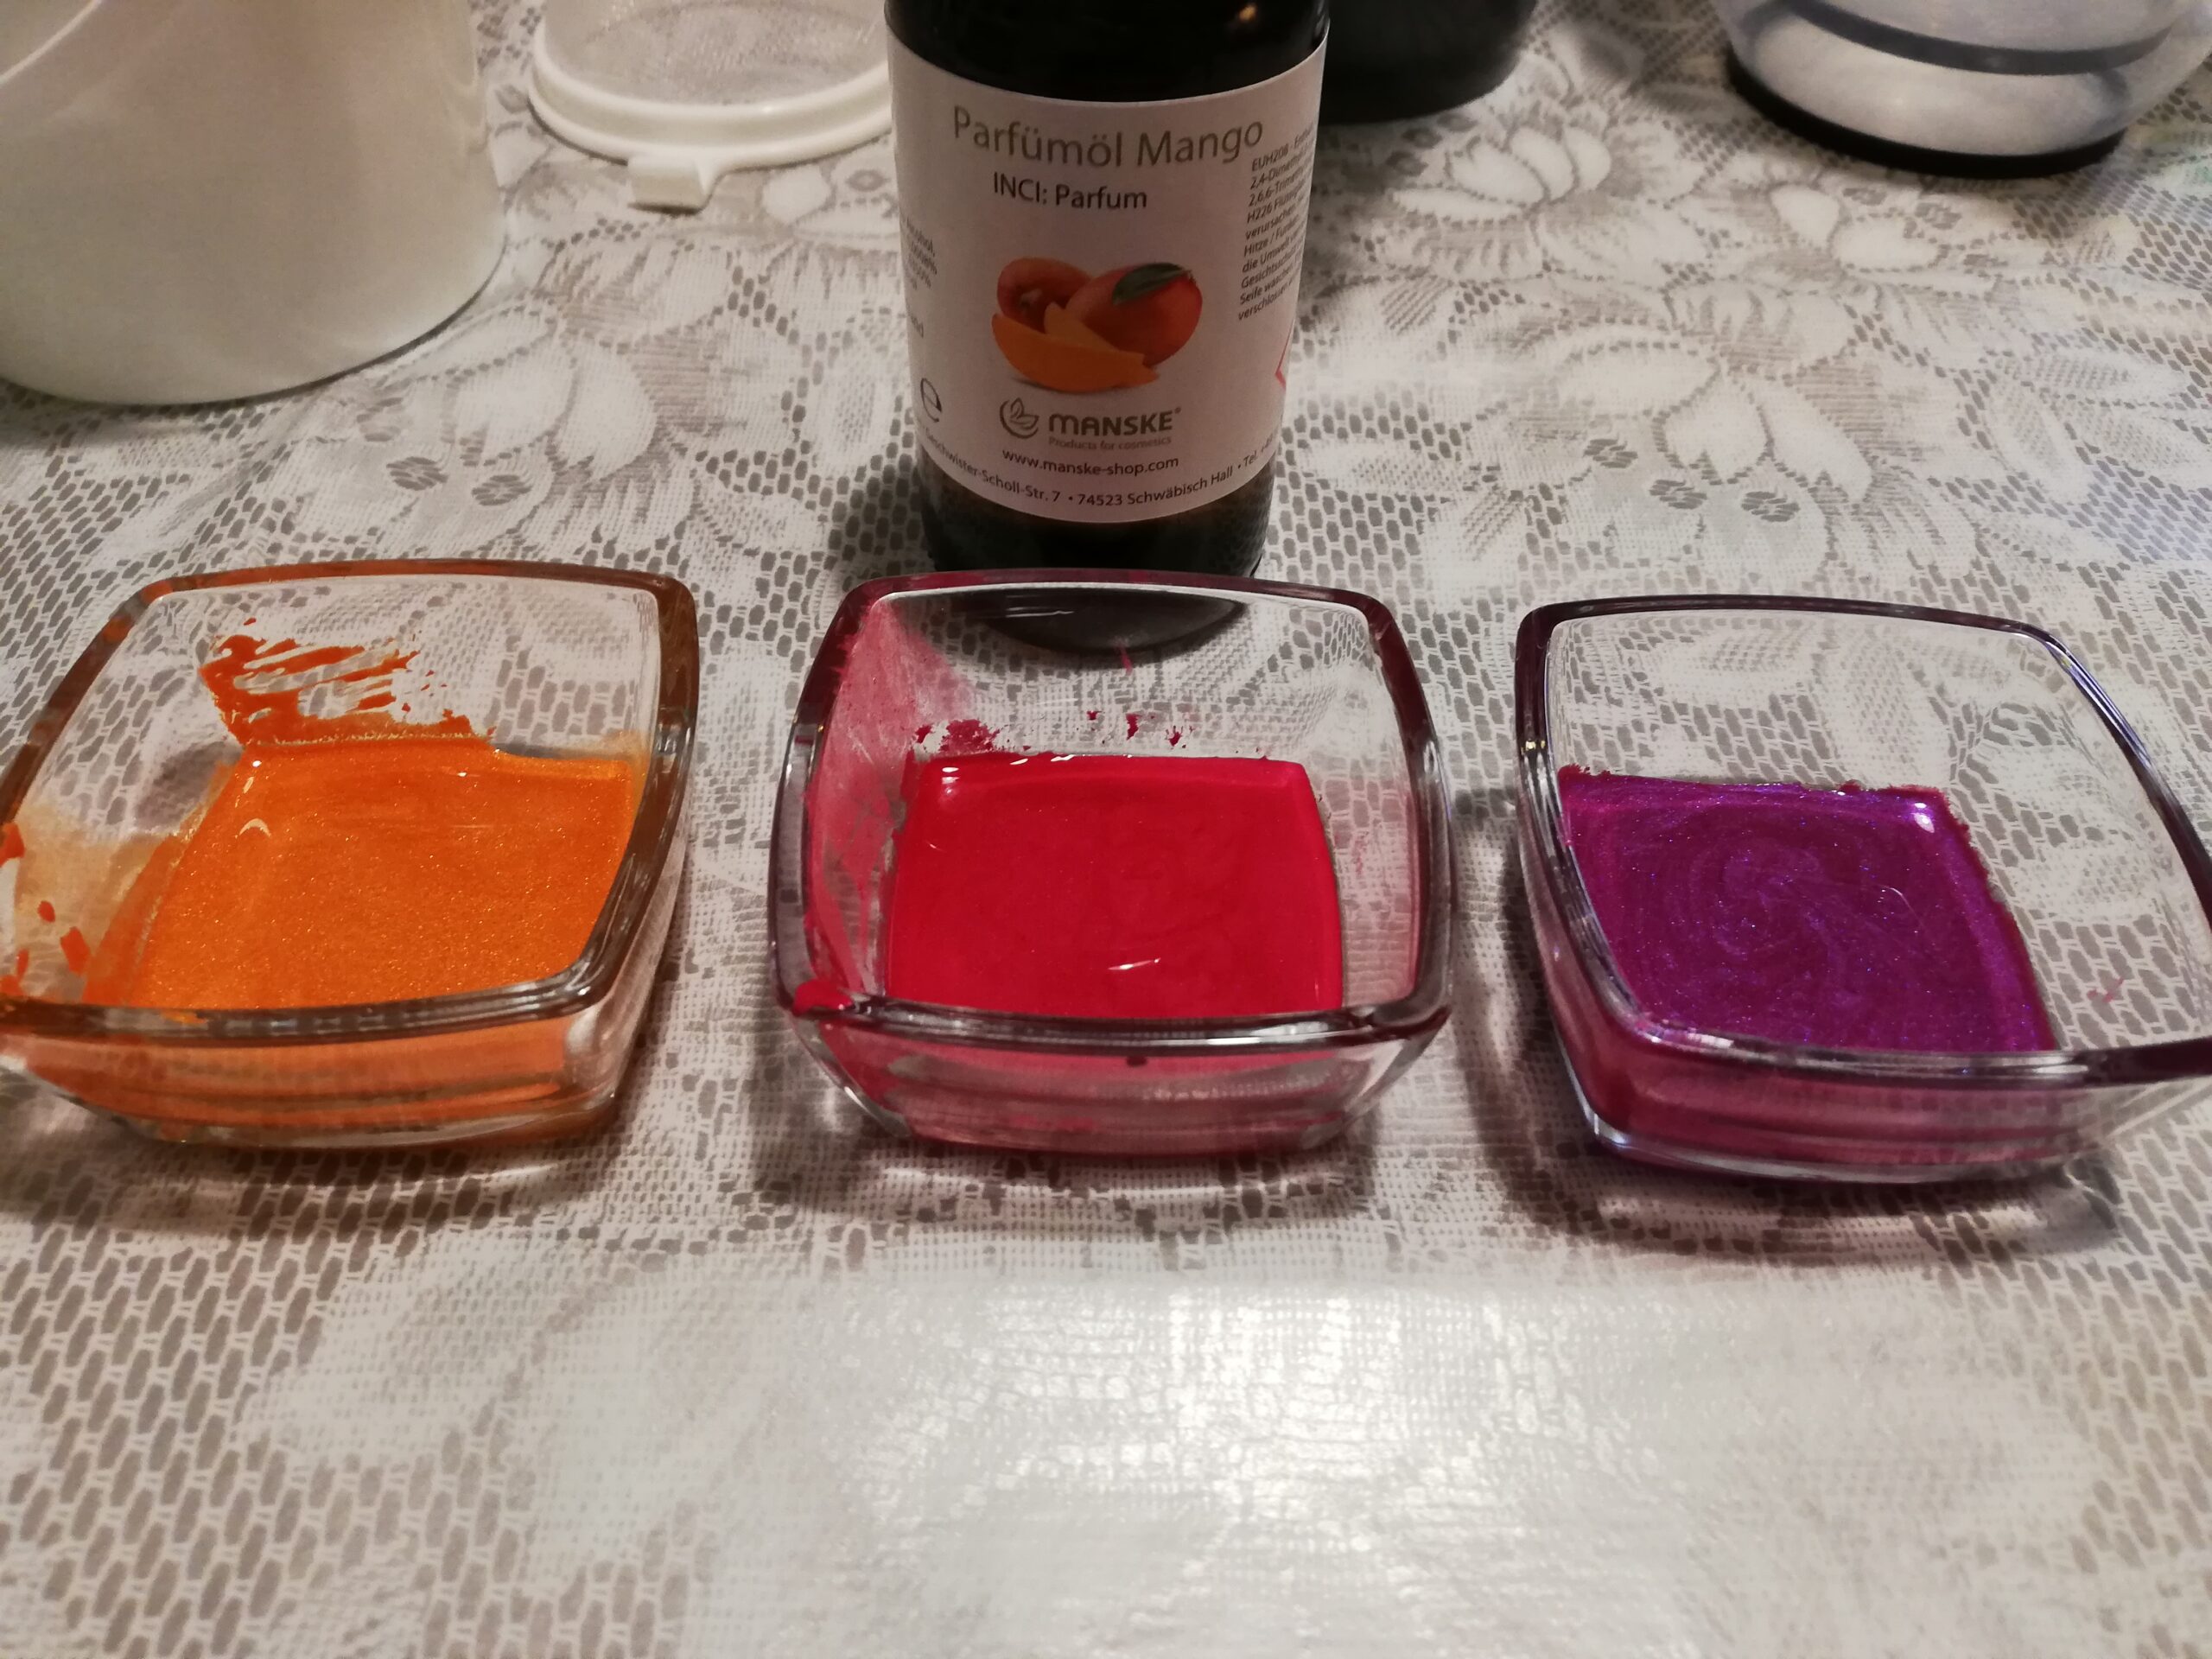
As colorants I used three different micas (Magic Orange, Flash Red and Red Violet from Manske) at a rate of 10g of mica per kg of soap batter and some titanium dioxide for the white portion of the soap. I pre-mixed all the micas with a little olive oil that I had taken from my batch of oils. I used a slab of acrylic as a mixing surface and a palette knife as a mixing tool, which I had learned from the videos of Tree Marie Soapworks (she shares so many incredibly useful tips, go check out her videos if you haven’t already).
I already had some titanium dioxide premixed in olive oil that had started to separate and stirred it up again using a mini mixer.
The scent you can see in this picture is a fragrance oil from Manske that is very well-behaved – no discoloration, no acceleration, usually no ricing.
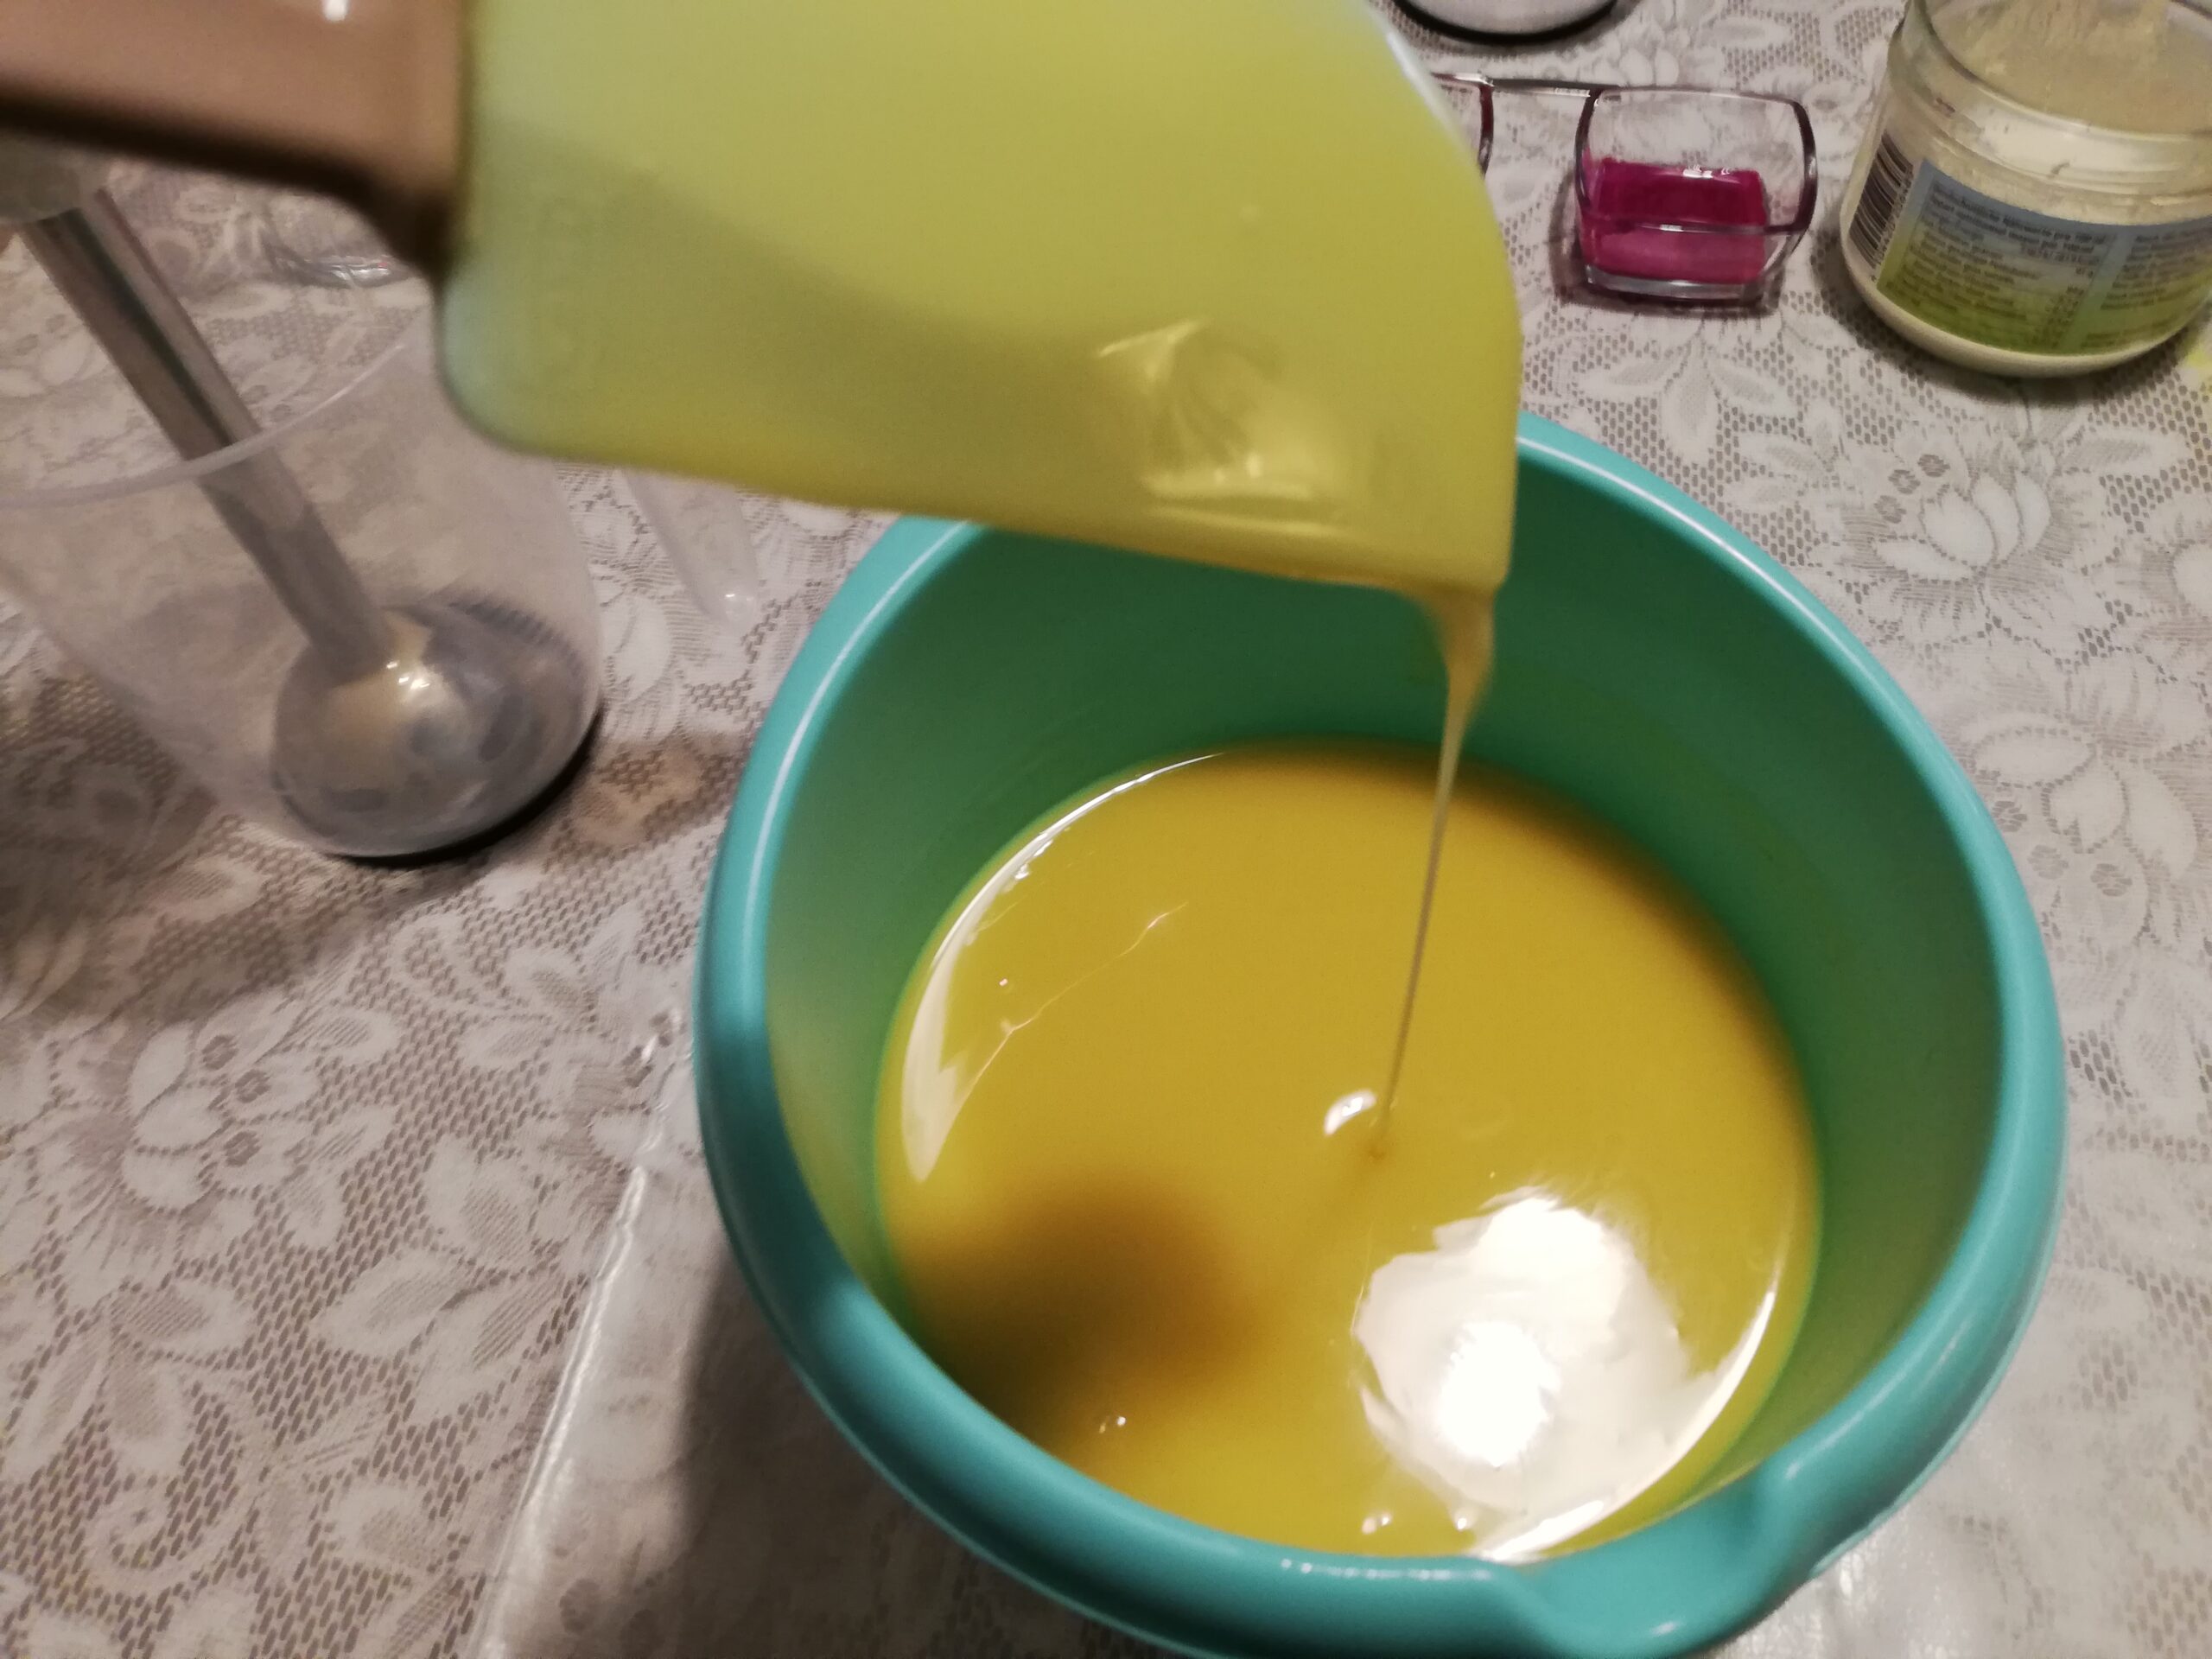
I prepared my lye solution with ice cubes instead of water (which turned out not to be such a good idea in this case) and added some sodium lactate just before straining it into my oils. I was quite happy with the consistency of my batter as you can see in the image. However, the temperature of my lye was much lower than that of my oils, which was fine at first but when I added the fragrance oil the batter immediately started to rice (not a lot, but I still had to get rid of the graininess so I had to stick-blend it a little more than I would have liked. Since the fragrance oil had been very easy to work with last time, I figured it was the high amount of mango butter in this recipe combined with the low temperature that caused the problems.
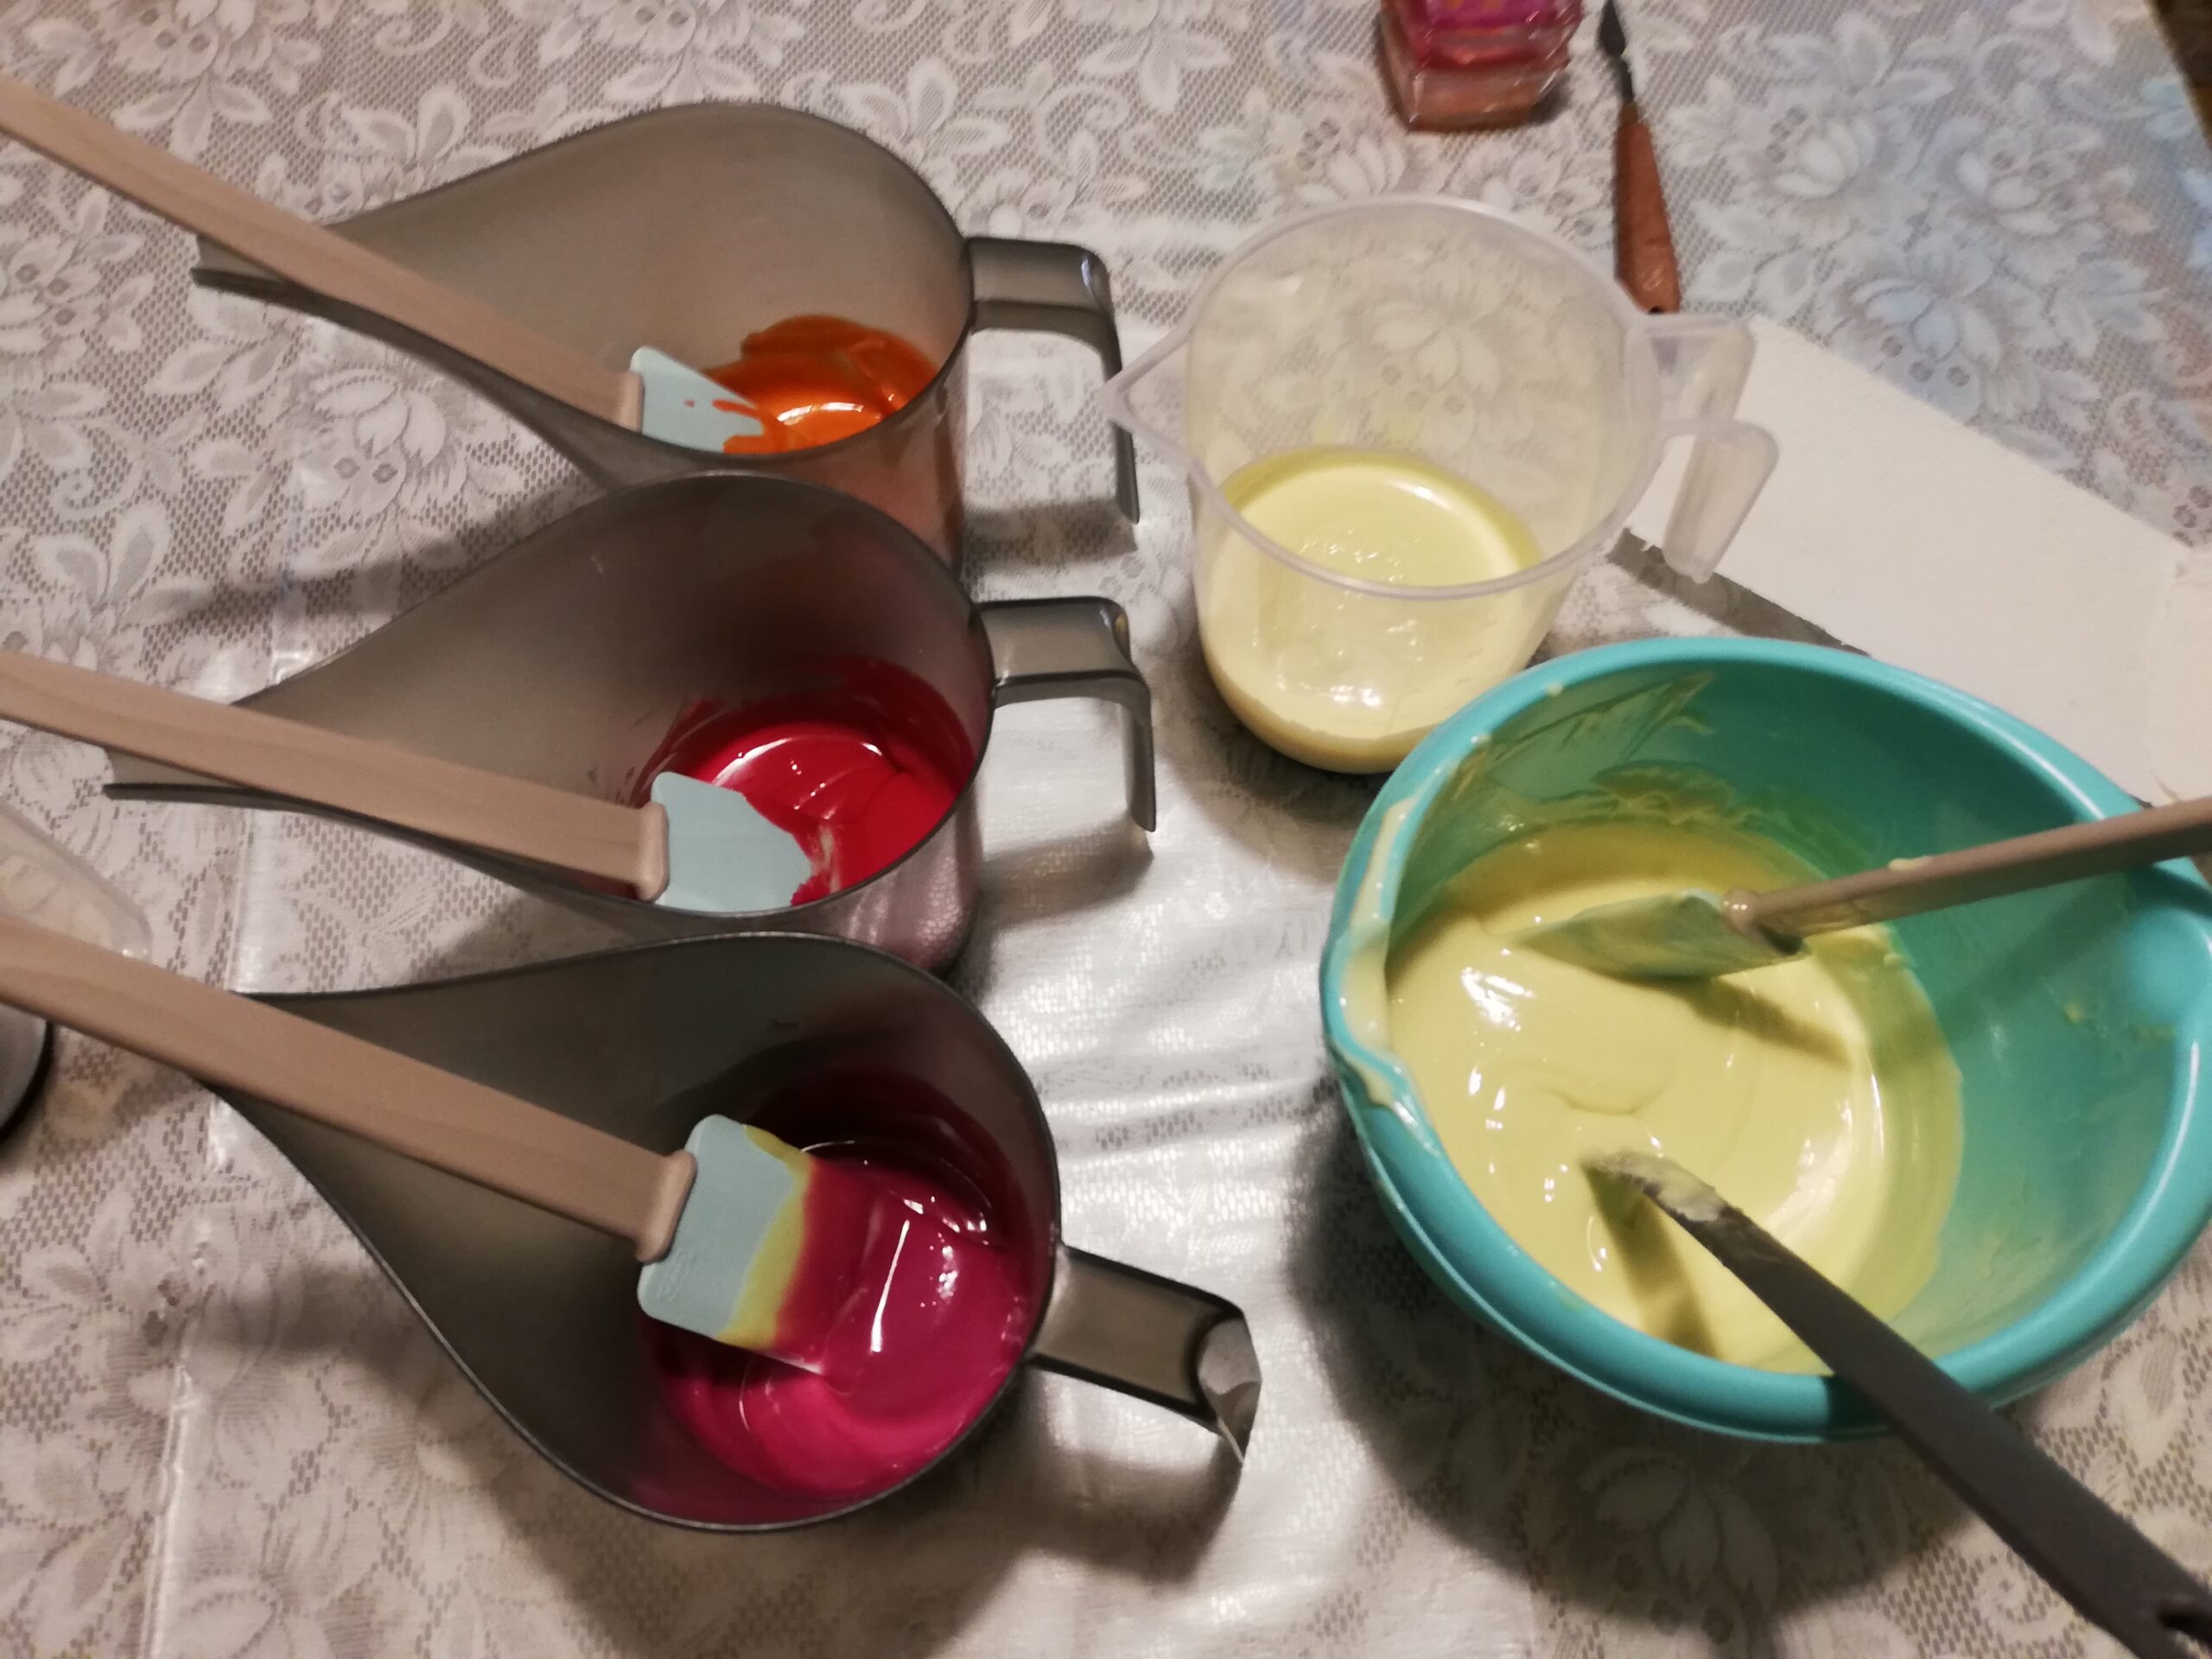
I weighed out three equal portions of soap batter for the colored soap, which made up one third of the soap batter in total. I stirred in the mica by hand since I didn’t want to risk thickening up the batter even more. Into the remaining two thirds of the batter I stirred in the pre-dispersed titanium dioxide. I then weighed out one third of the white batter to use as the top.
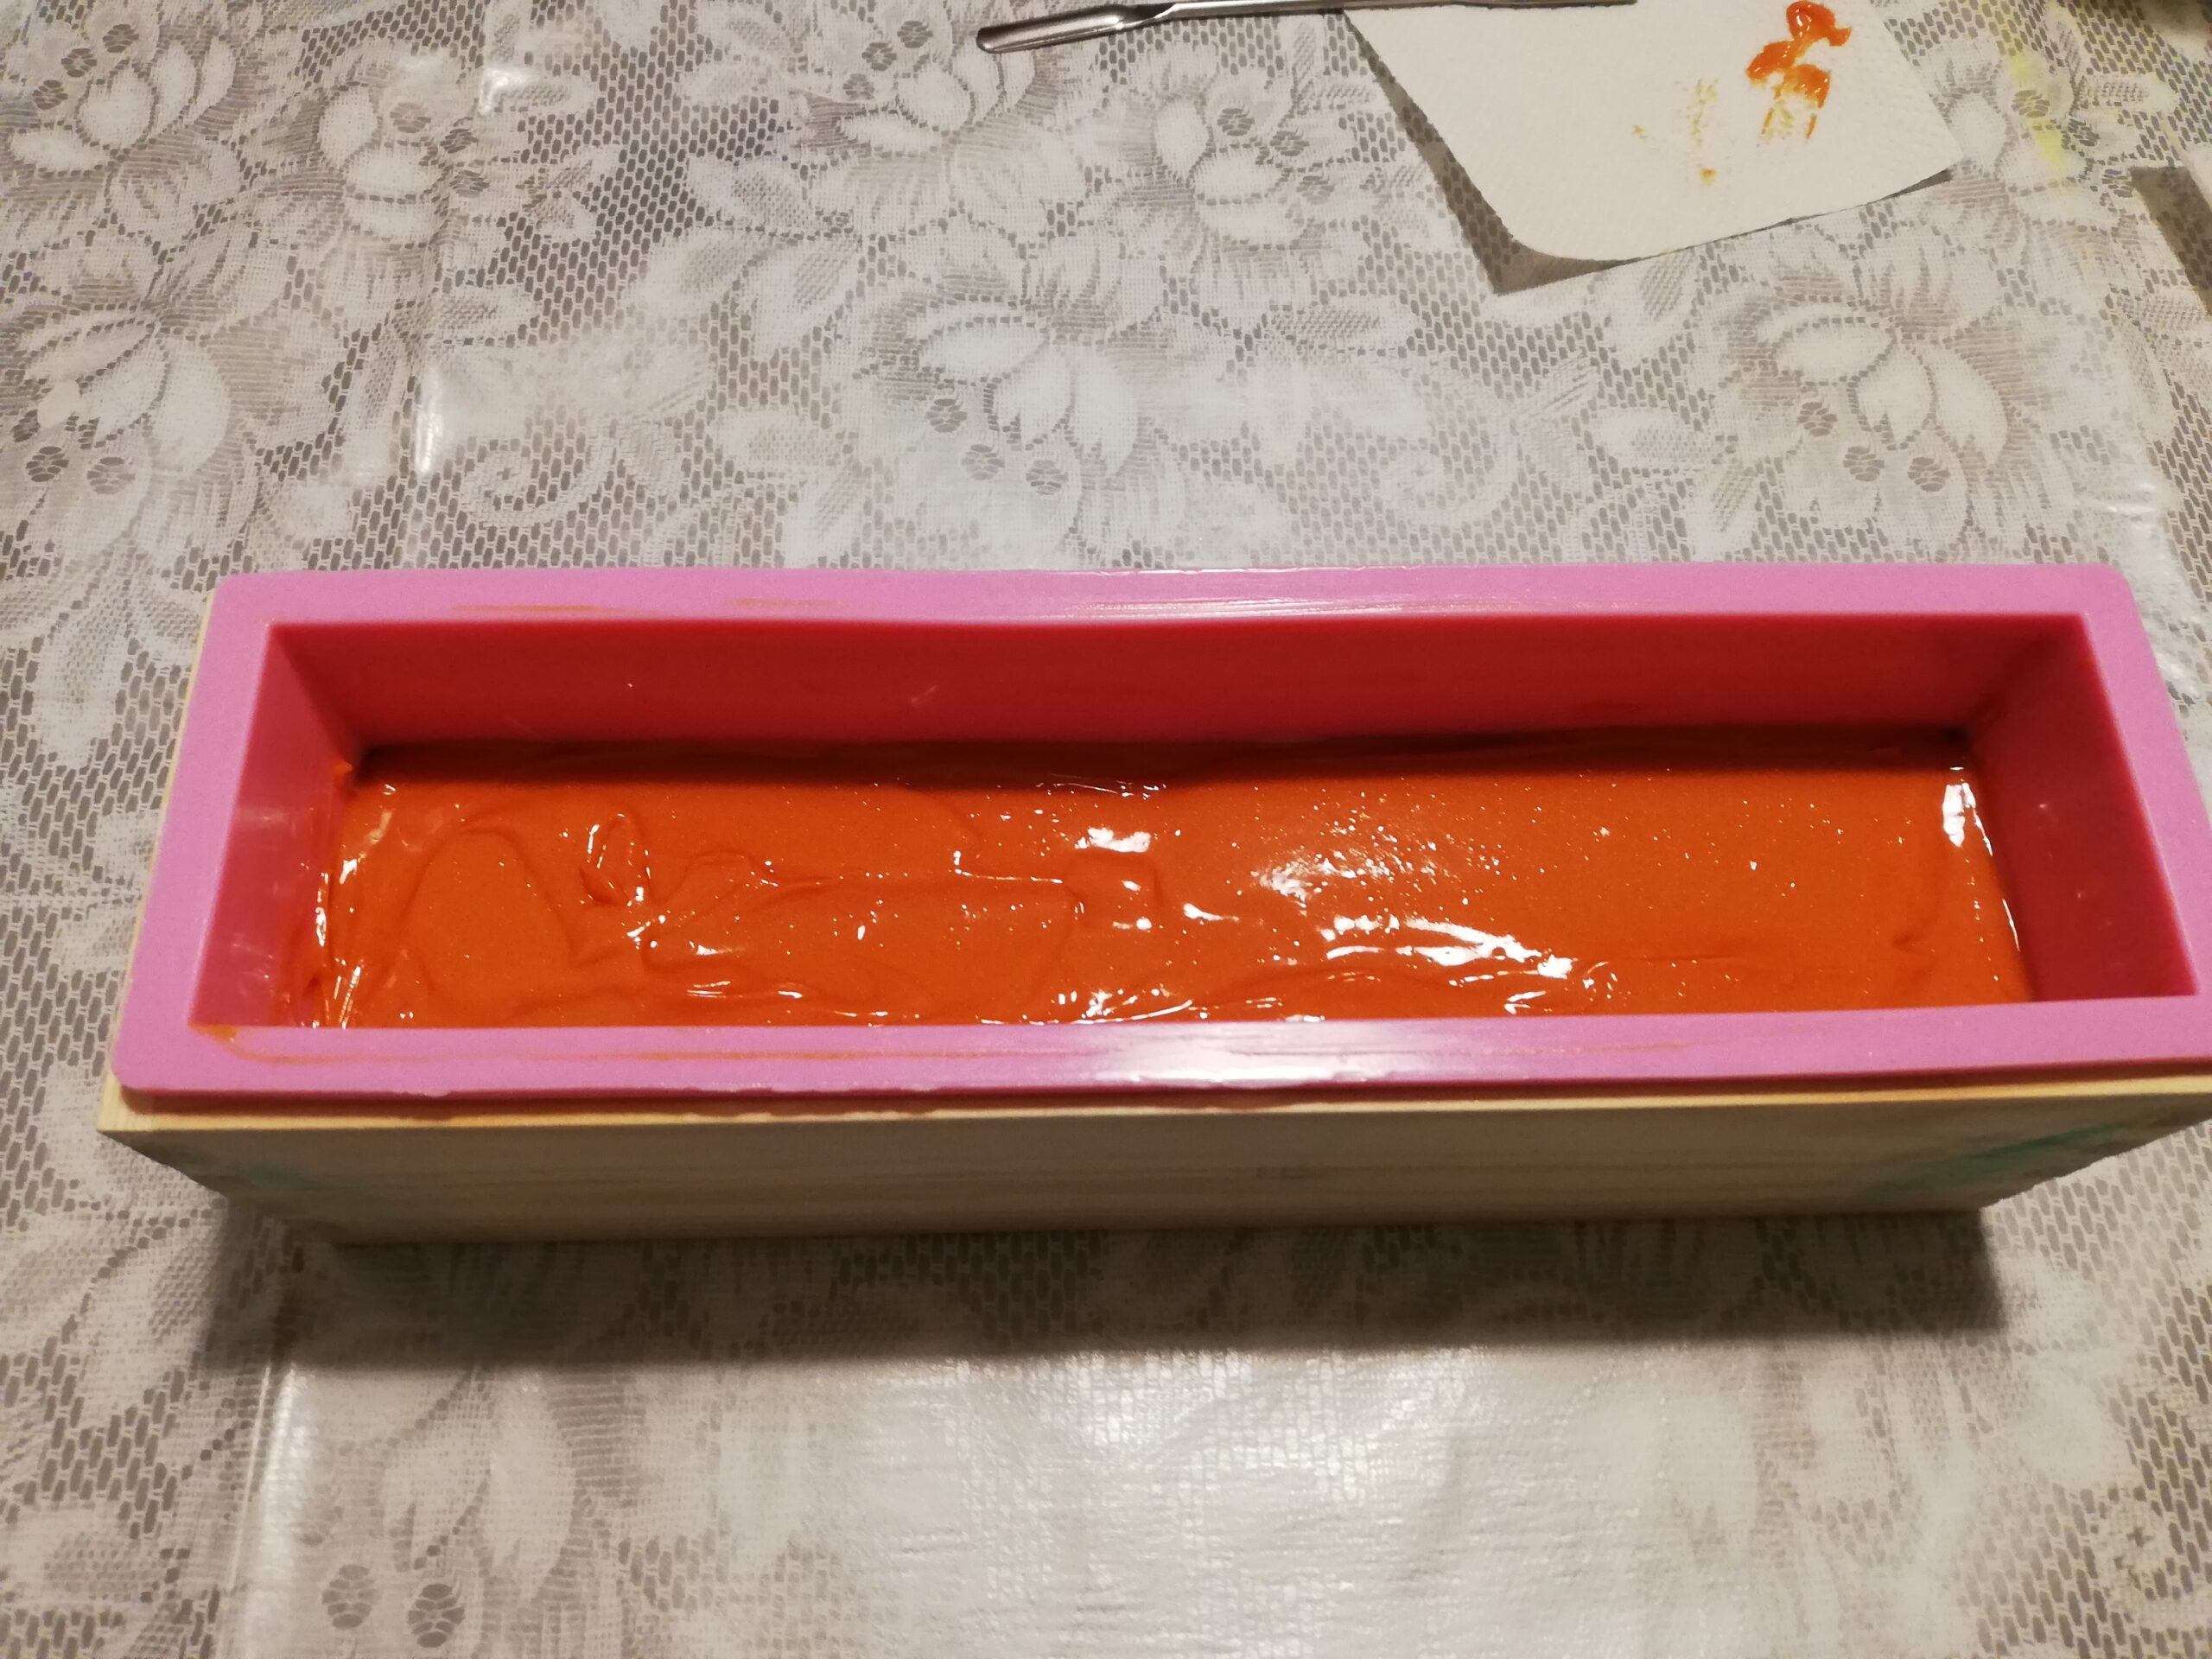
First, I poured the bigger portion of the white batter, then I poured the colors very carefully, layer after layer making sure the soap batter wouldn’t break through the previous layer. I don’t want to bore you with pictures of all the layers, though. I poured a thin layer of white on top before I did the swirl.
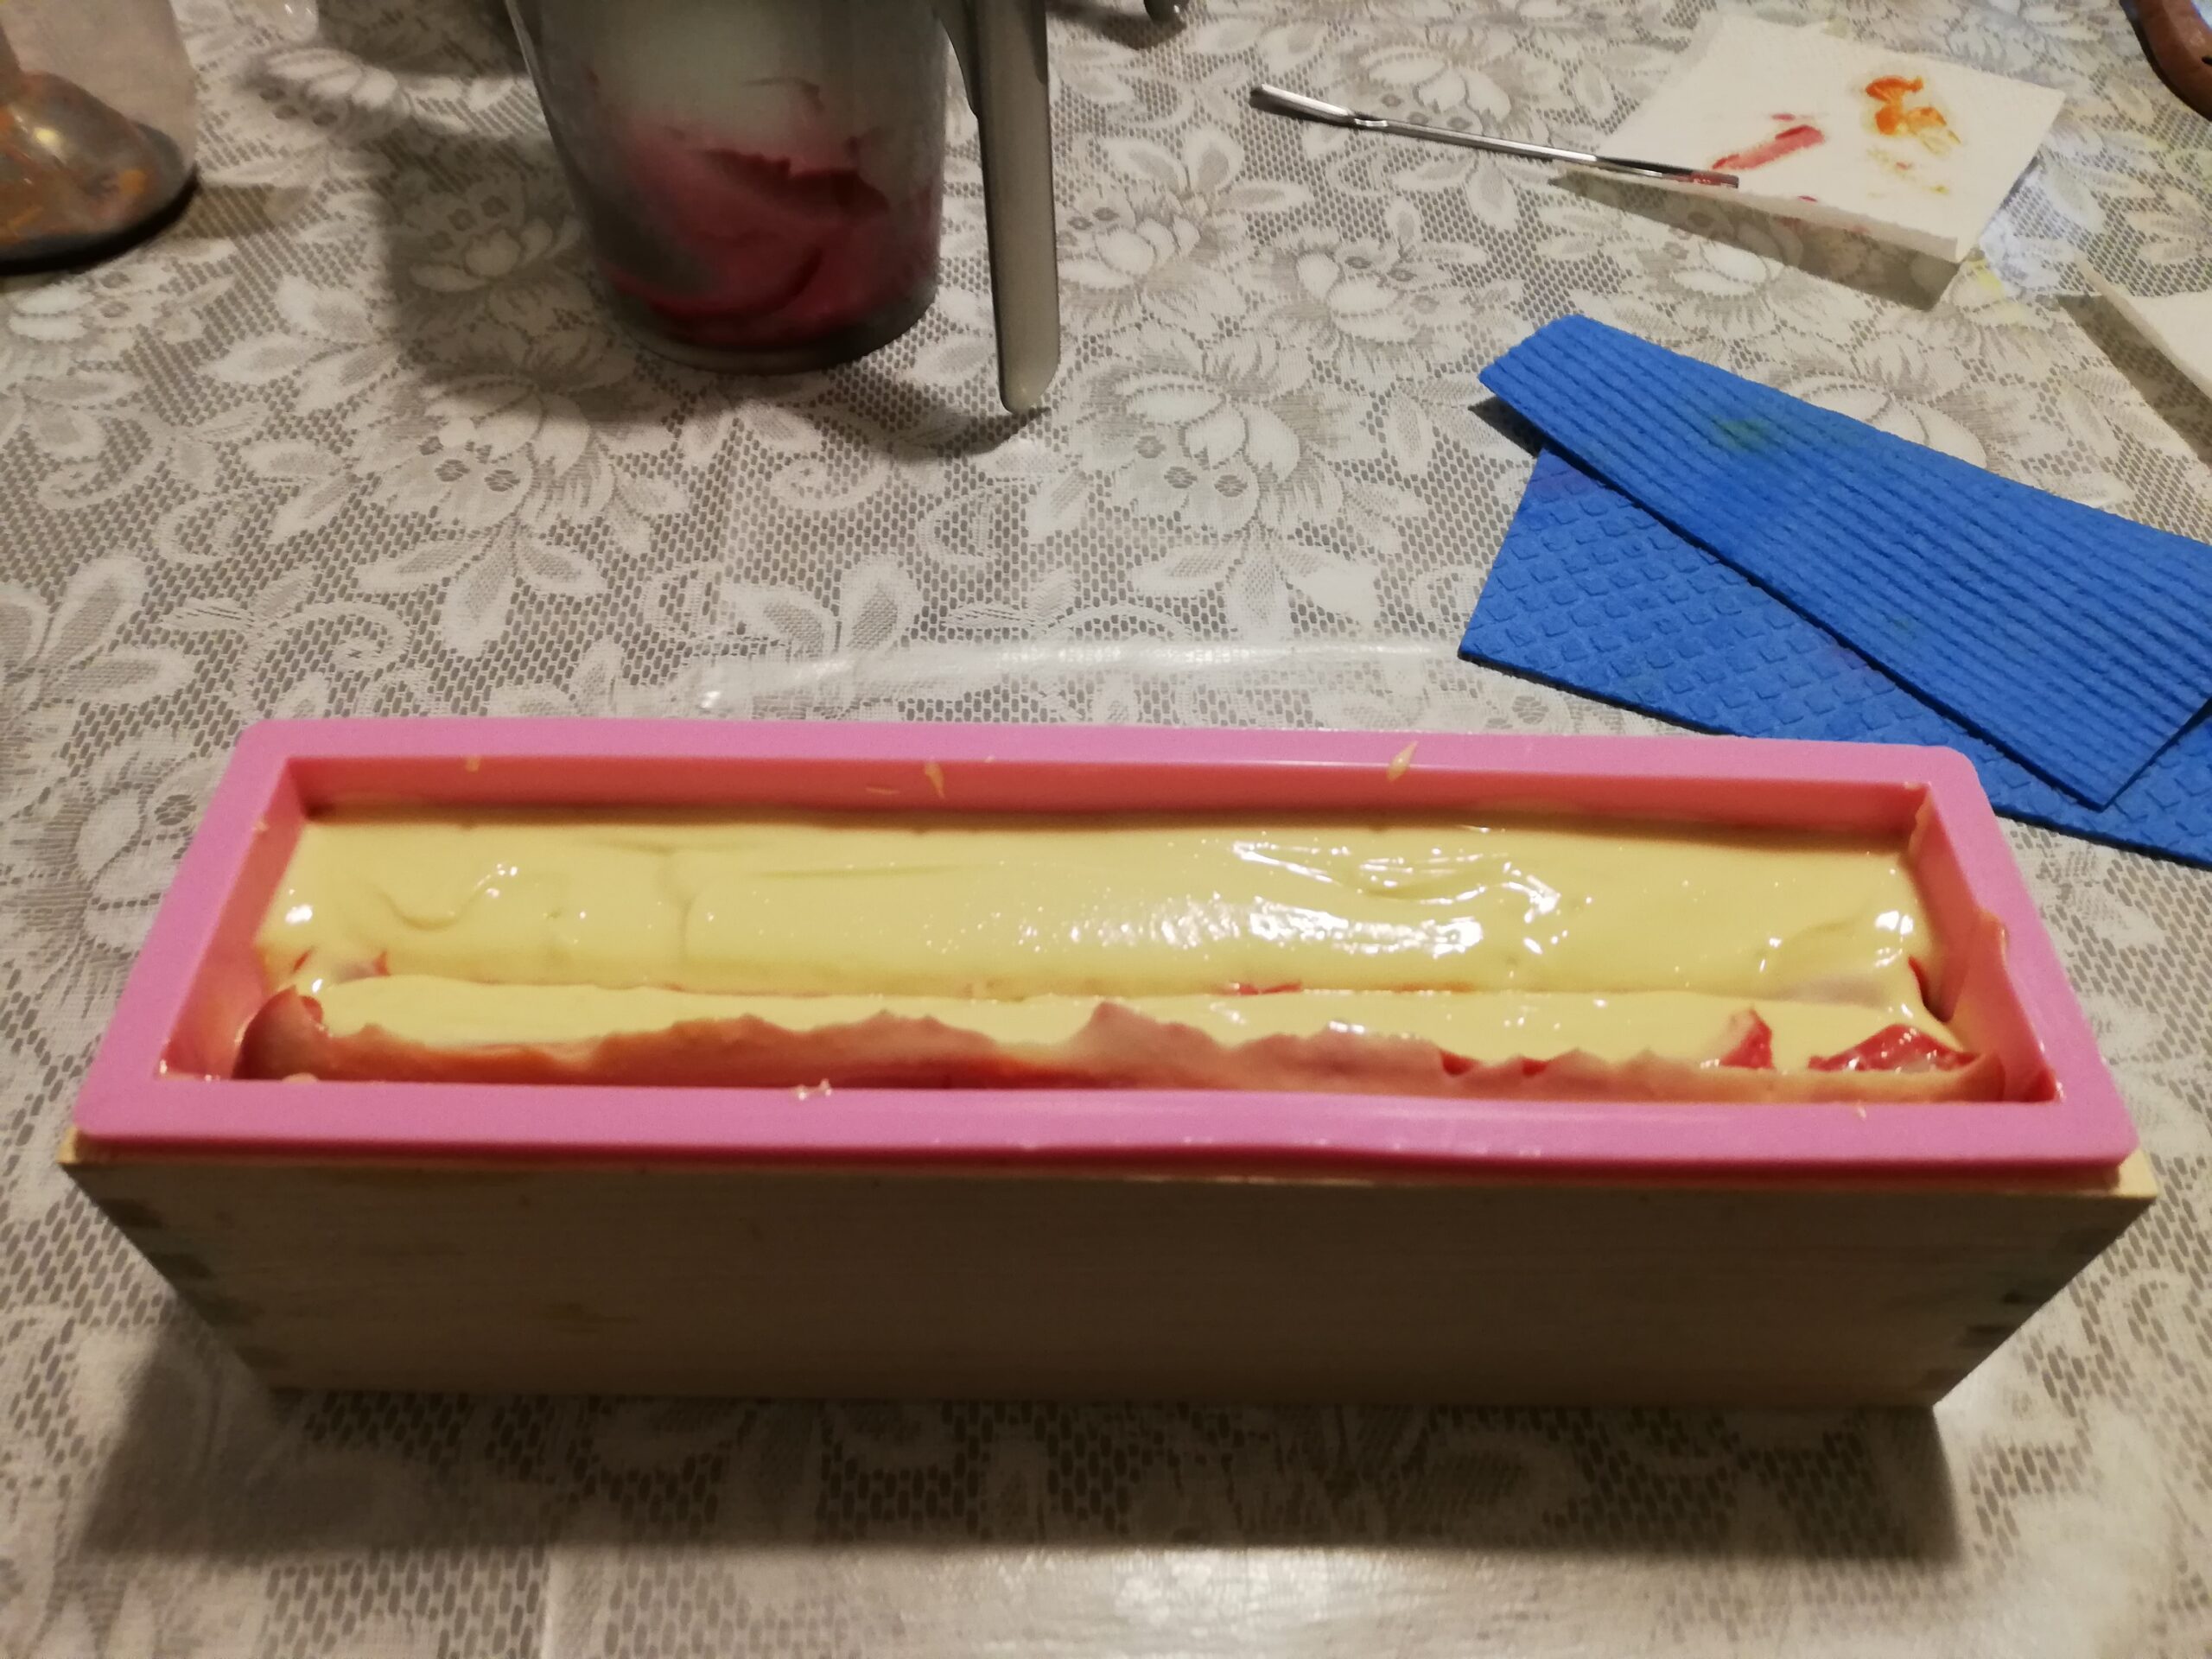
This is what the soap looked like immediately after swirling. As you can see, my batter had already thickened up considerably. The swirl itself was inspired by Ariane Arsenault’s Mermaid Tail Soaps. I took the hanger tool down through the middle, along the bottom and up one side twice (twice on the same side). The molds Ariane uses are much taller and I think the swirl works better in a taller mold. Mine is really small and only holds 970 g of soap batter.
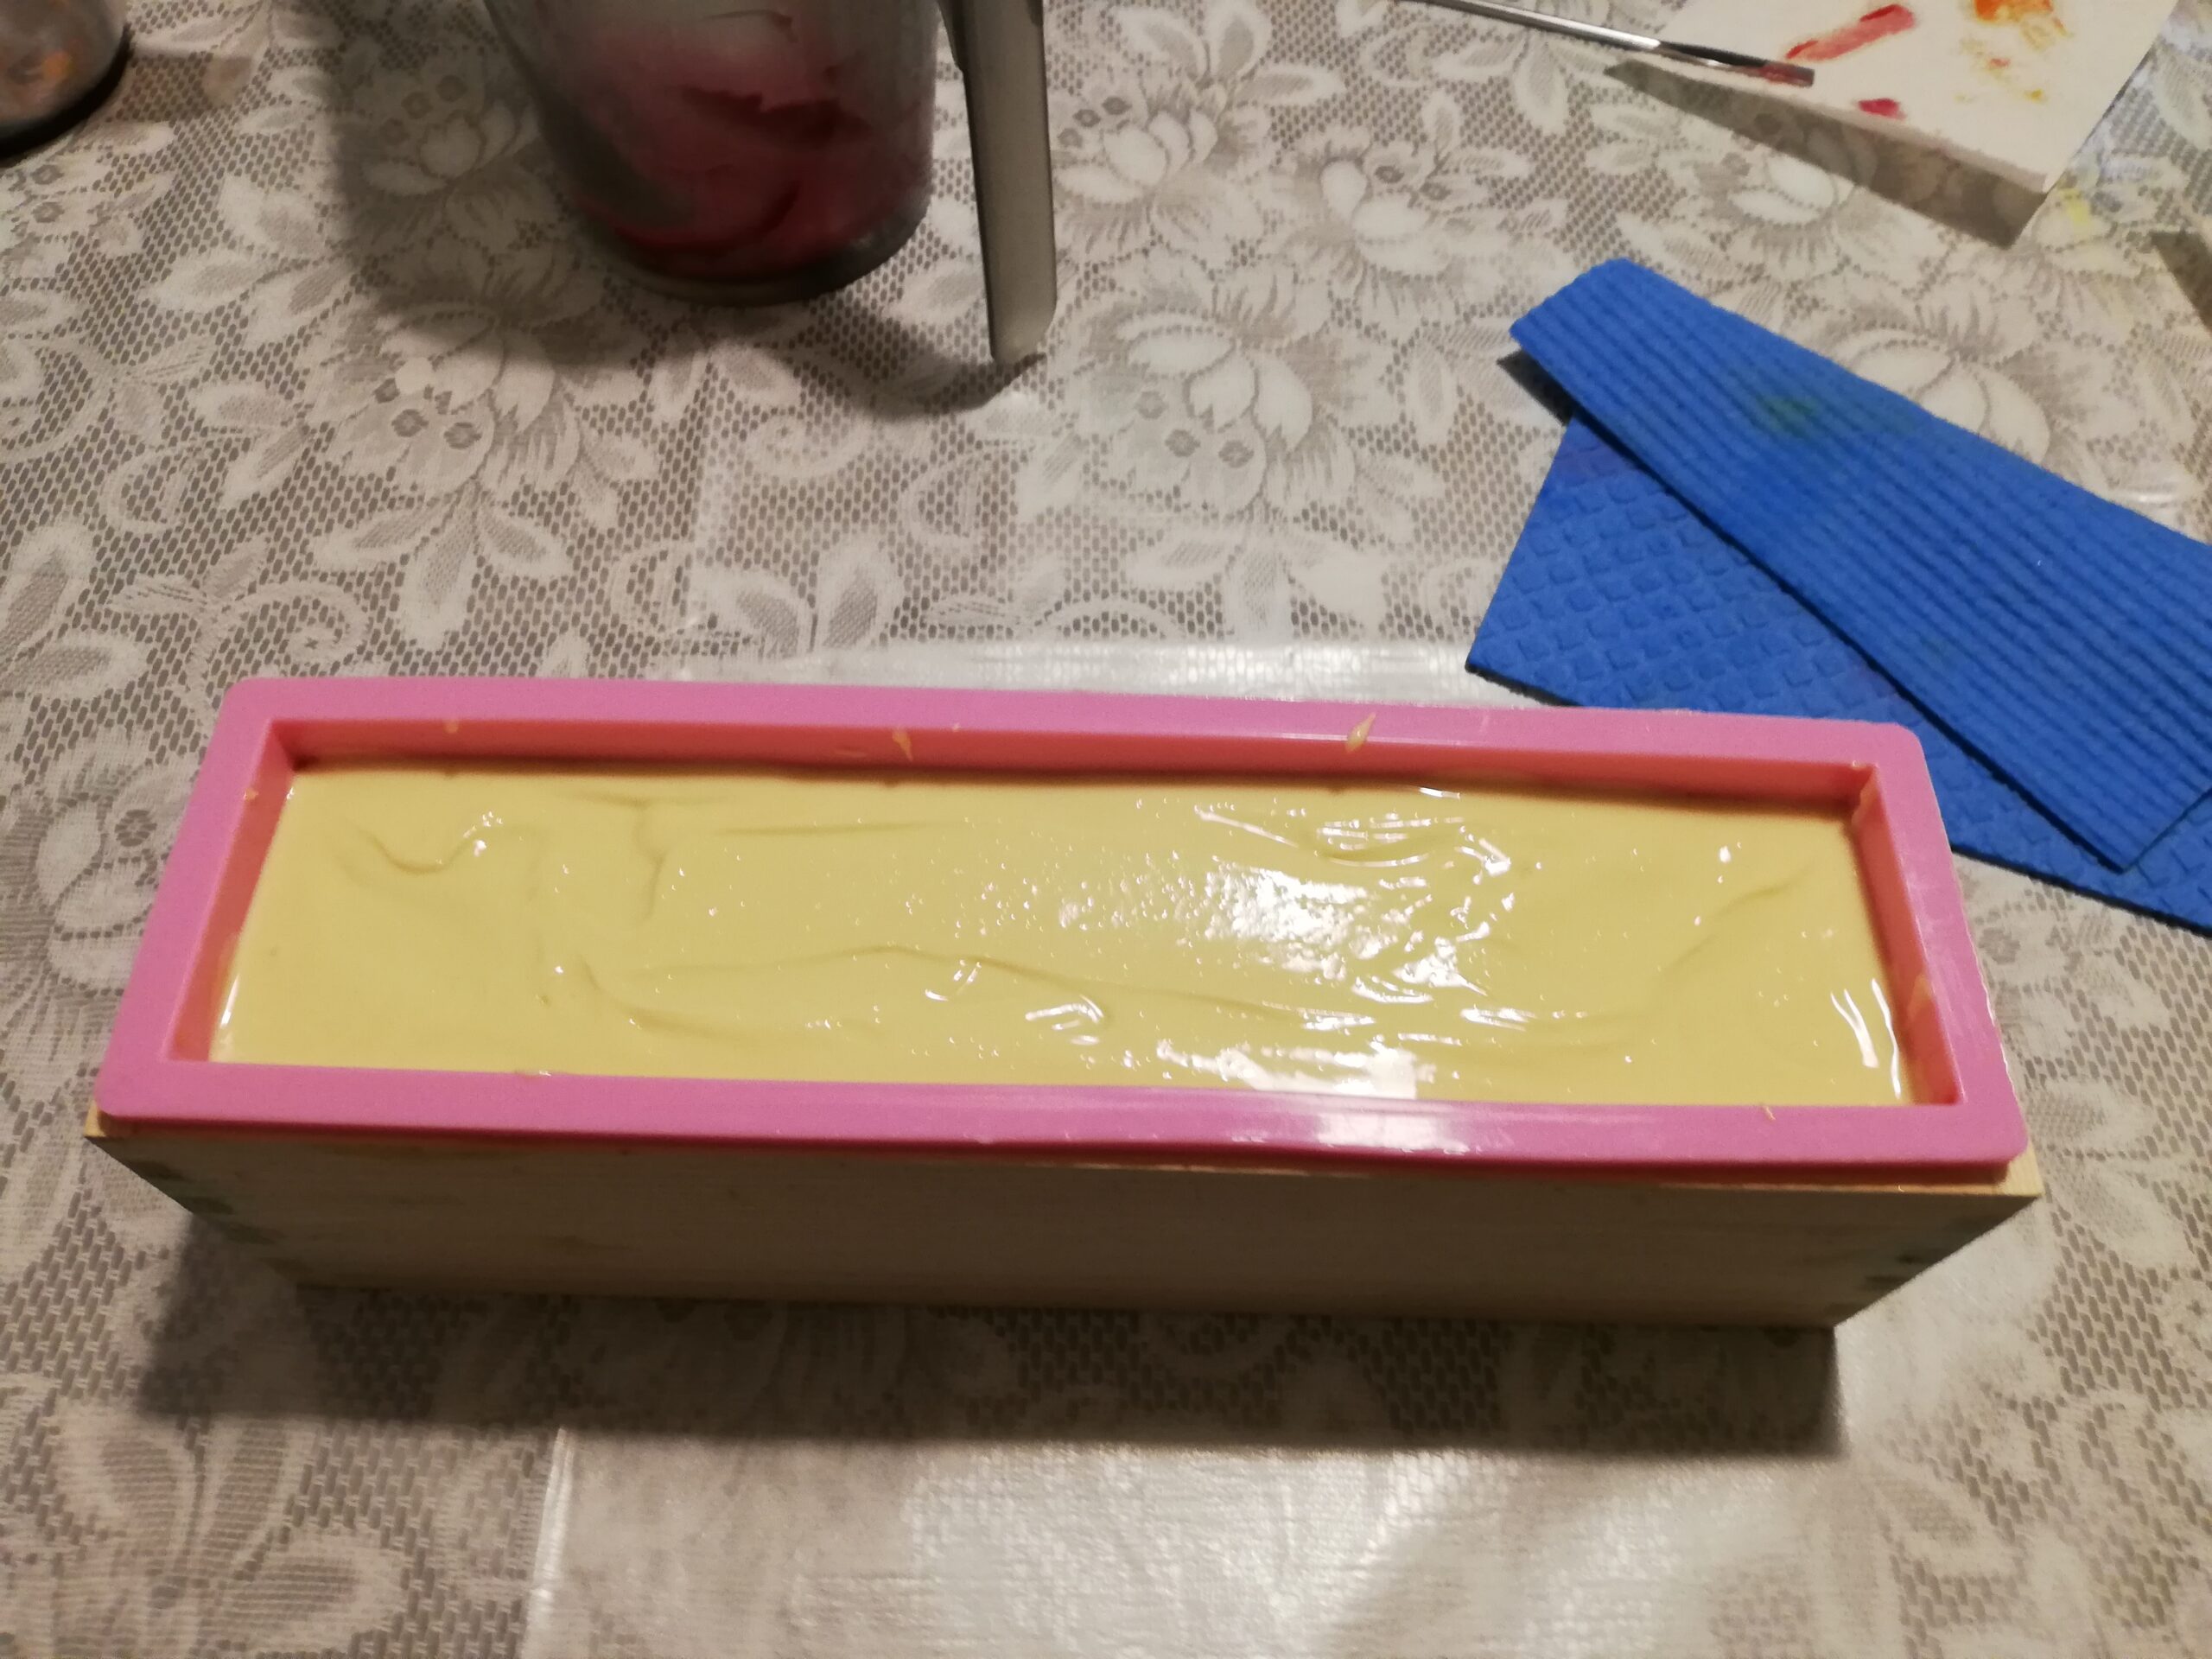
When the hanger swirl was done, I banged down the mold a few times and added another layer of white.
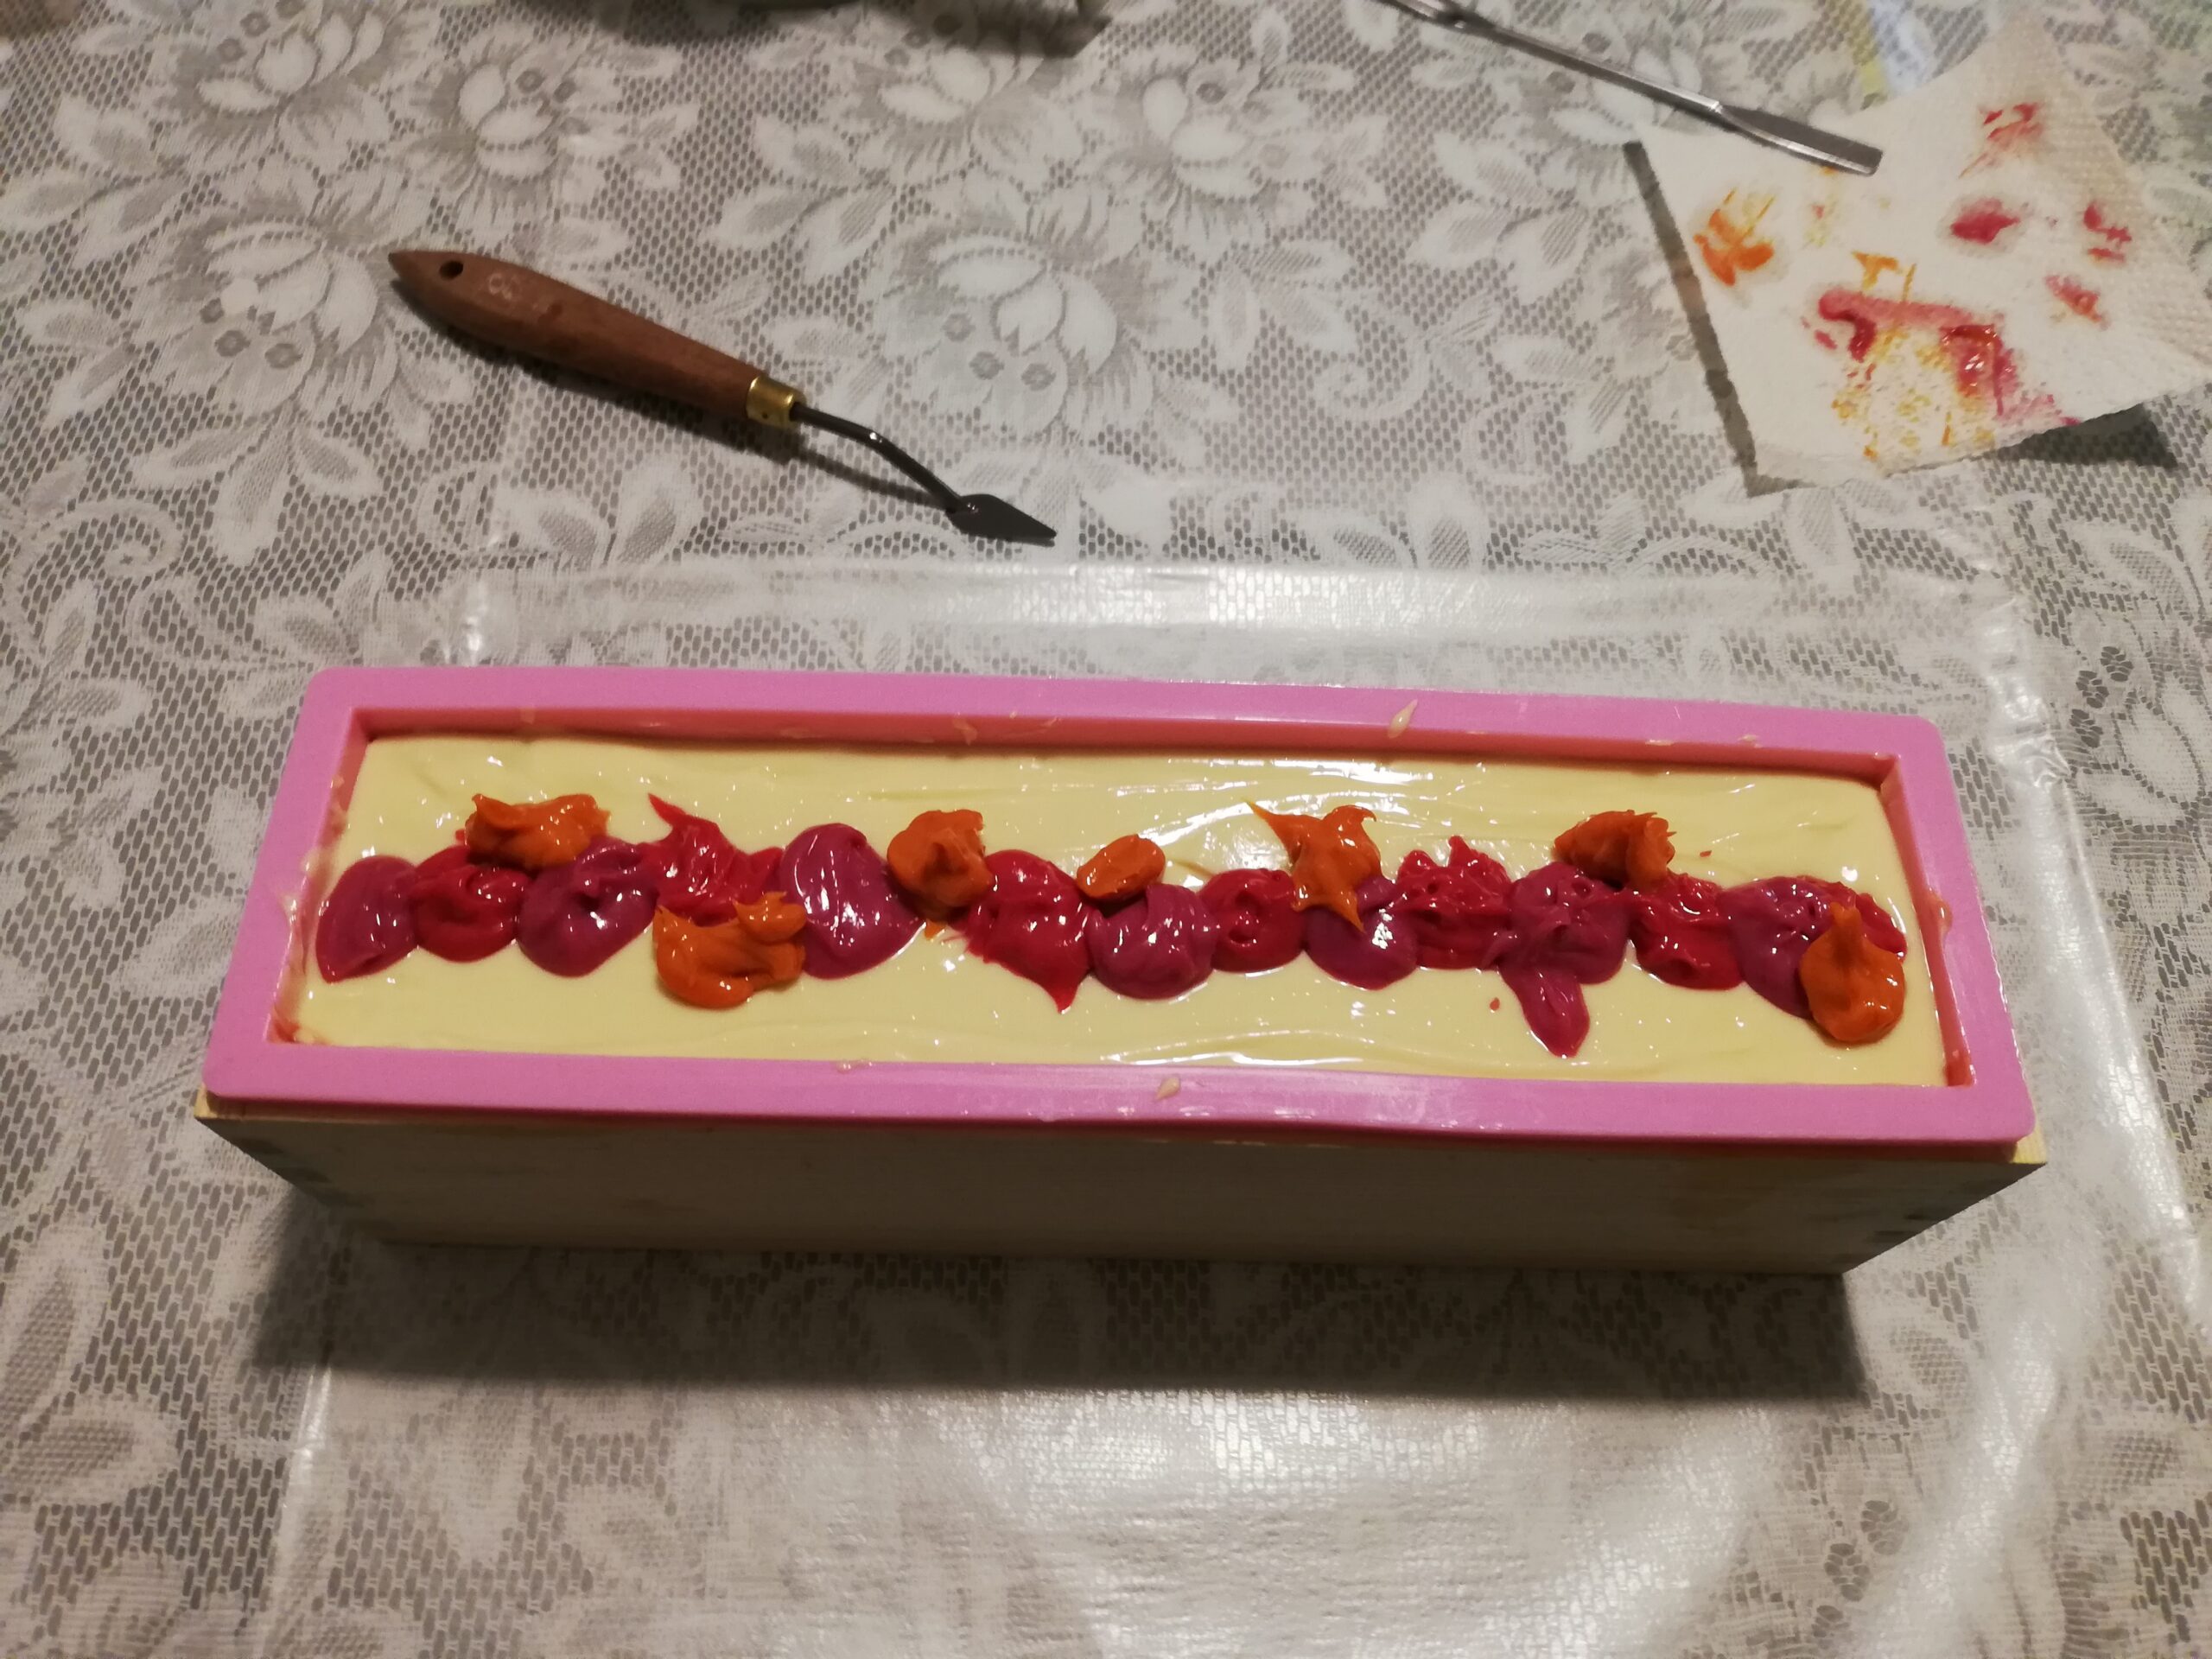
I scraped the remaining colored soap batter from the various containers to create a little skewer swirl on top.
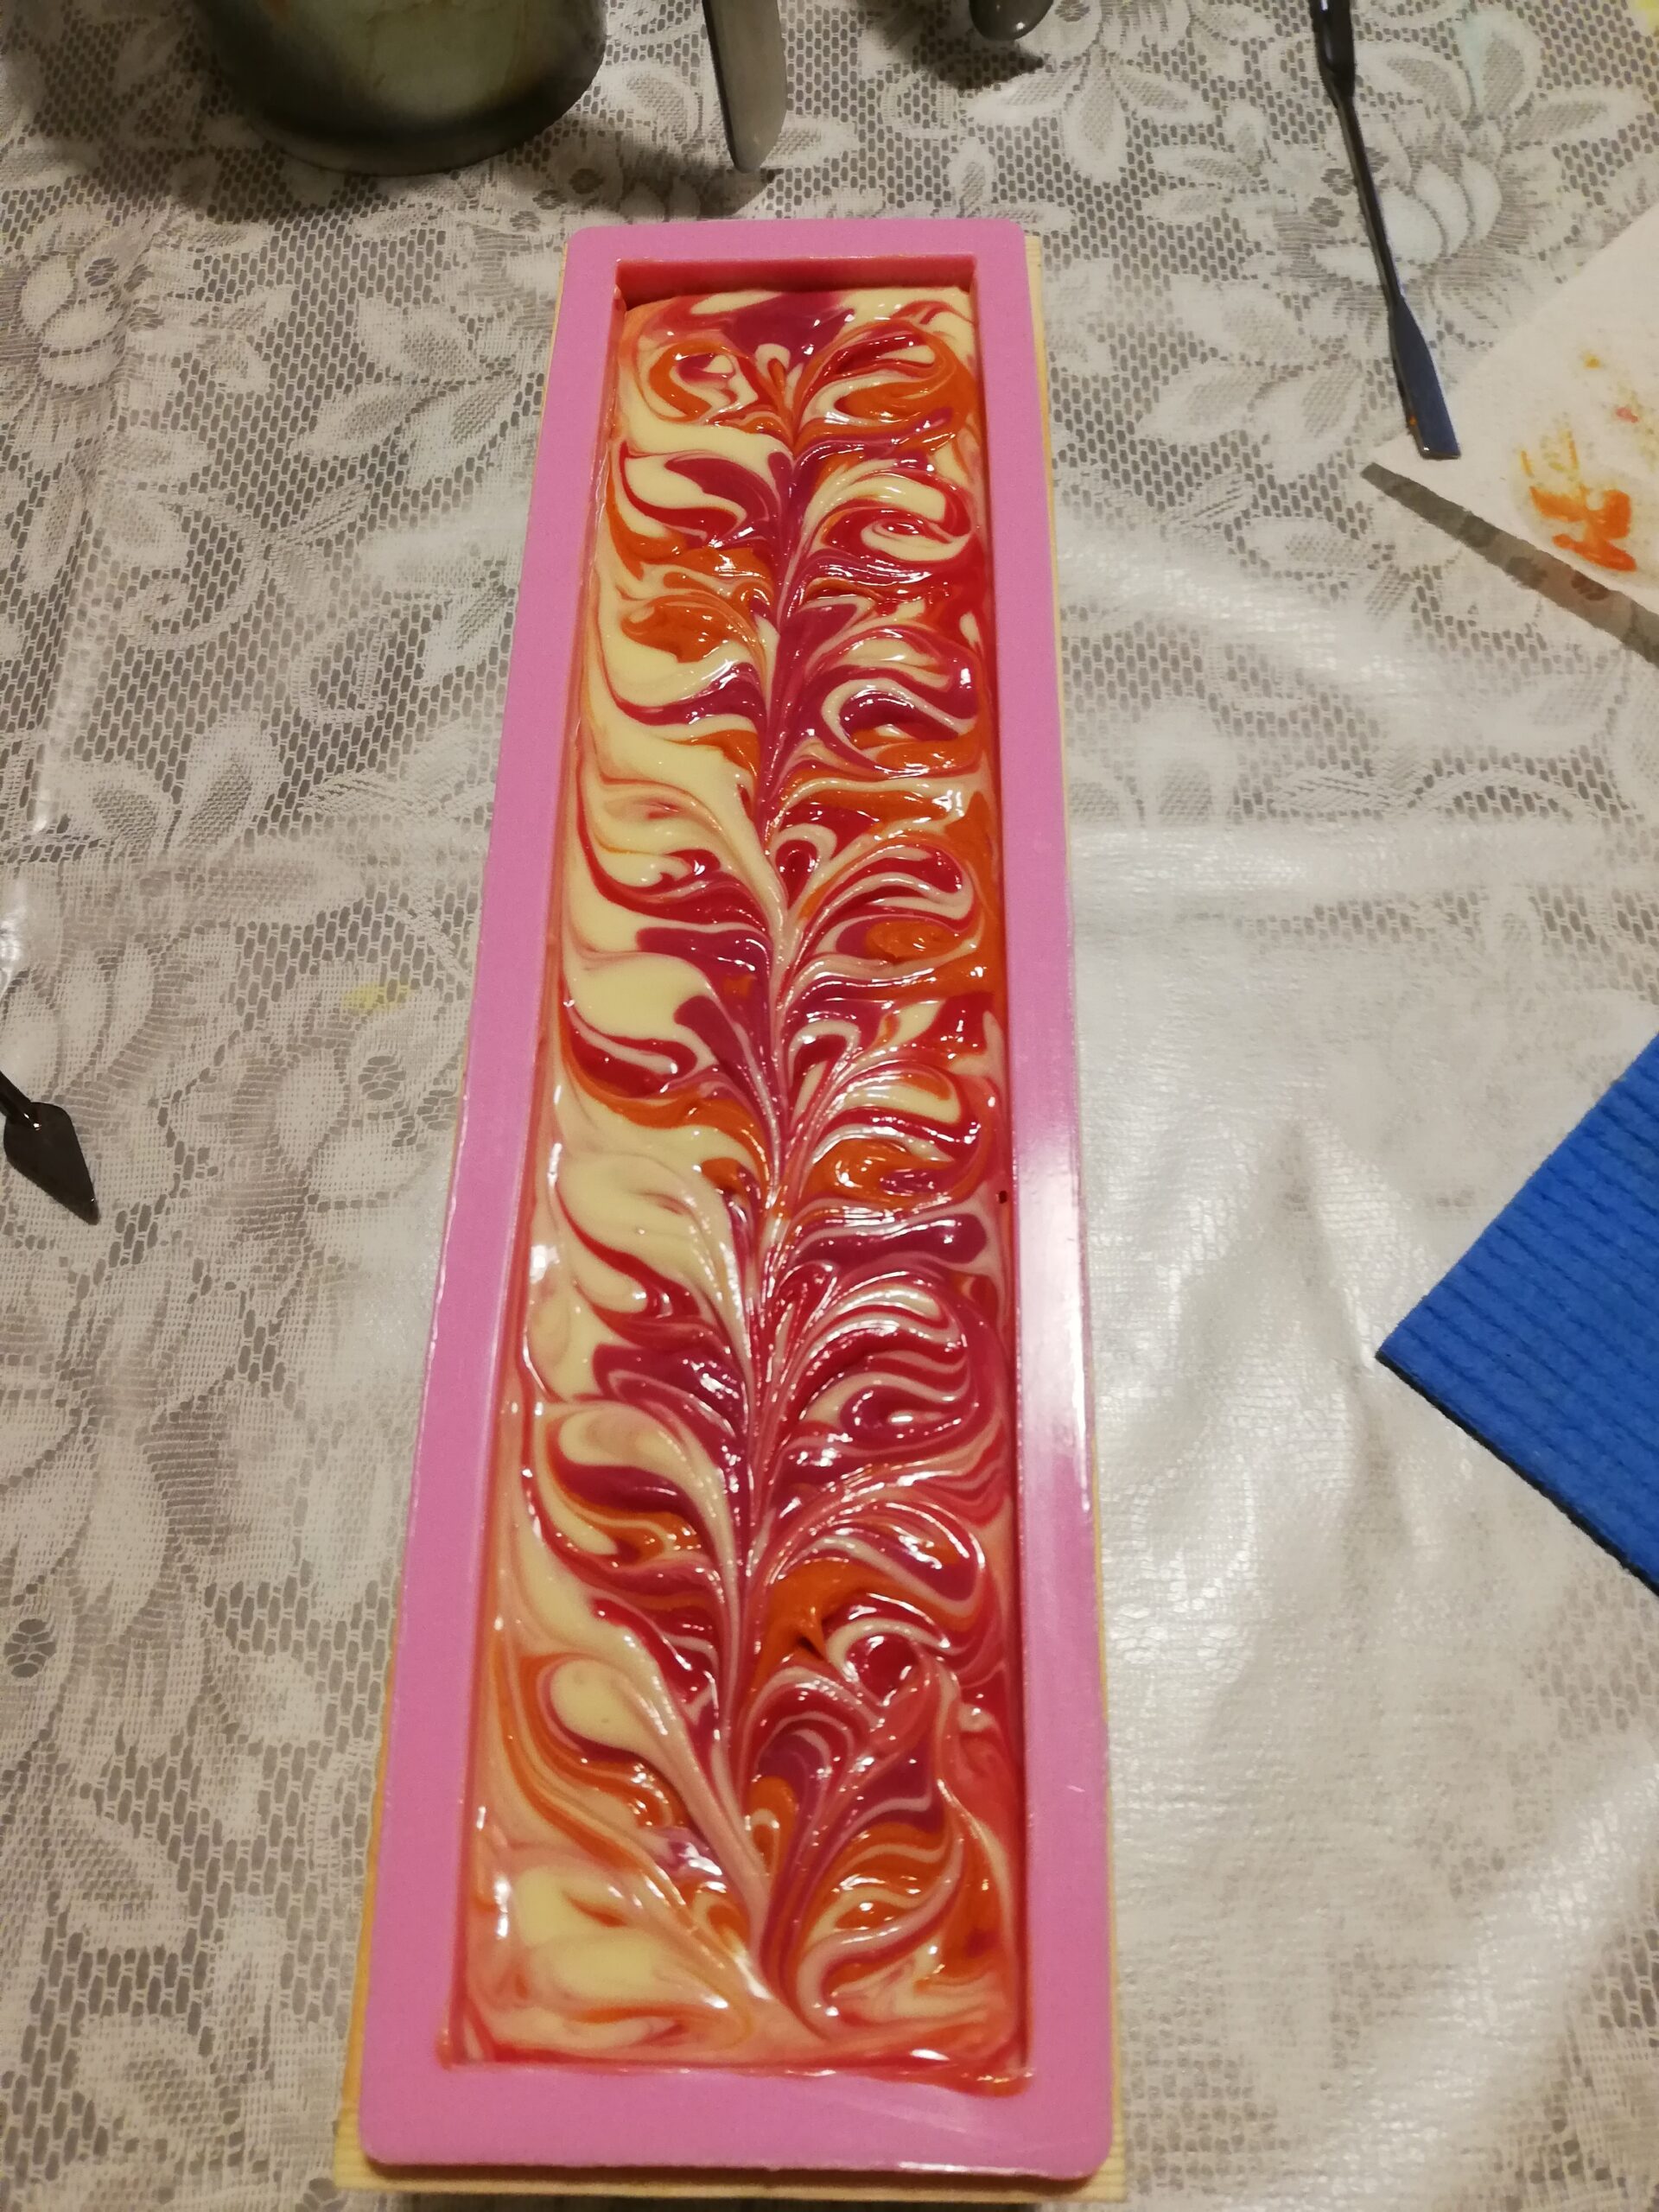
I used a skewer to draw figure-of-eight lines through the soap twice and left it at that since I didn’t want to overdo it. Since I wanted the soap to go through gel phase, I covered the soap and put it in the pre-heated oven at 50° C, turned the oven off after a while, and just left the soap in the oven as it was without wrapping it.
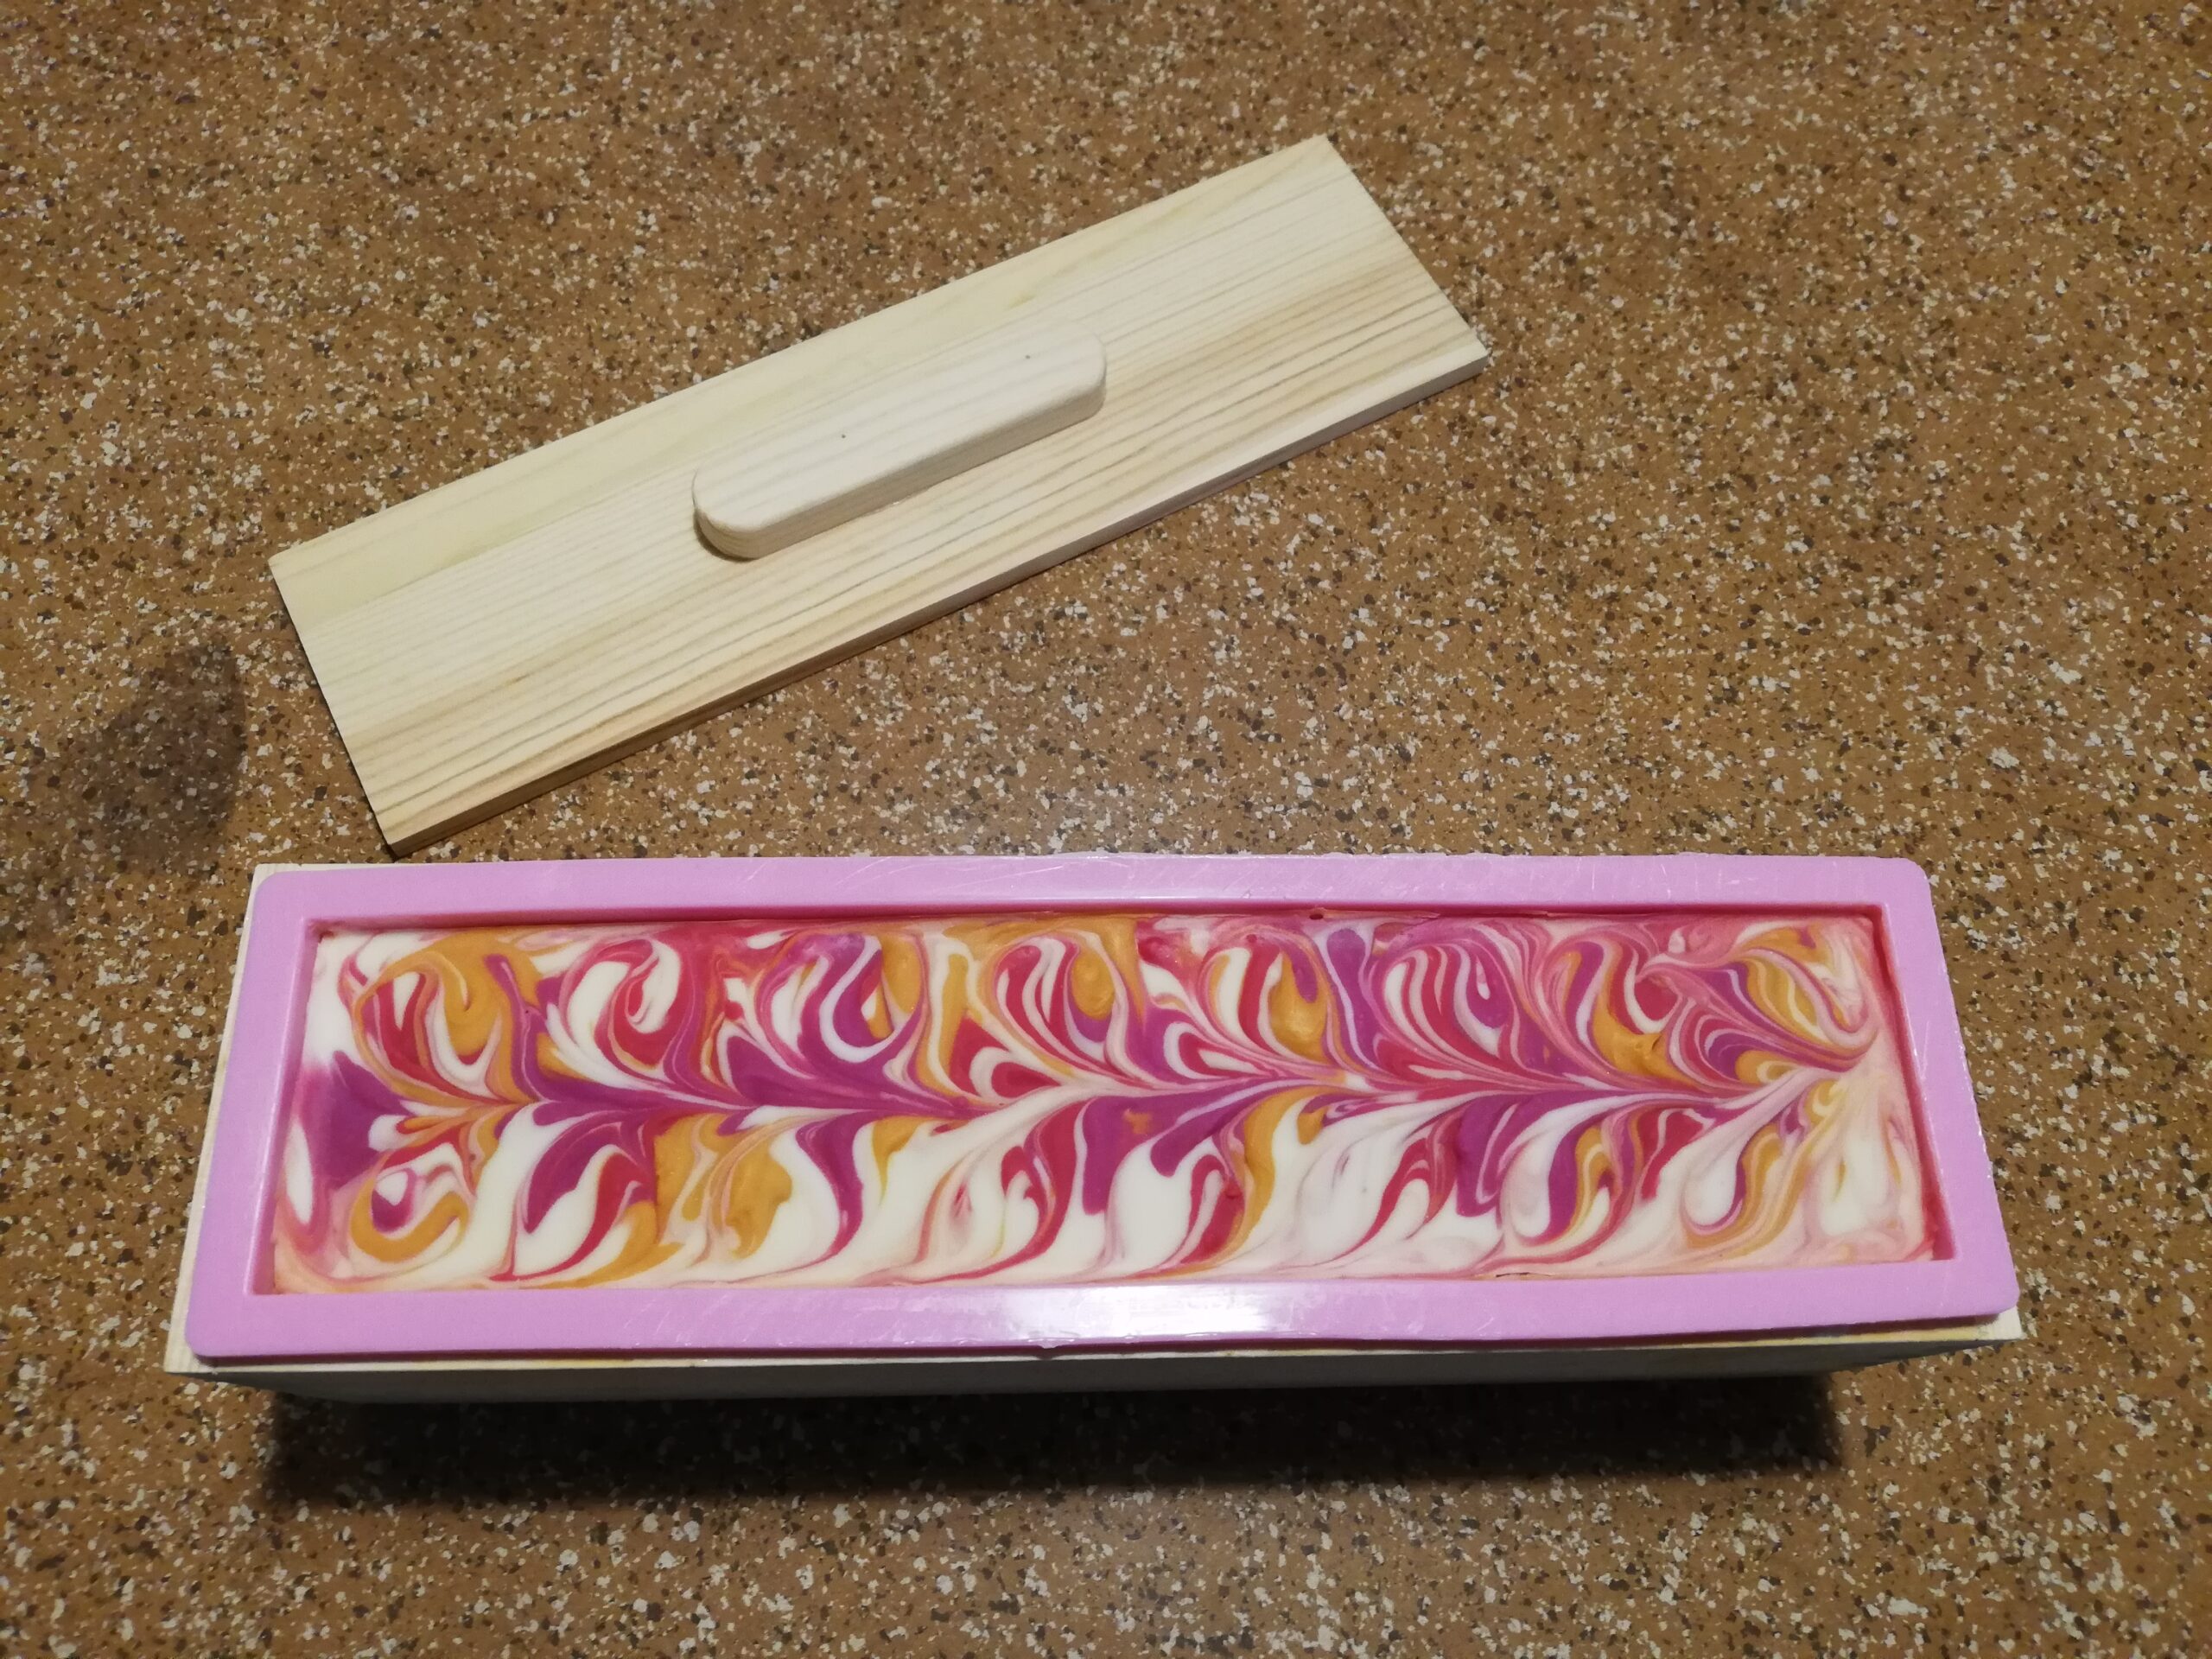
When I took it out the next day to uncover it, this was what it looked like.
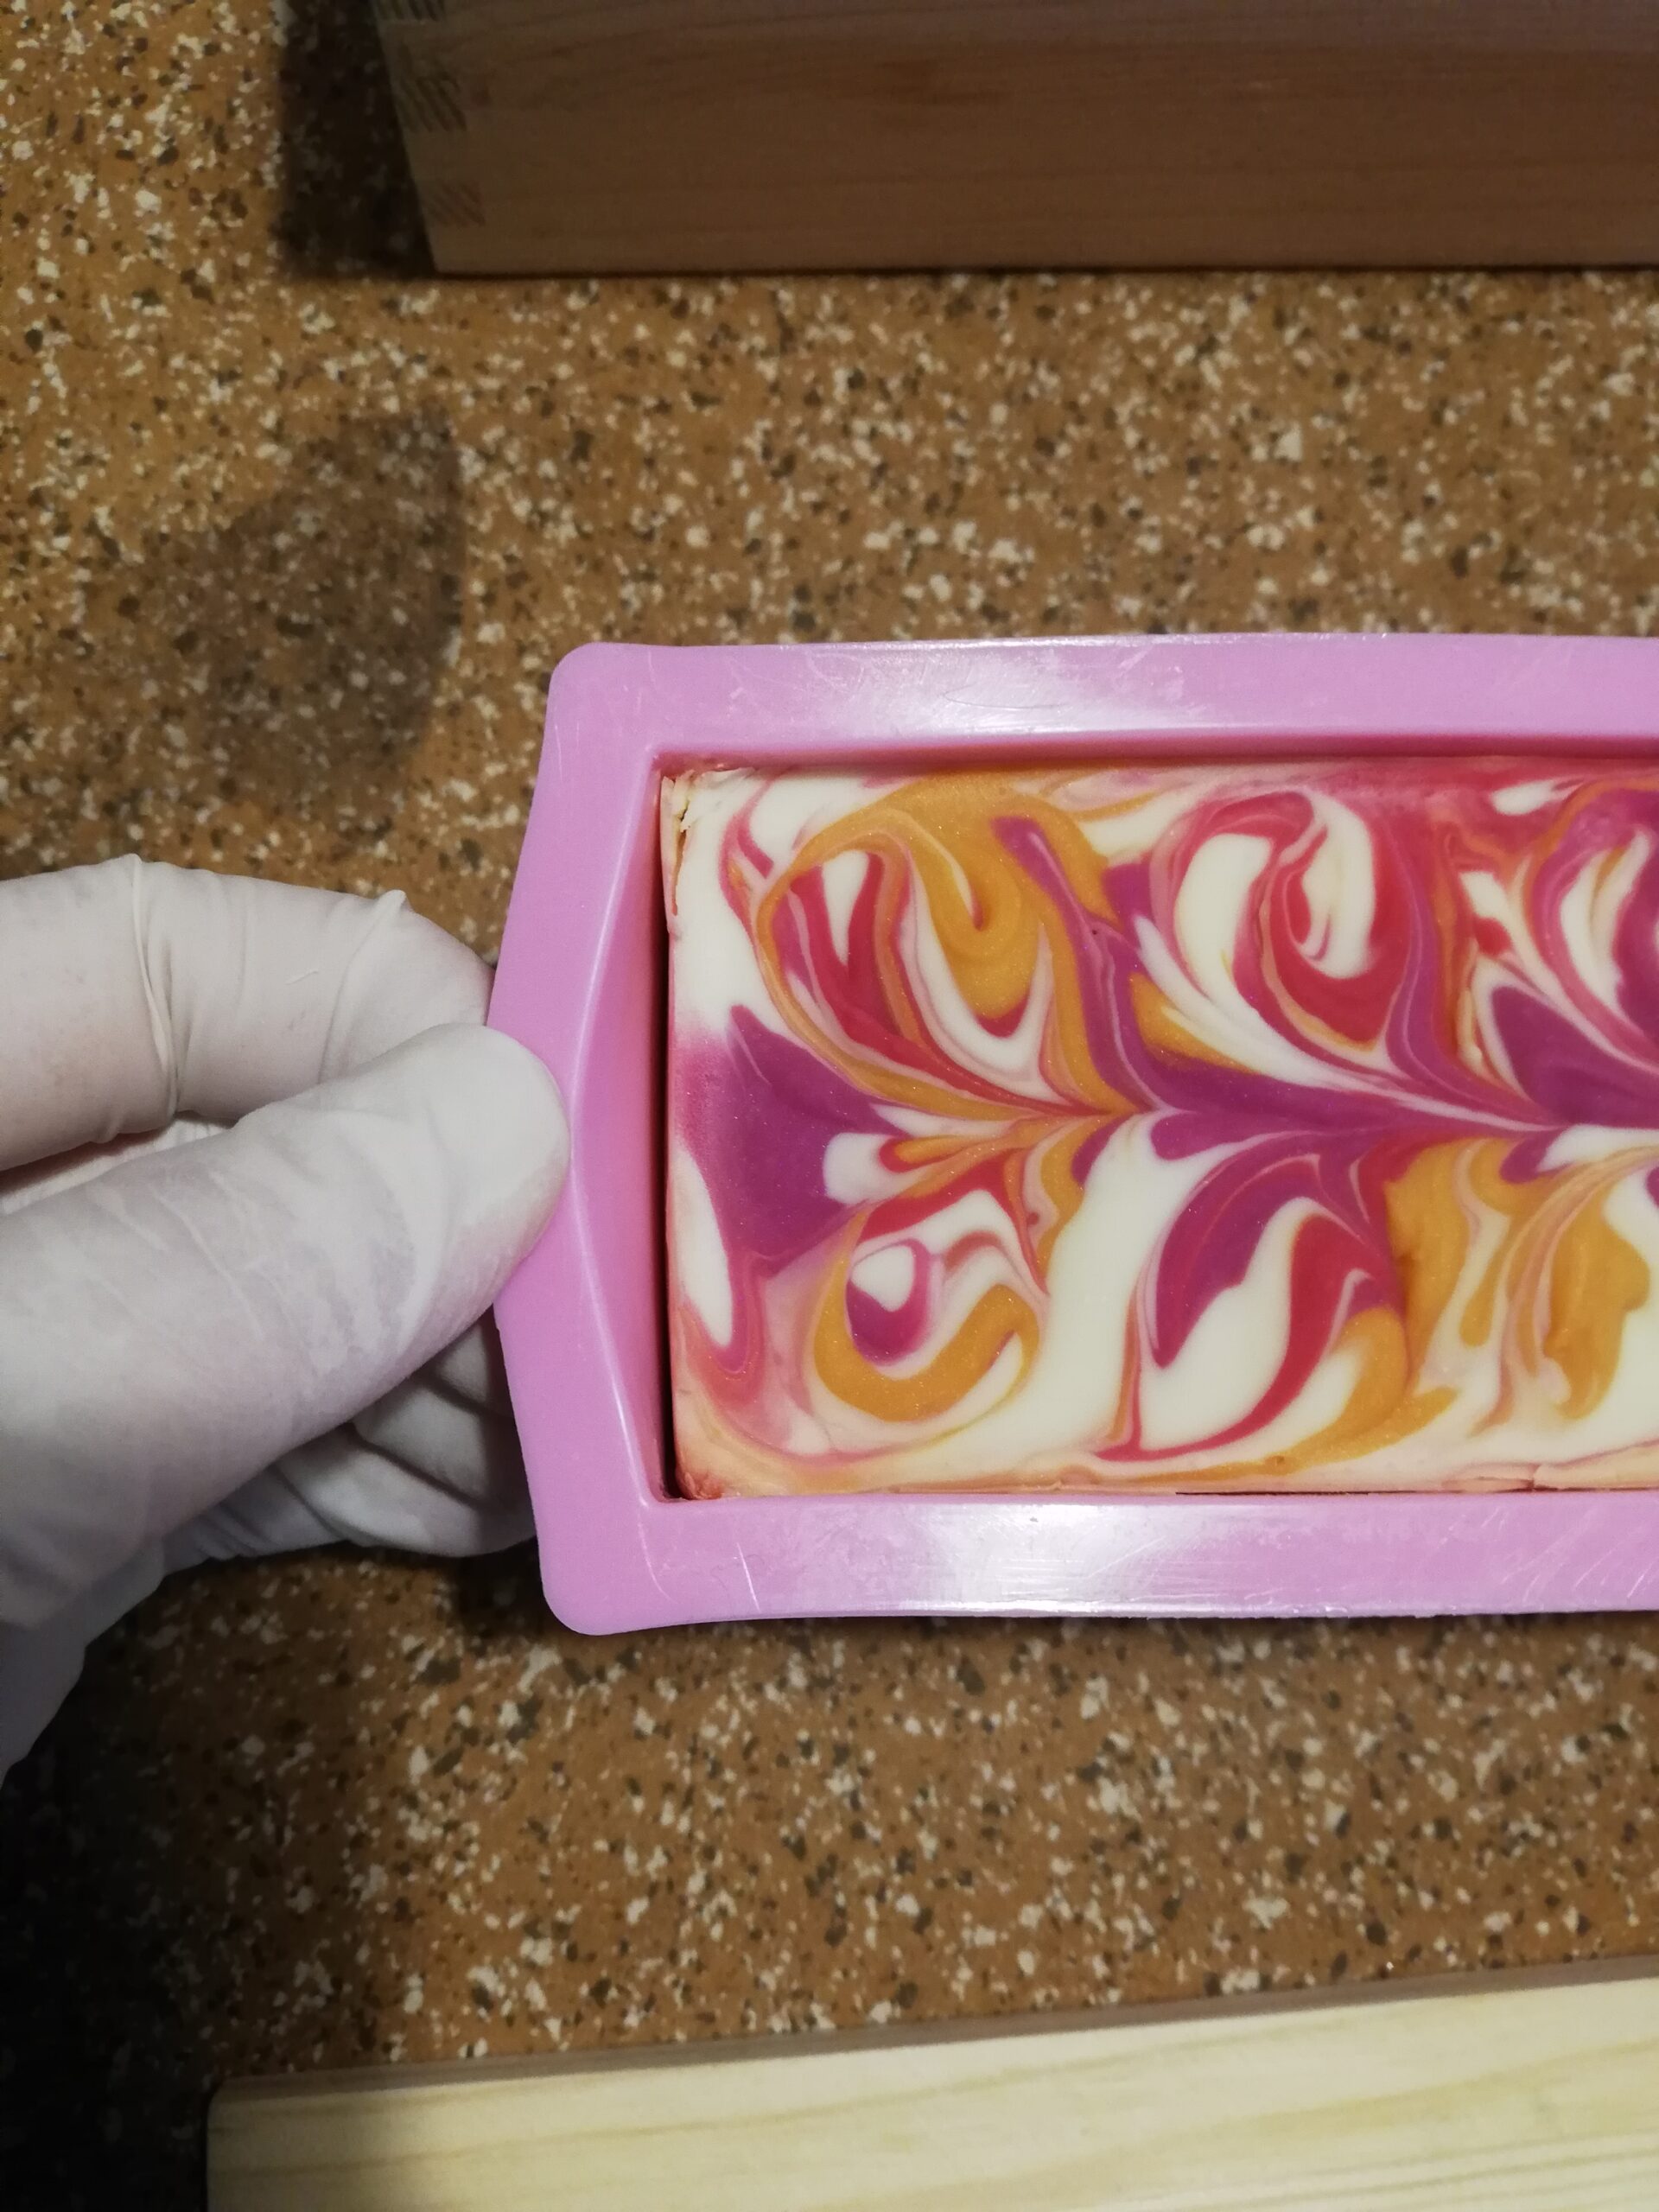
I waited another day before I finally unmolded the soap. You can see that the sodium lactate, of which I probably used too much, helped to get a clean, hard surface.
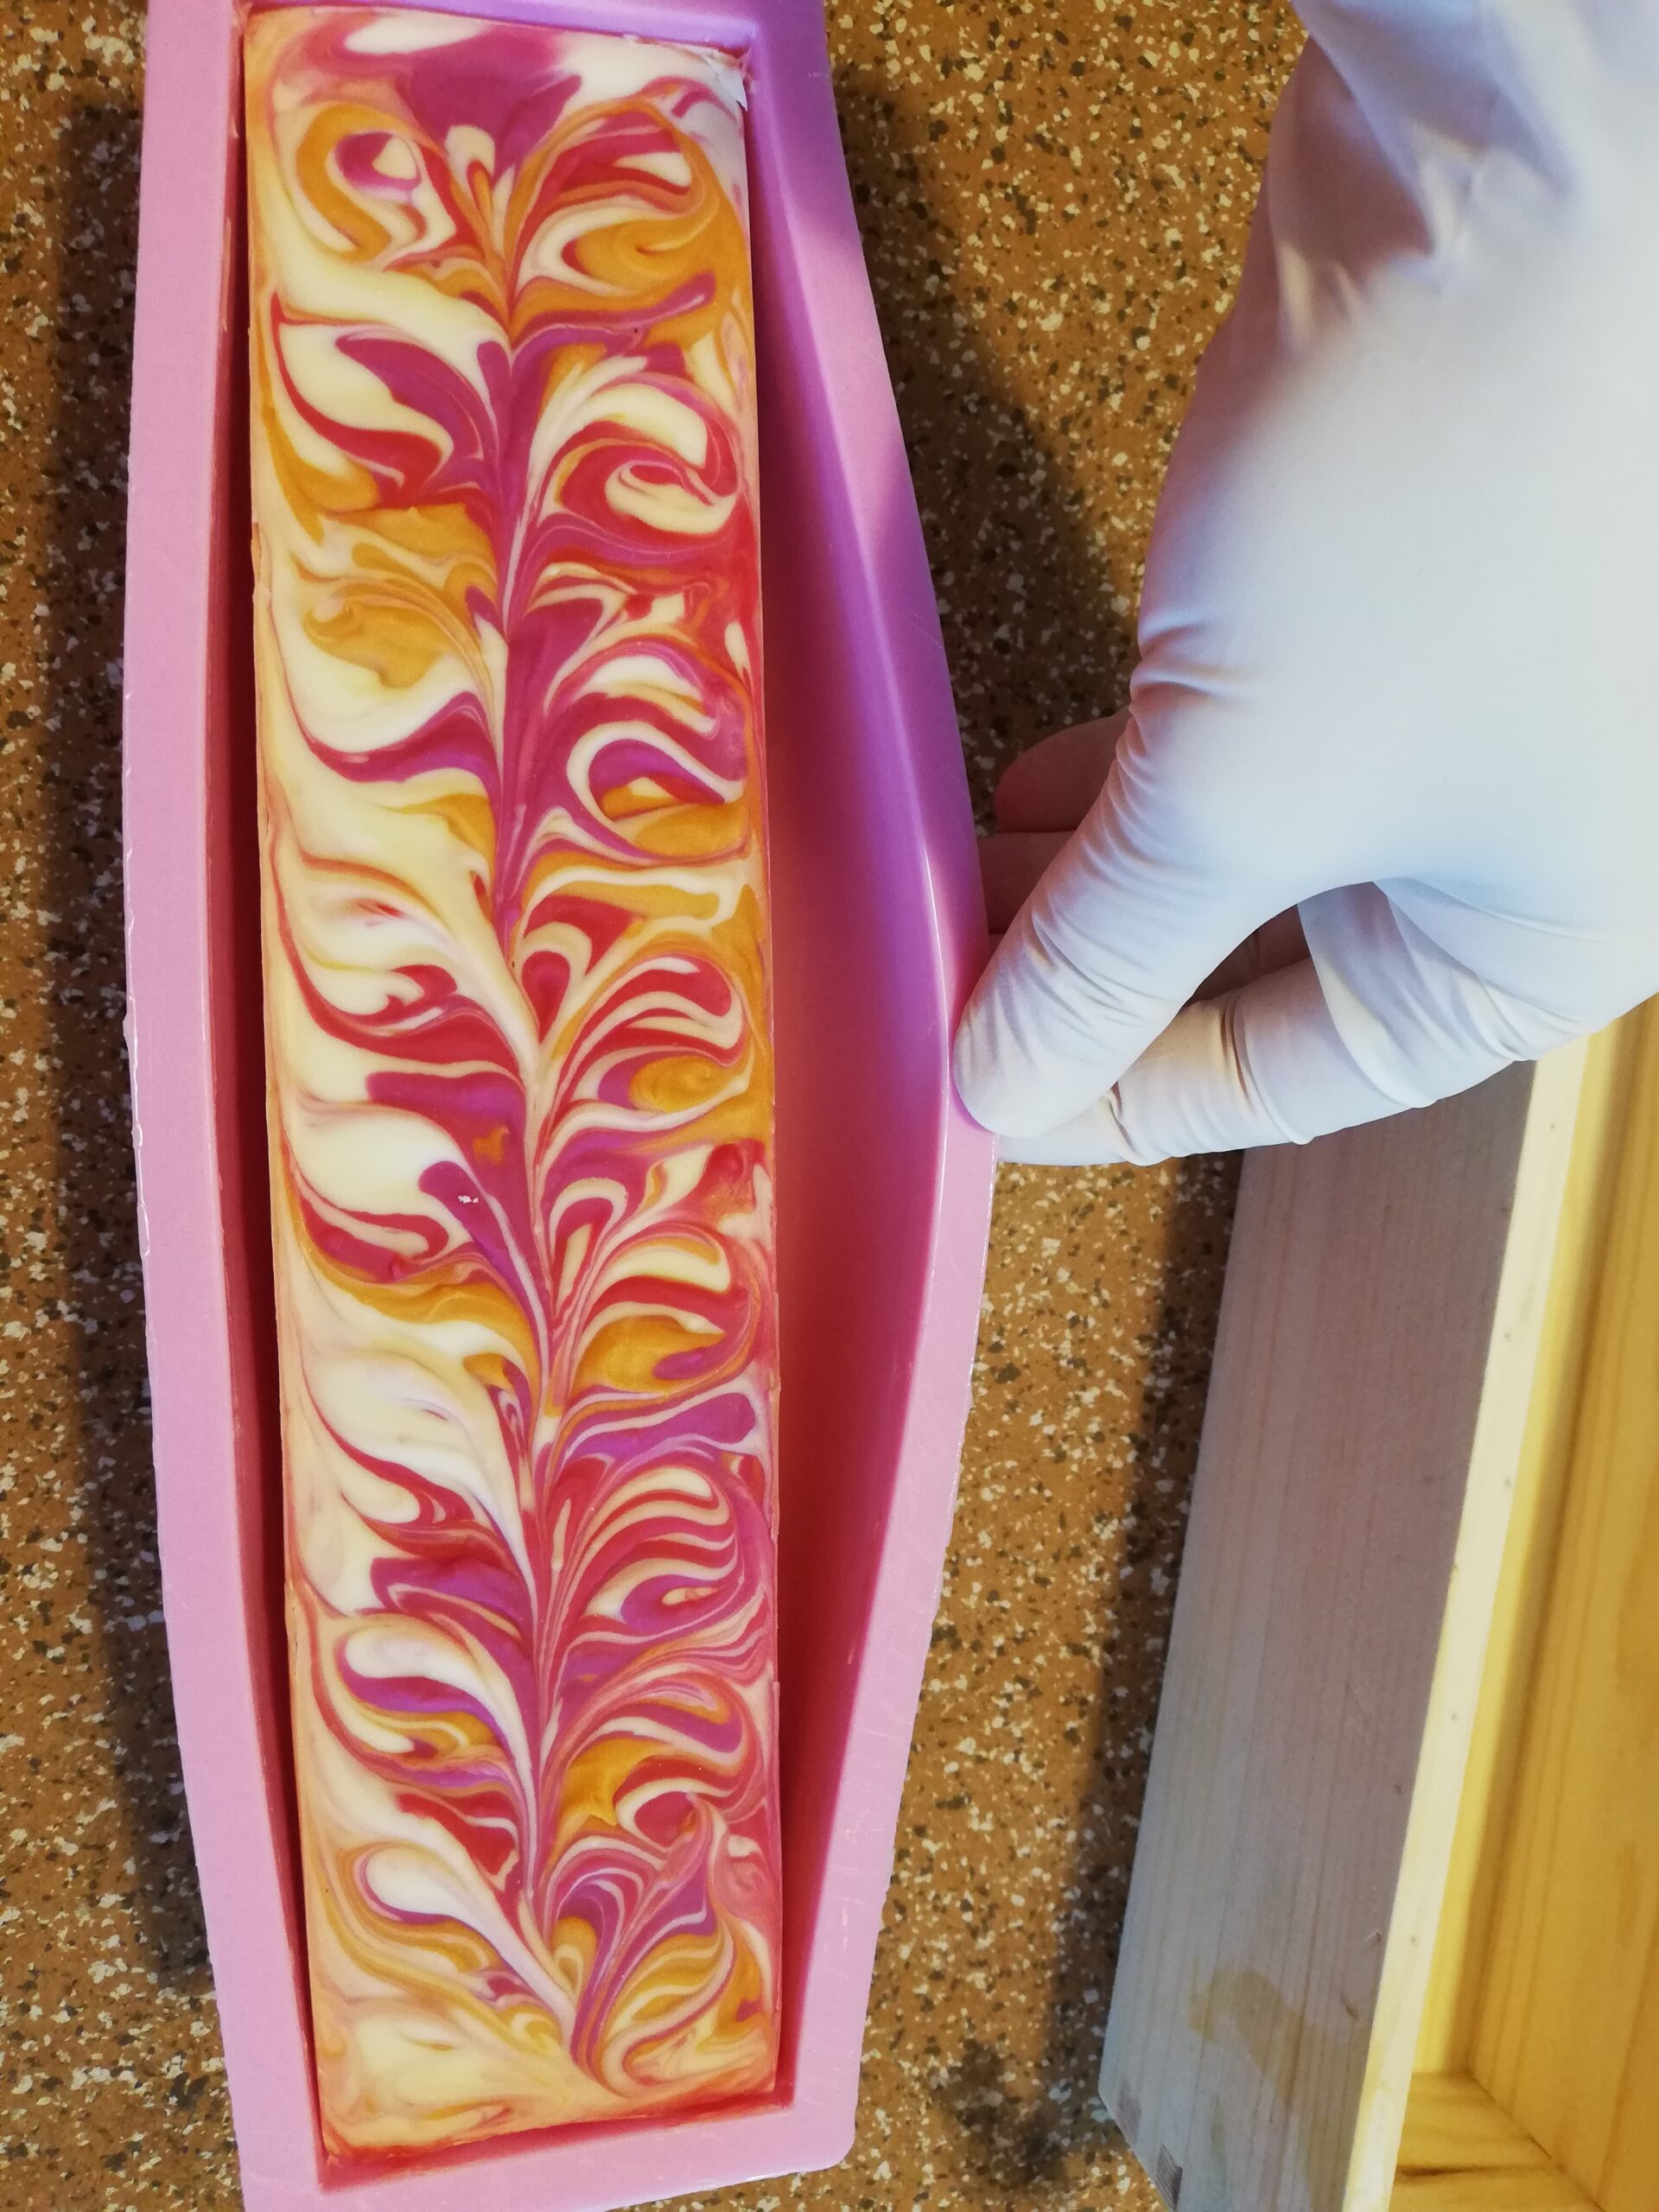
The soap was fairly easy to unmold even though it was still relatively soft overall.
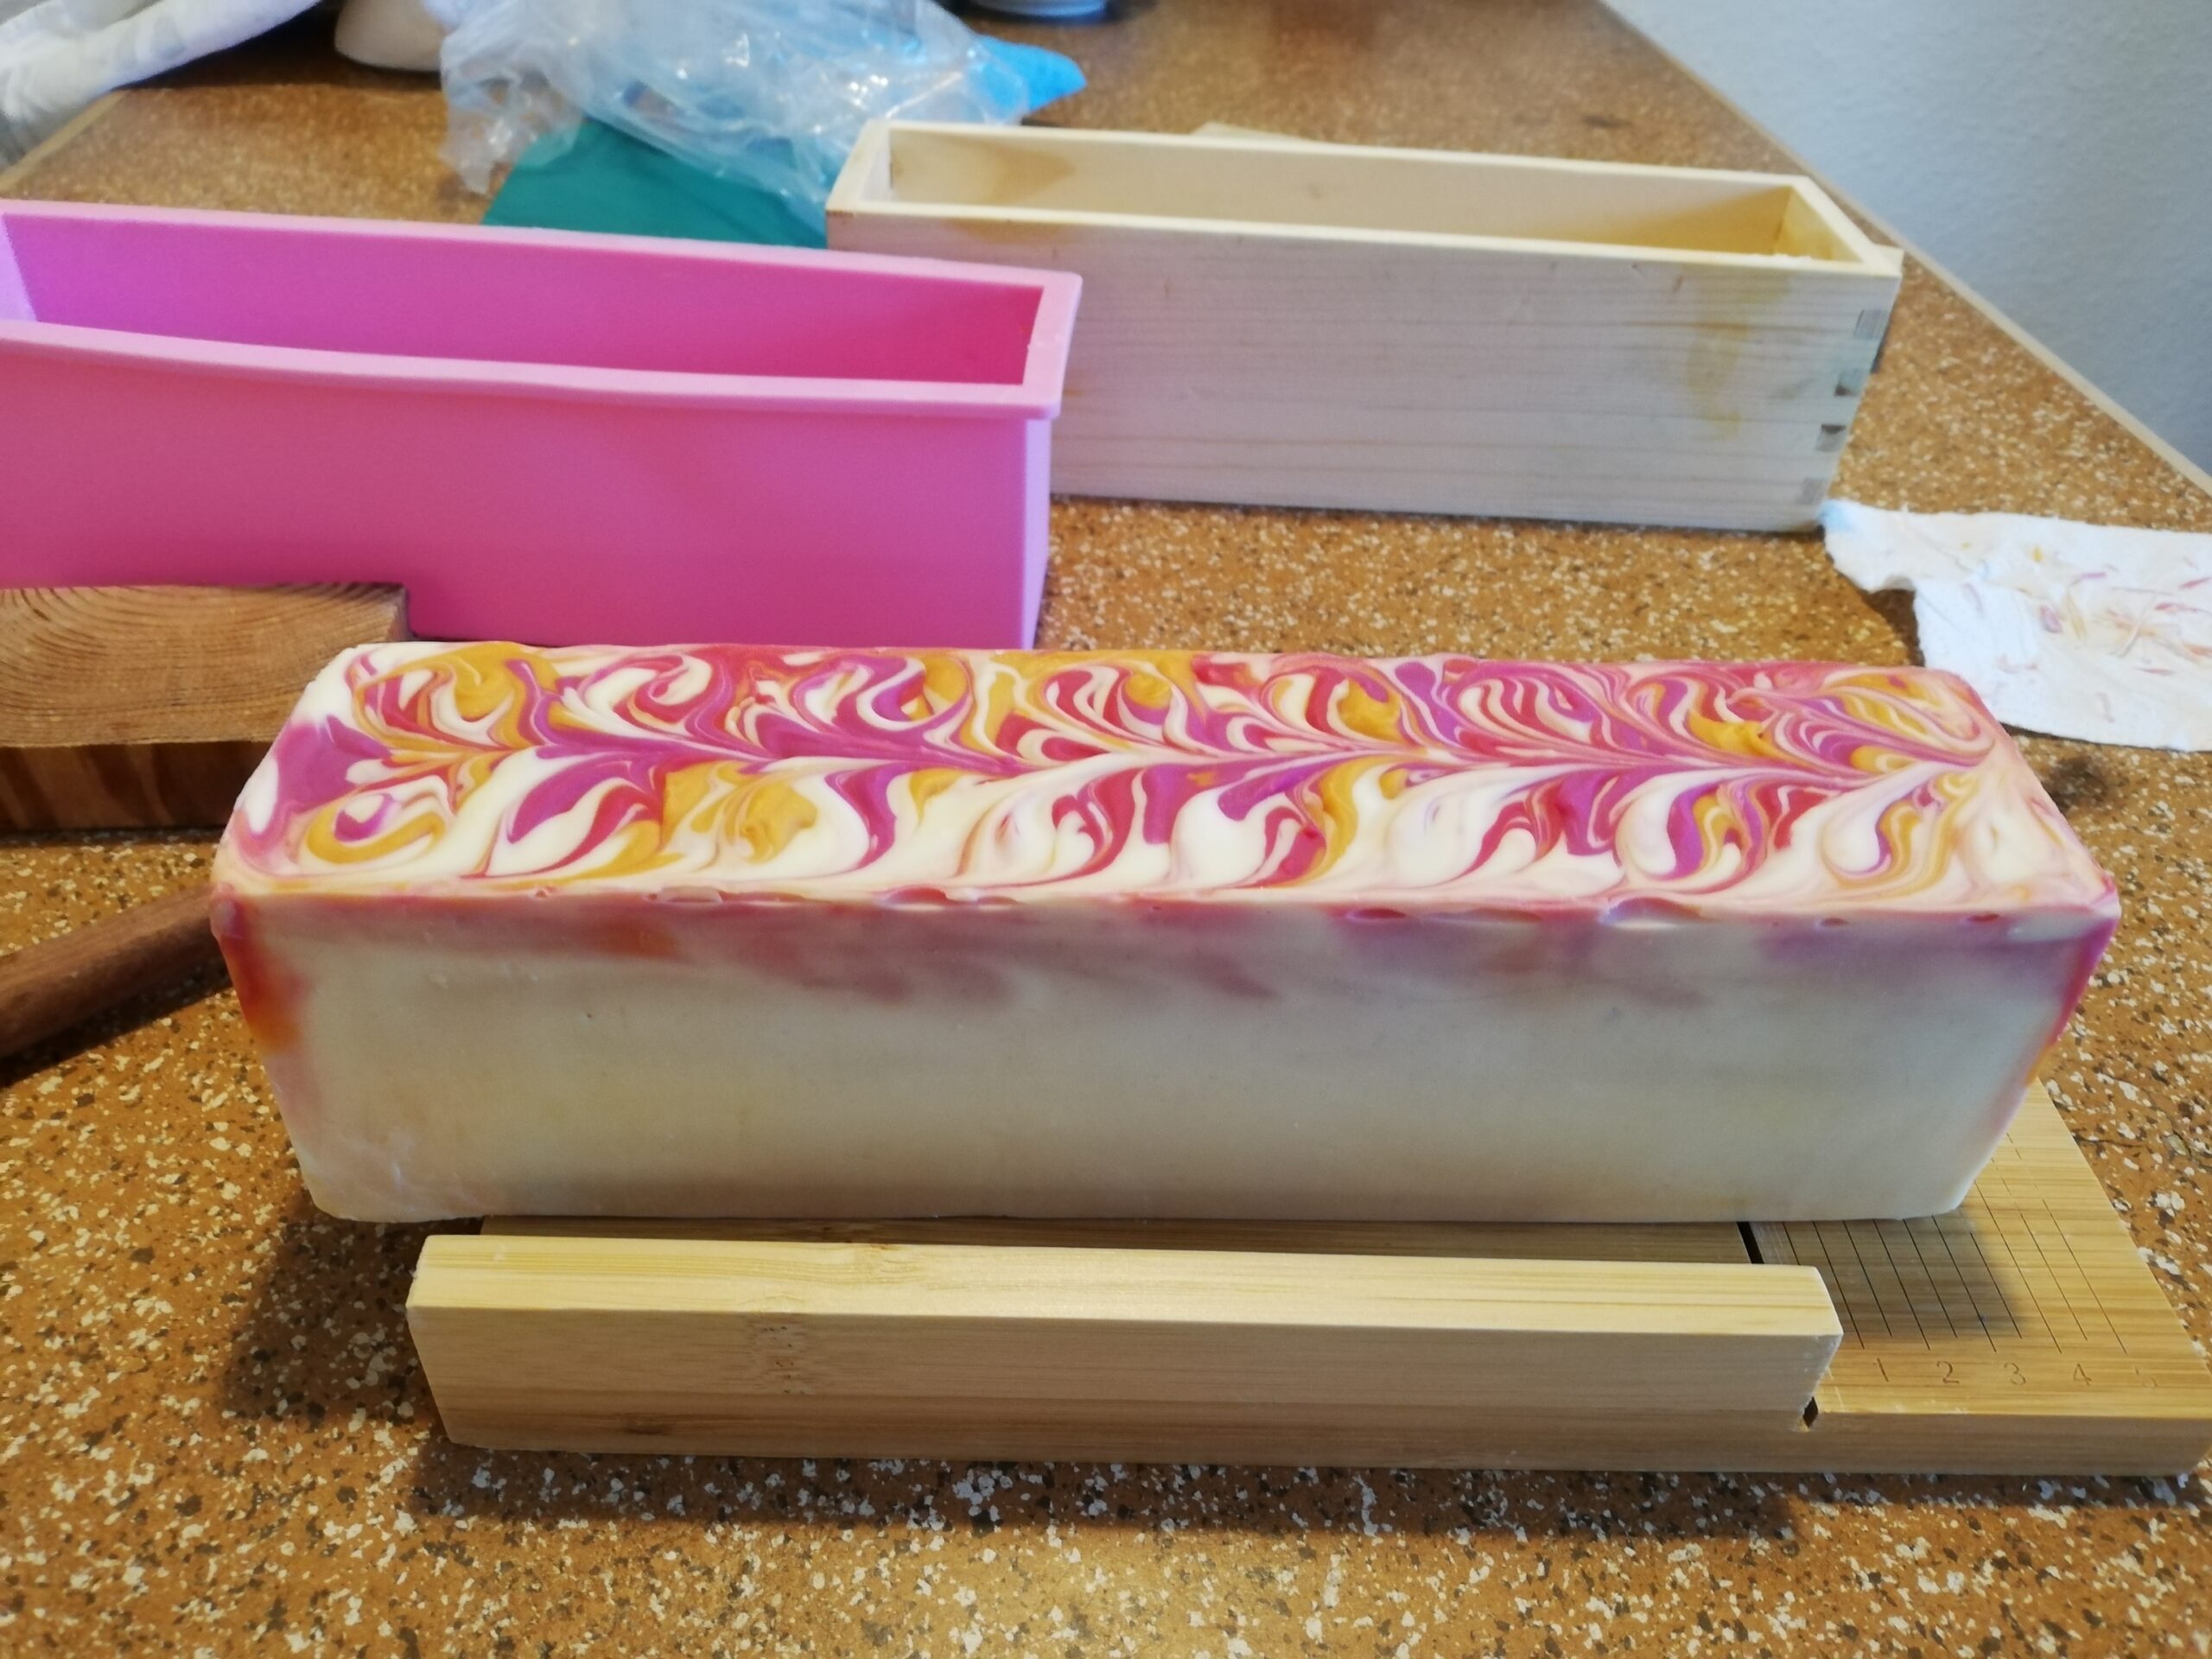
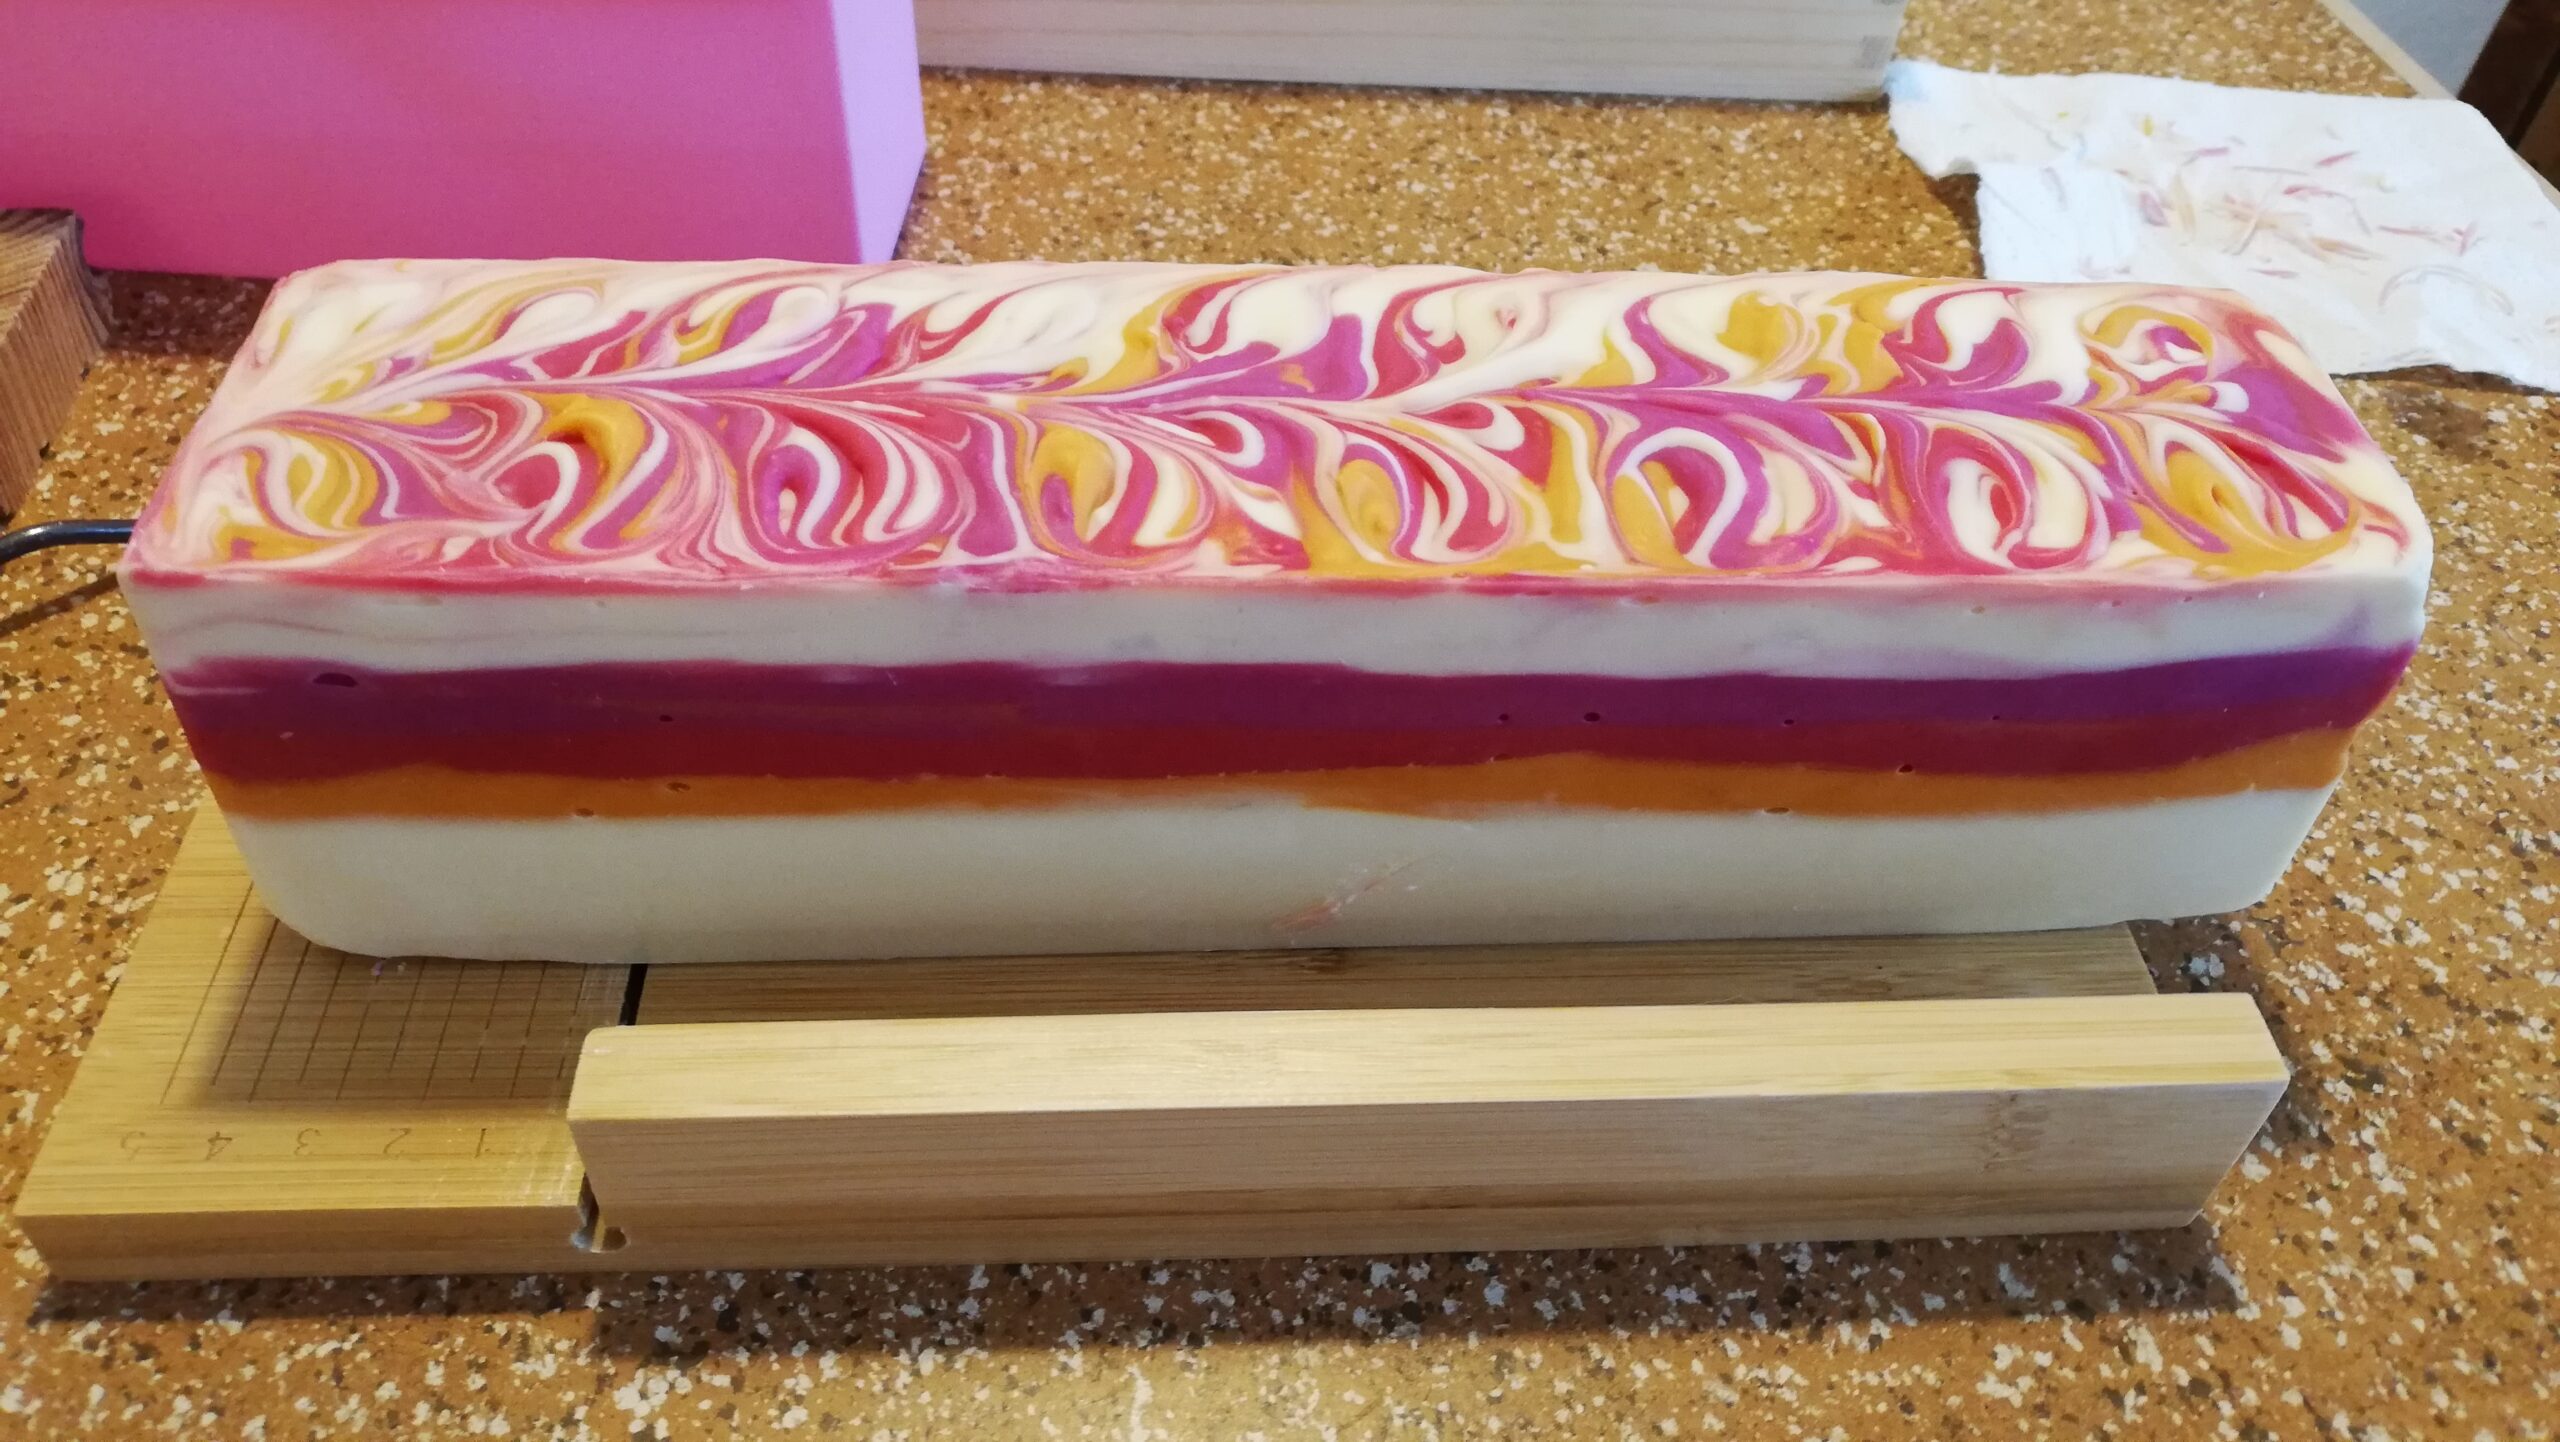
Here you can see that the two sides look very different as it was not a symmetrical swirl.
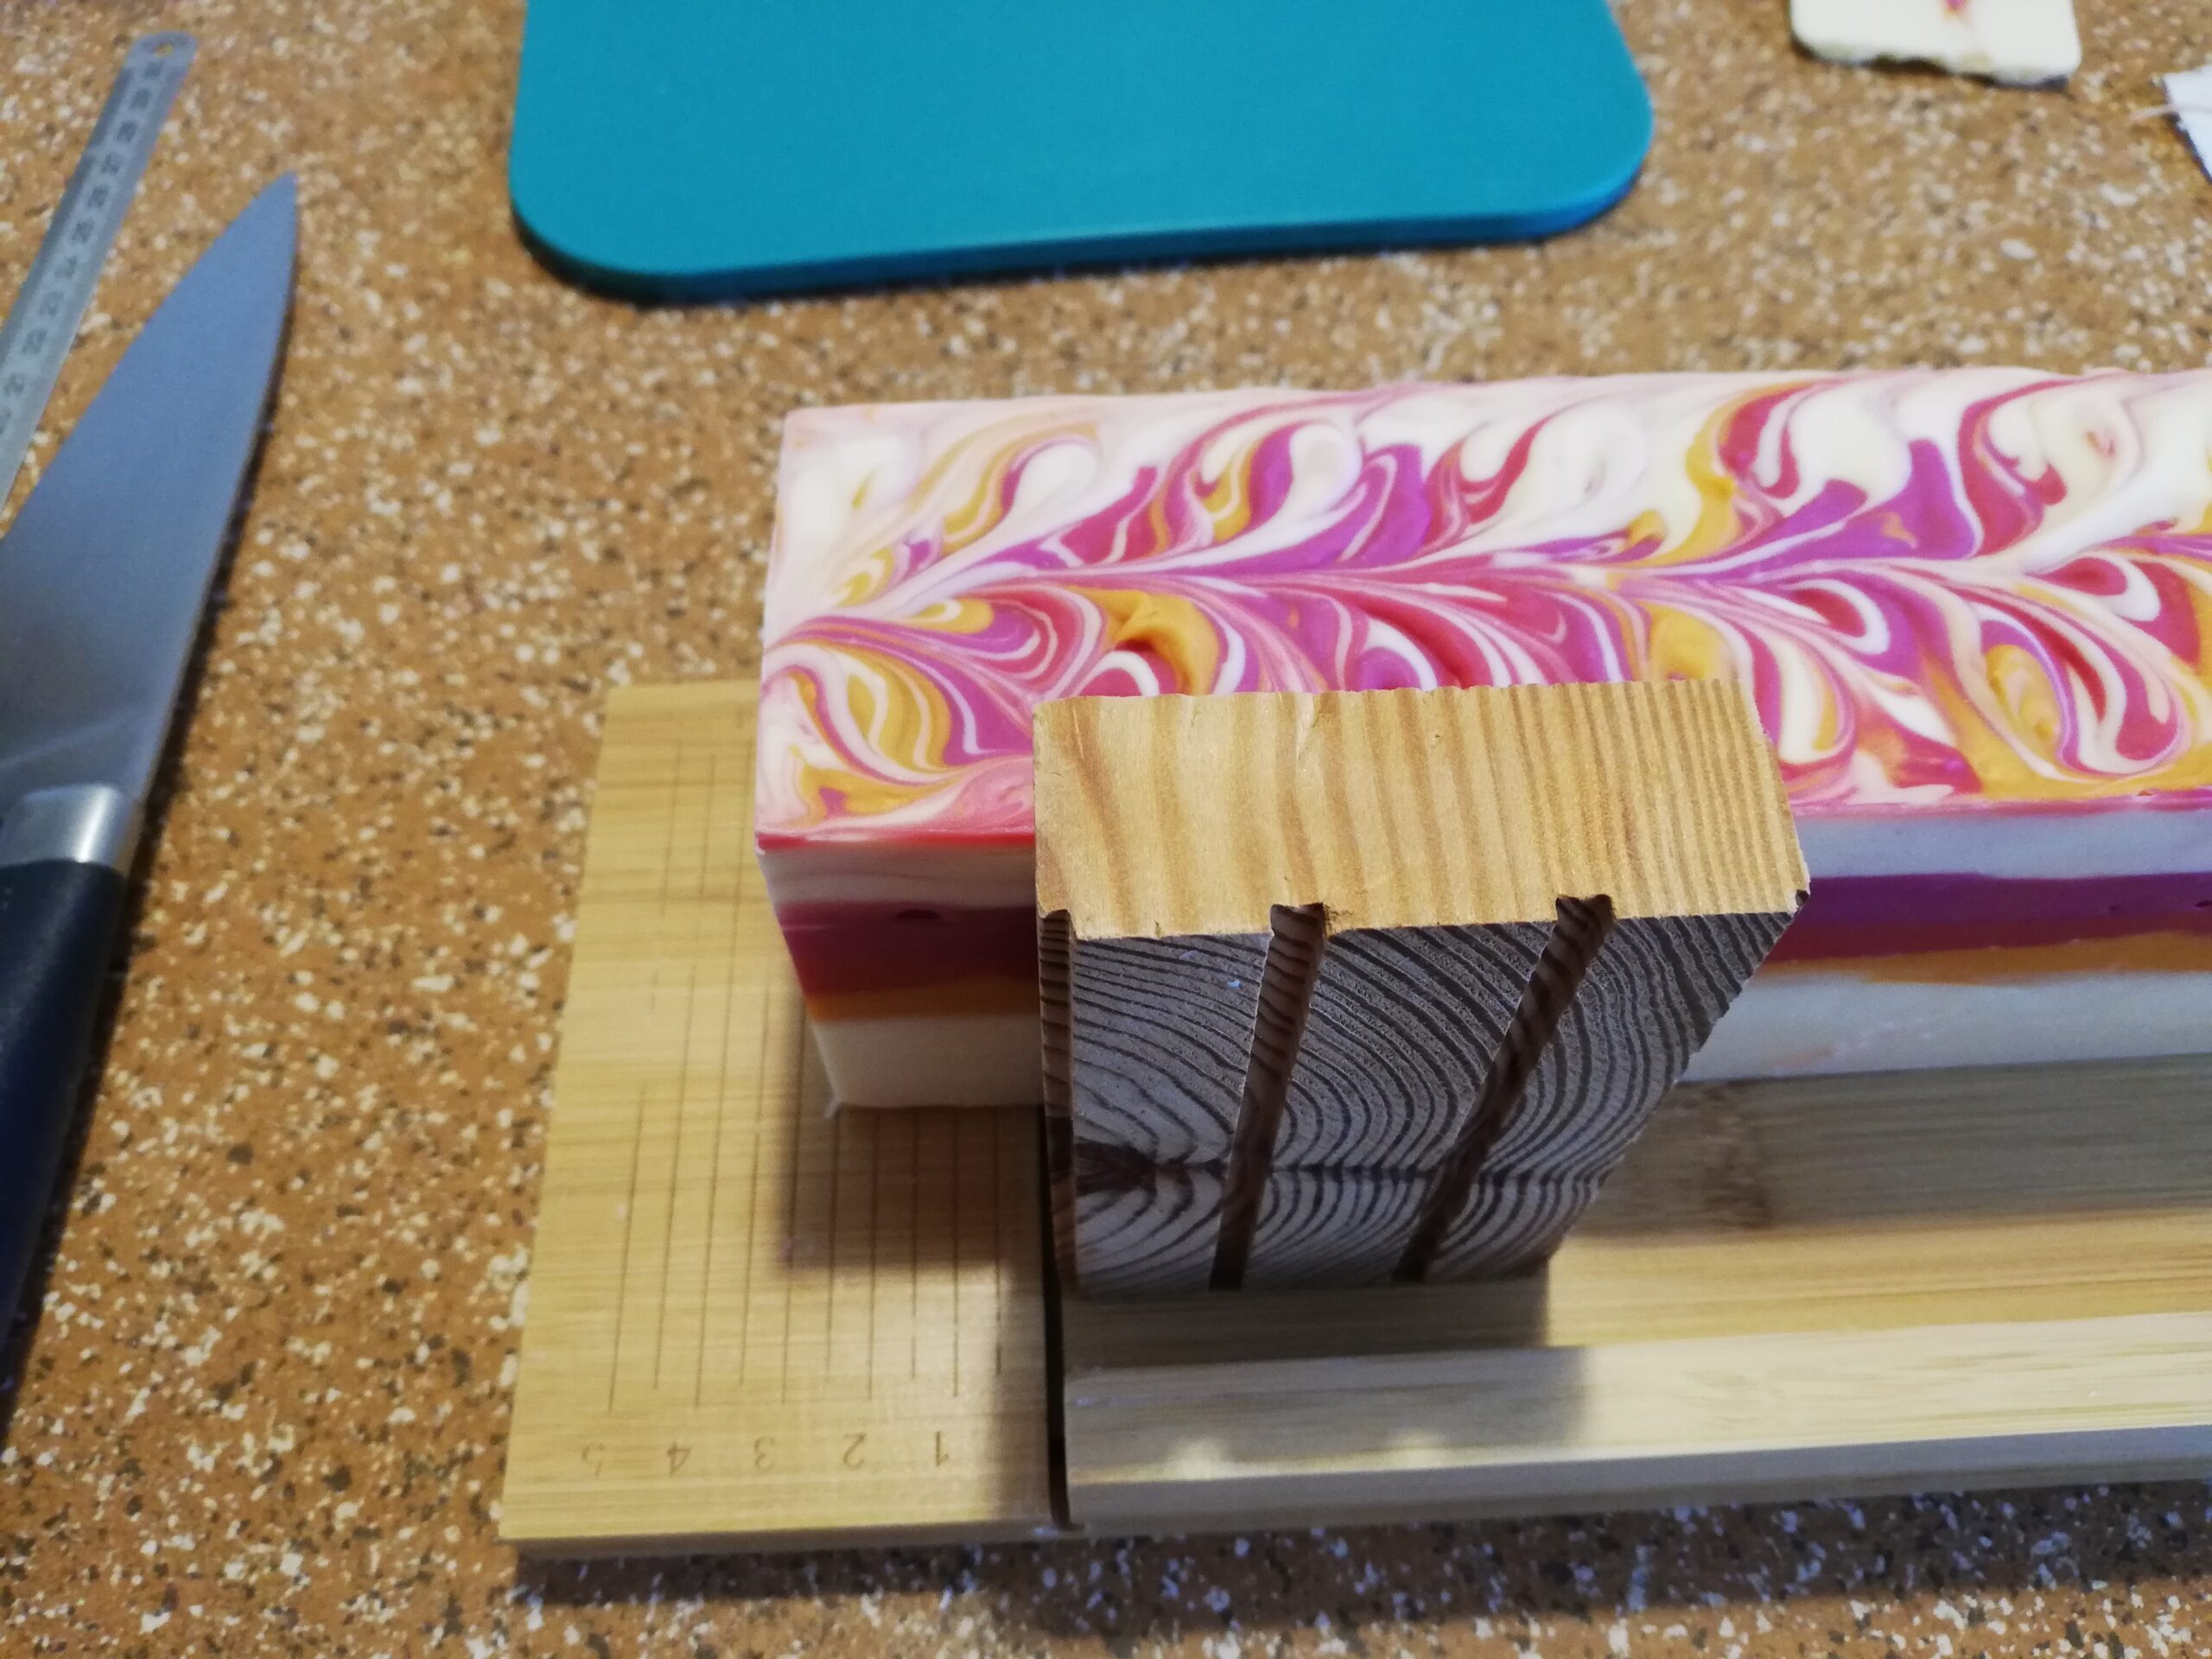
As you can see my soap cutter isn’t exactly cutting edge (sorry, I’ll see myself out). The sides are so low, that they offer no orientation for a knife or wire cutter. I had to use one of the old toy blocks I had kept specifically for all kinds of „misuses“ as a guide. I cut the bars 2.5cm thick. I would have normally cut them at 2cm but then they would not have had enough weight to fulfill the criteria of the challenge. (Yes my mold is this small.)
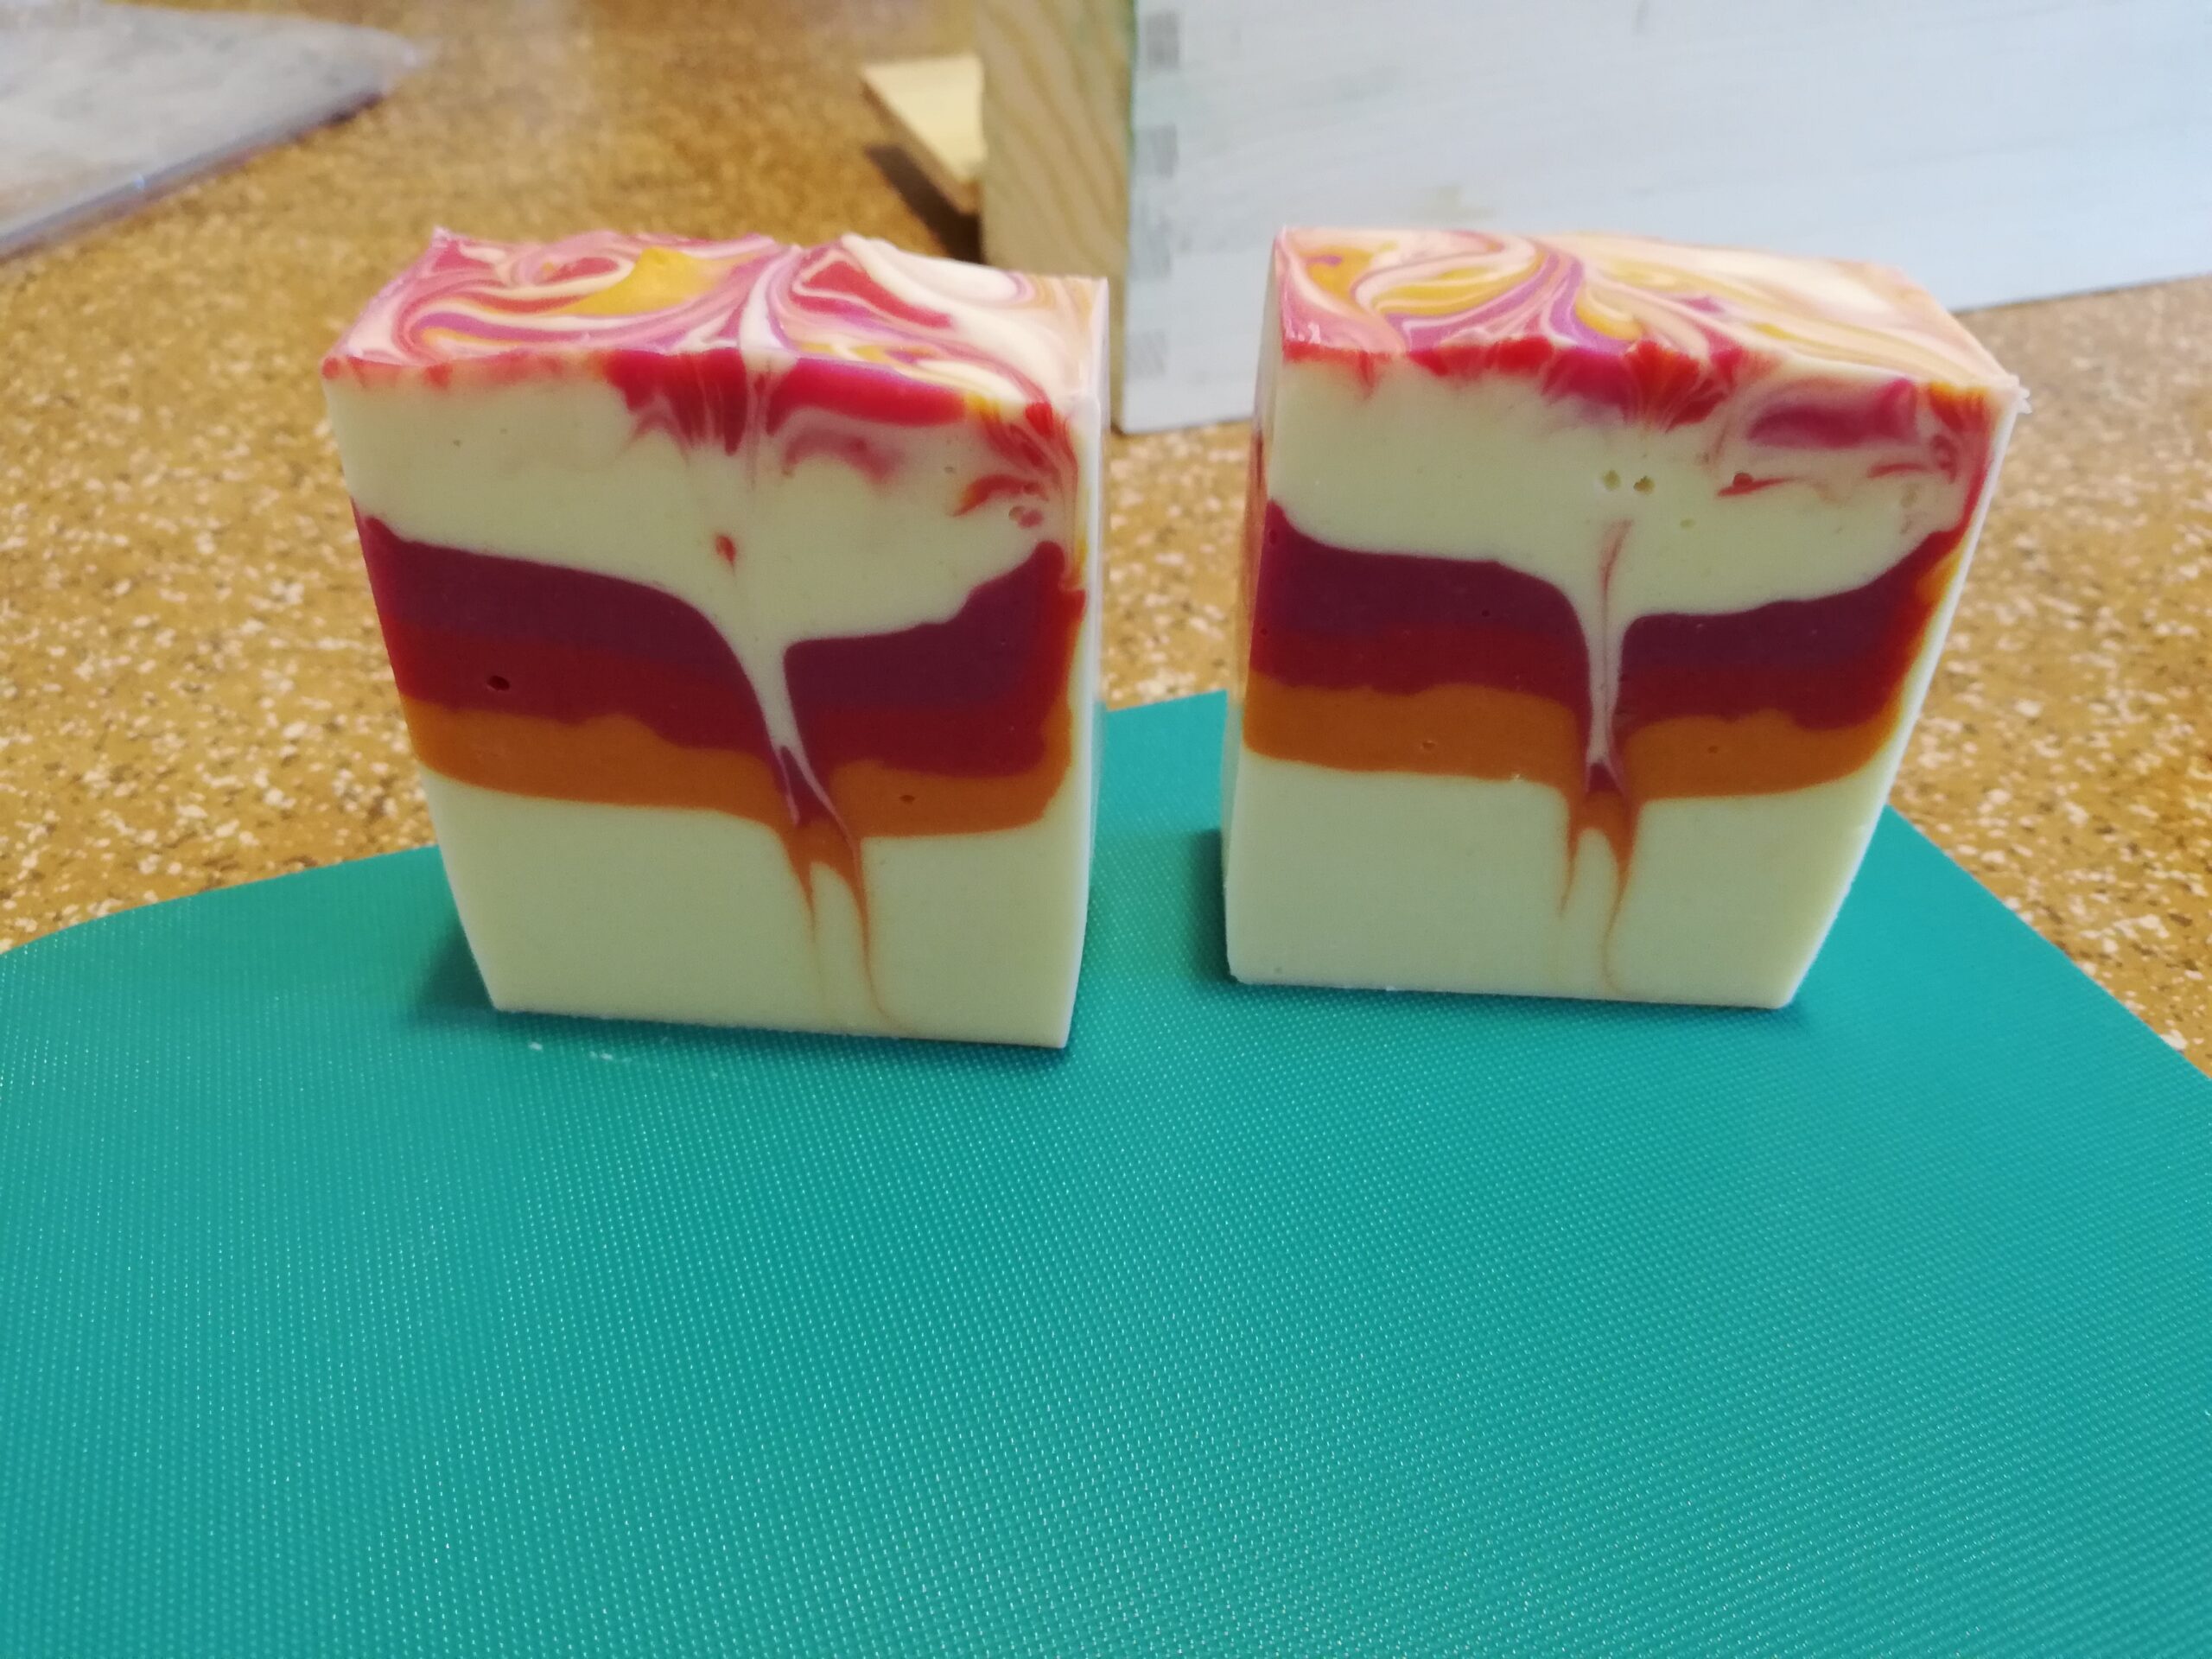
As you can see the bars have quite a lot of holes in them. Since the batter had gotten rather thick towards the end this was pretty much inevitable. (Yes, learning how to control trace is my goal for 2022.) I filled in the holes as best I could with the palette knife.
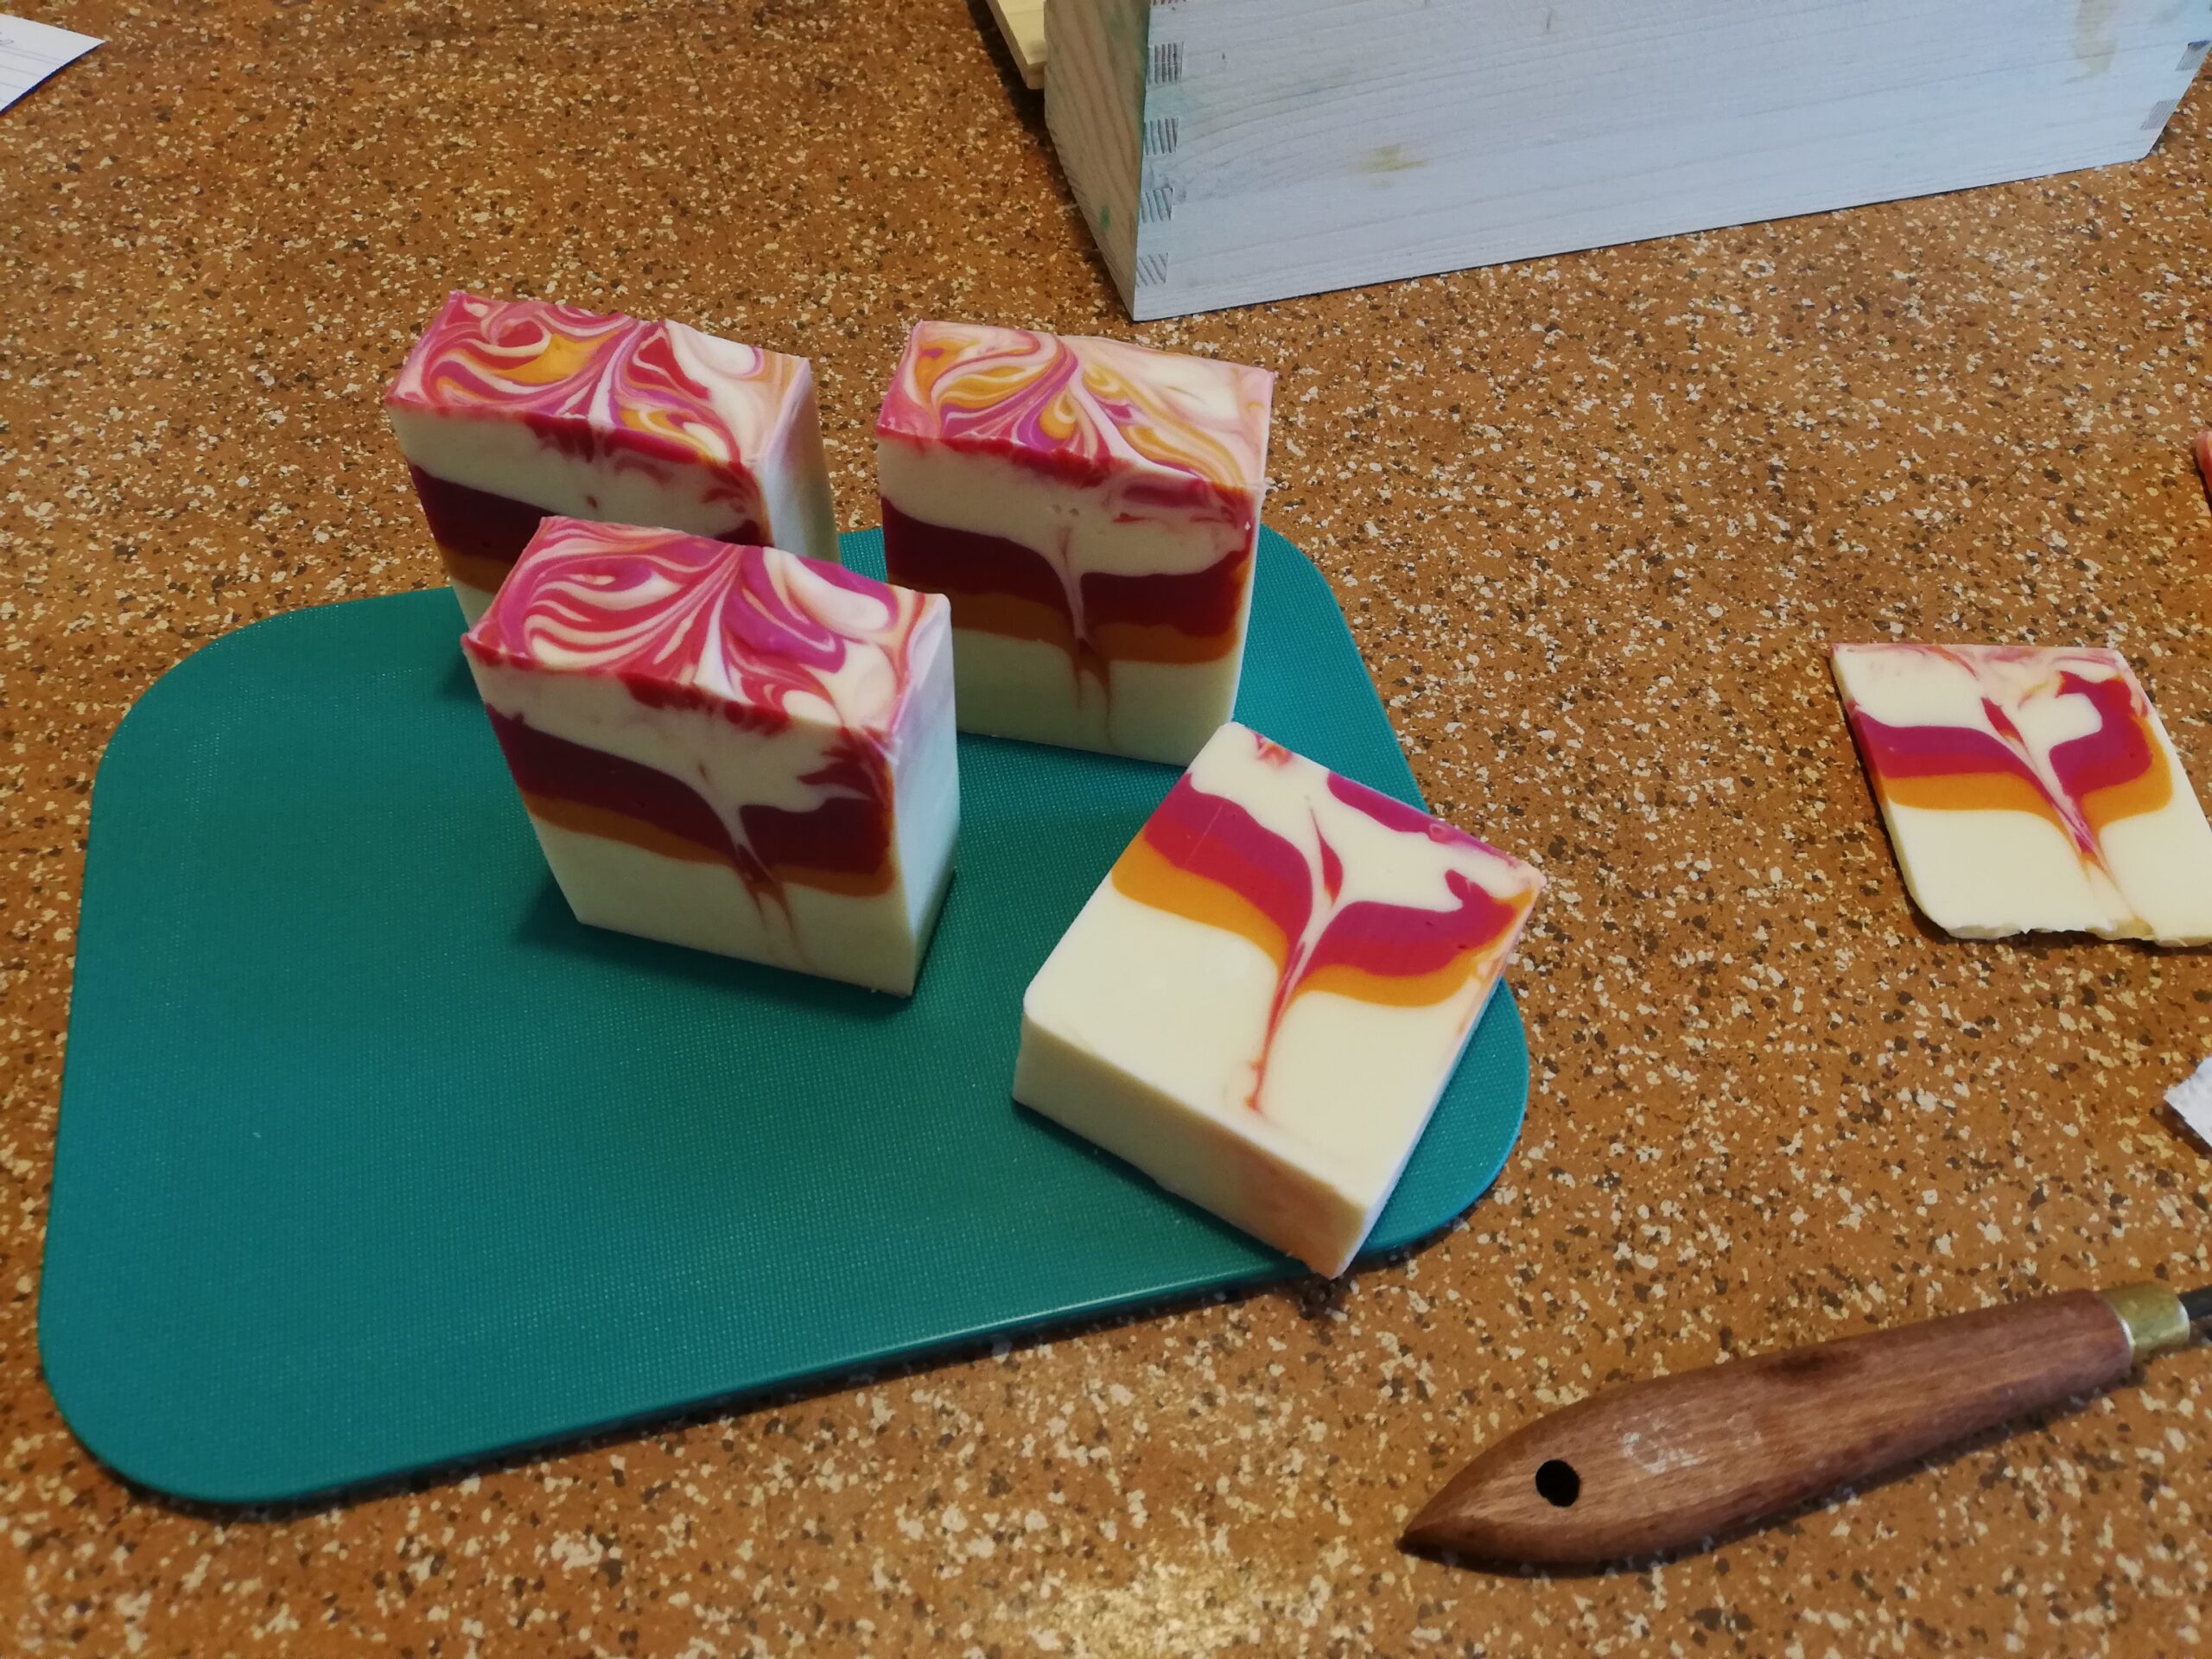
I am actually quite pleased with how the hanger swirl turned out. The „phoenix“ bar on the right is one of my favorites. After cutting the soap and filling in the holes I beveled the edges, which were still quite soft. I probably should have waited another day to do that.
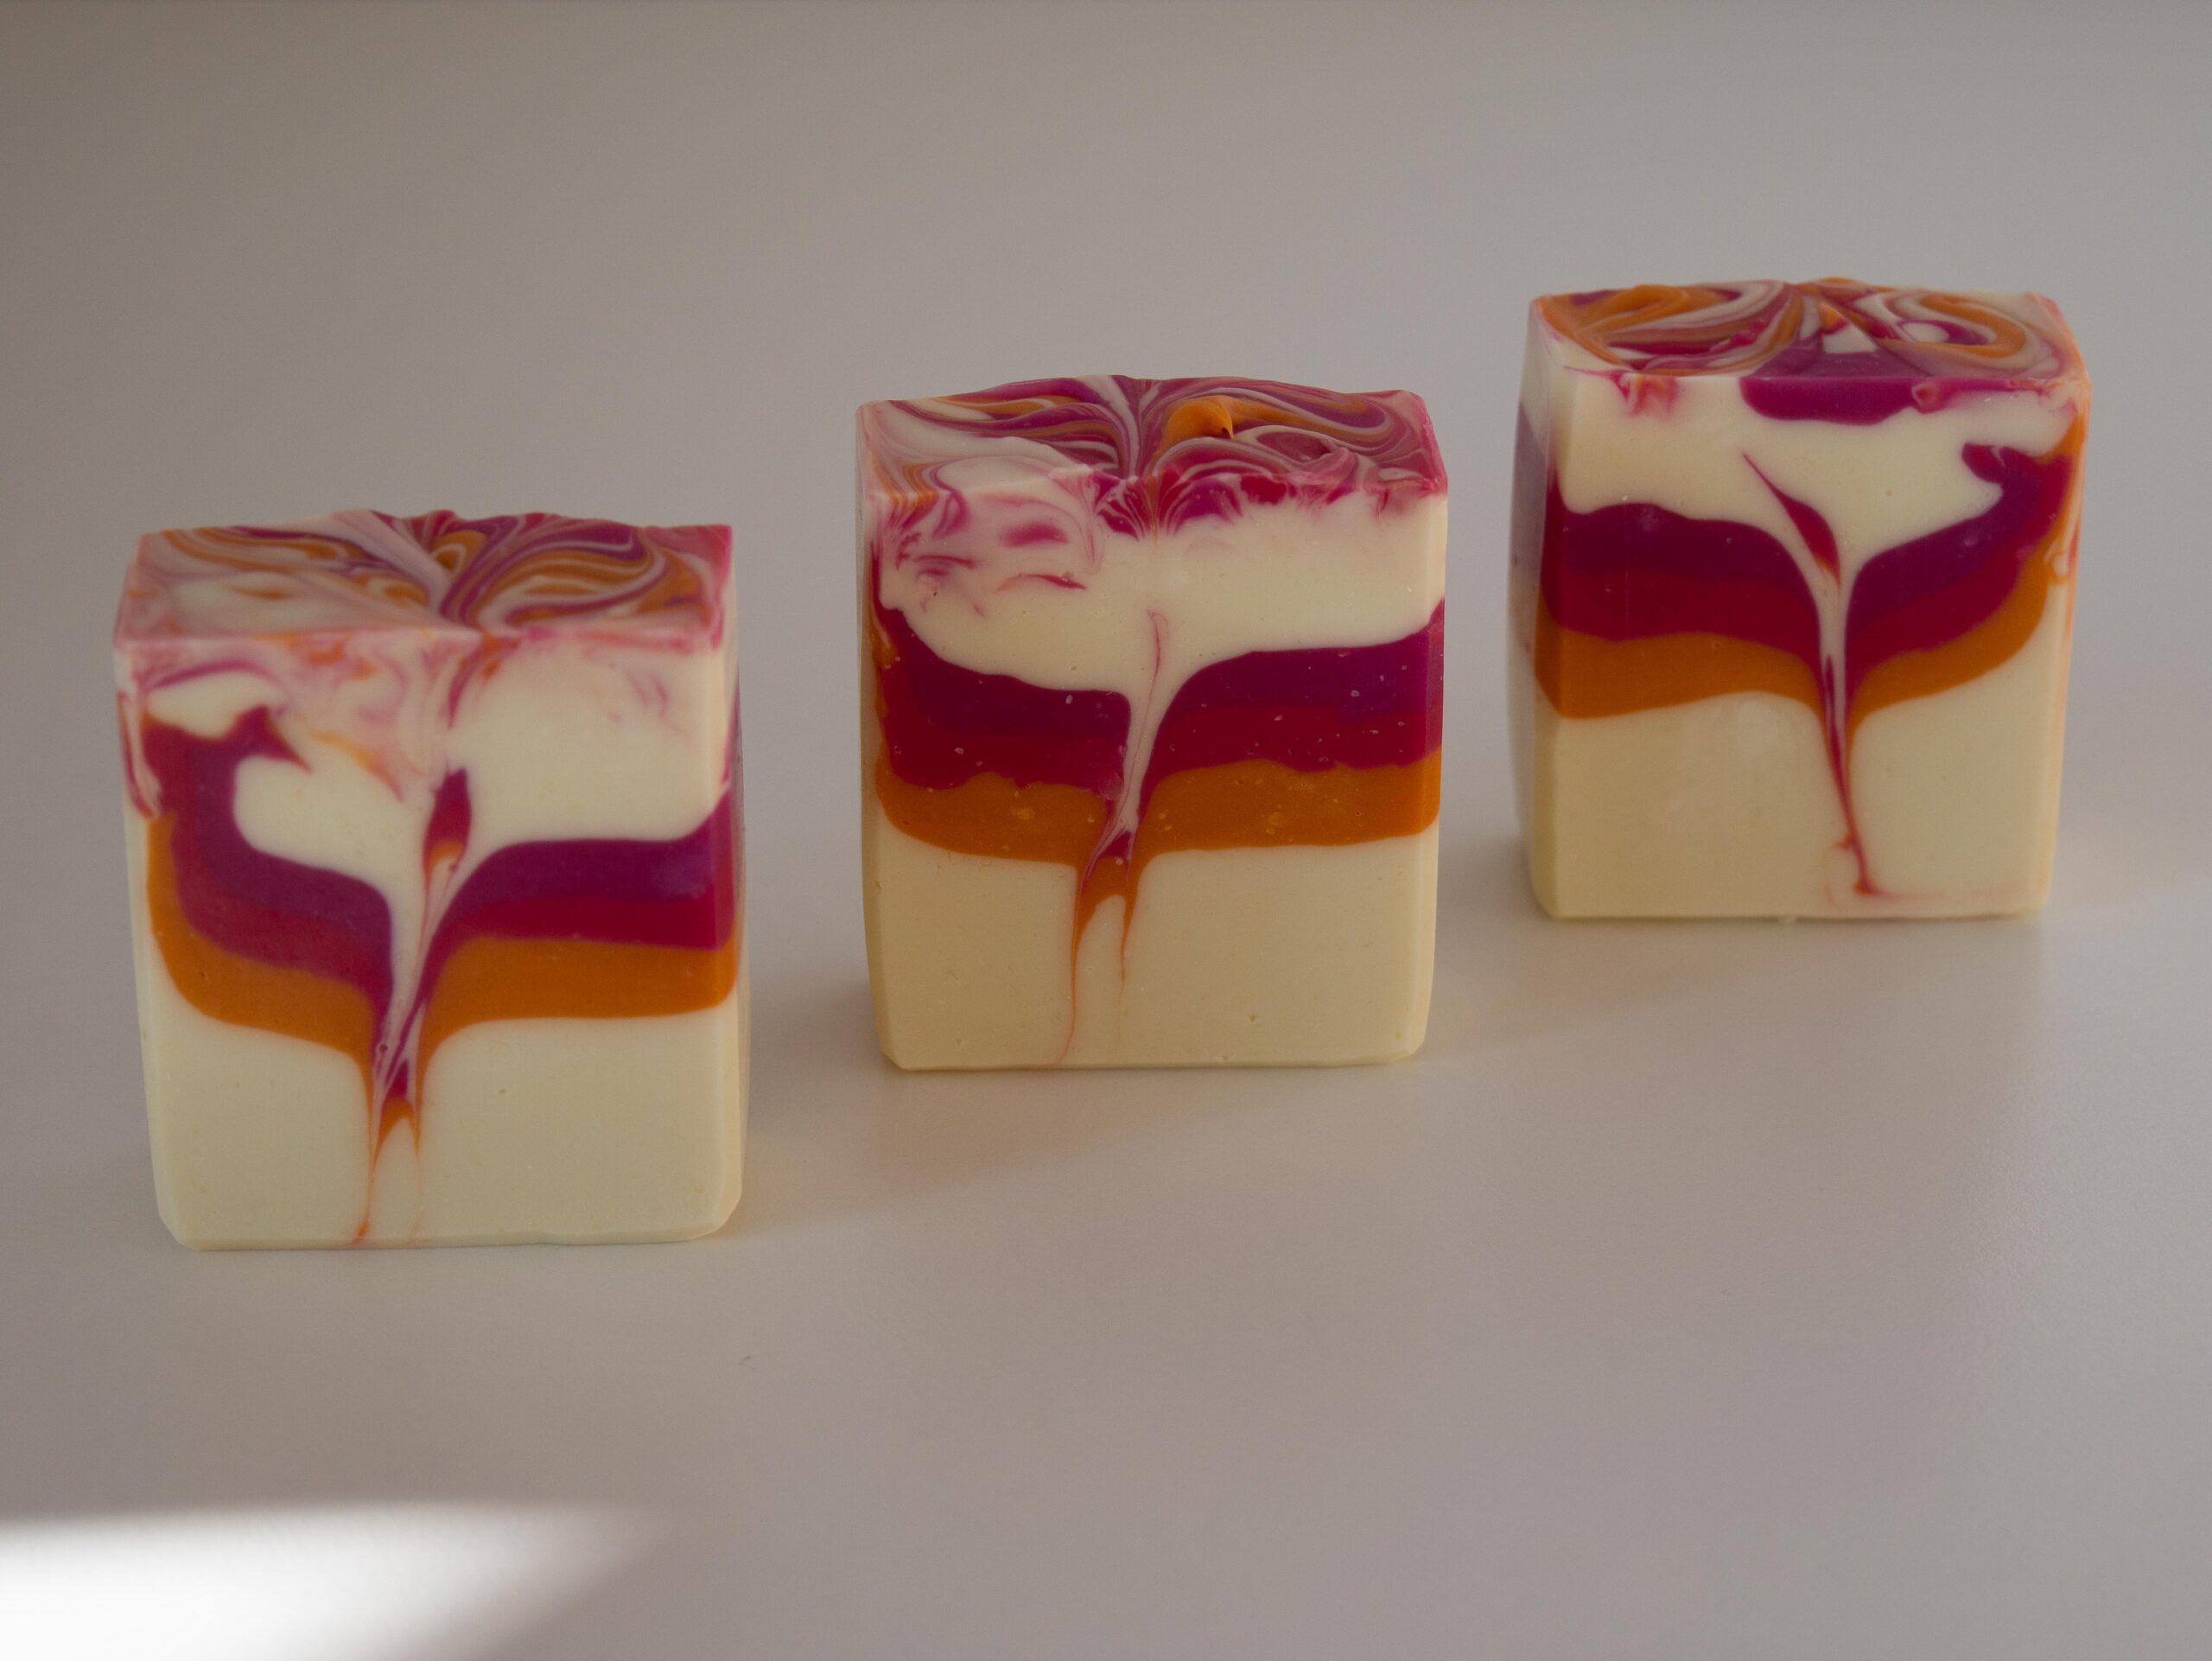
Below is the image I entered into the soap challenge. I took it with natural sunlight in my living room with my „good“ camera not my phone. The background is the top of a drawer. If you are interested, there is a „What I learned“ section below the image.
What I learned
- As much as I love this recipe – it is not the best recipe for swirls as it contains 15% mango butter and that is a very hard oil that will thicken up quicker than oils with a lower melting point.
- With some recipes and techniques it doesn’t matter much at which temperature you are soaping. I believe that the temperature difference between my lye solution (which was relatively cool), the fragrance oil (also relatively cool) and my oils caused a small degree of ricing (which might still not have happened without the large amount of mango butter). I therefore had to use my stick blender more than I would normally have. So temperature matters if you want to do swirls. I read up on it and found that a temperature between 29° and 35°C is ideal for swirls.
- It might have been a good idea to add the fragrance to the oils before adding the lye solution. This might have saved me some of the stick-blending.
- I used a water content of 30% of water as a percentage of oil weight. I try not to use too much water, especially in soaps with a lot of titanium dioxide, to avoid glycerin rivers. I tried 33% (and a different recipe) for my next hanger swirl and the soap batter stayed fluid for much longer.
- I had miscalculated the amount of sodium lactate for this batch of soap. This might have contributed to the acceleration.
- It’s a good idea to unmold the soap and wait a little to cut it. It would also be a good idea to wait another day to bevel the edges. When they are still very soft, I tend to take off too much.
- I believe the hanger swirl would have looked nicer in a taller mold. My mold is only 7cm high and 5.5cm wide.
- The combination of a thin wire with a thick batter didn’t work perfectly. I will try to bolster the hanger tool and use a different recipe that is more suitable for swirls.

